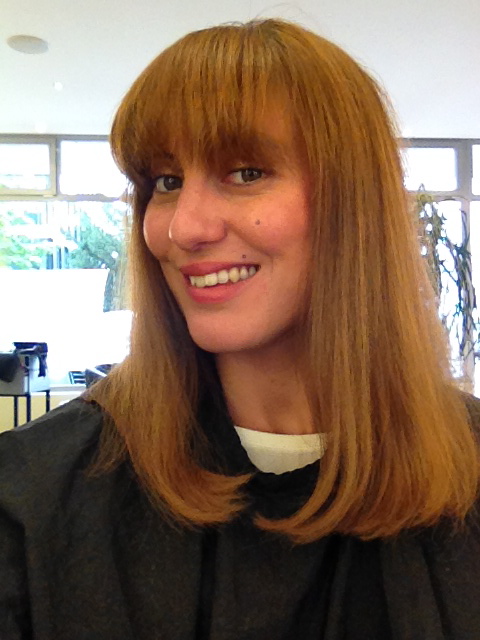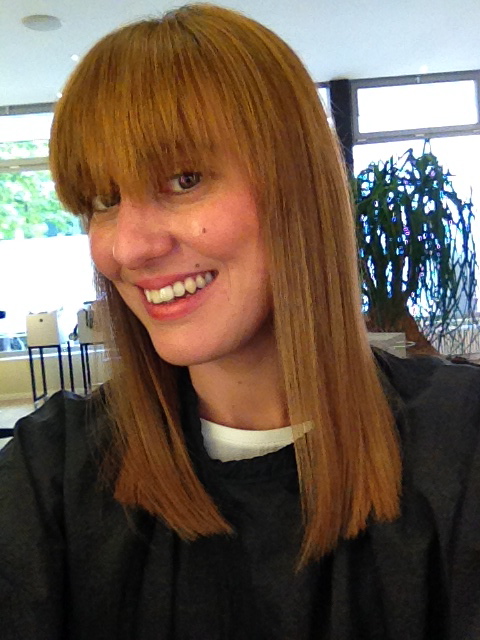


hair tutorial
this was planned for quiet a while and finally I had the chance and time to do it together with Helena from the Winter Coiffure Salon in Basel. thank you so much for everything. x
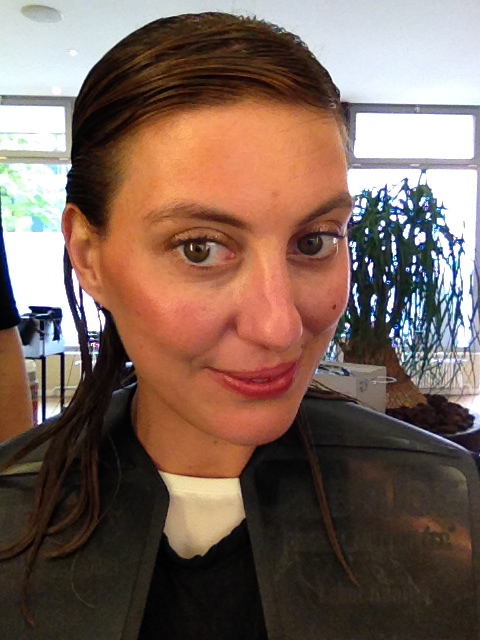
Marylin Monroe is very known for her blonde curly look and eventhough I am not blonde I think we can all try to look a bit like her – not kidding! so what I am trying to is to create a similar look but work with the features of ones face and make a nice fusion look. so in my case I watched so many youtube tutorials and documentaries about Marilyn Monroe and learned a lot about her life and career and oh dear, she didnt have a too happy life as she was addicted to drugs and had a hard time organizing her life and acting – often she didnt show up on the set or fell asleep during the takes due to her sleeping pill addiction. but of course there are also nice and funny things to share about her. to achive the perfect wiggle she cut a tiny piece of both of her heels – thats genious, isnt it? who would do that today except for Lady Gaga?
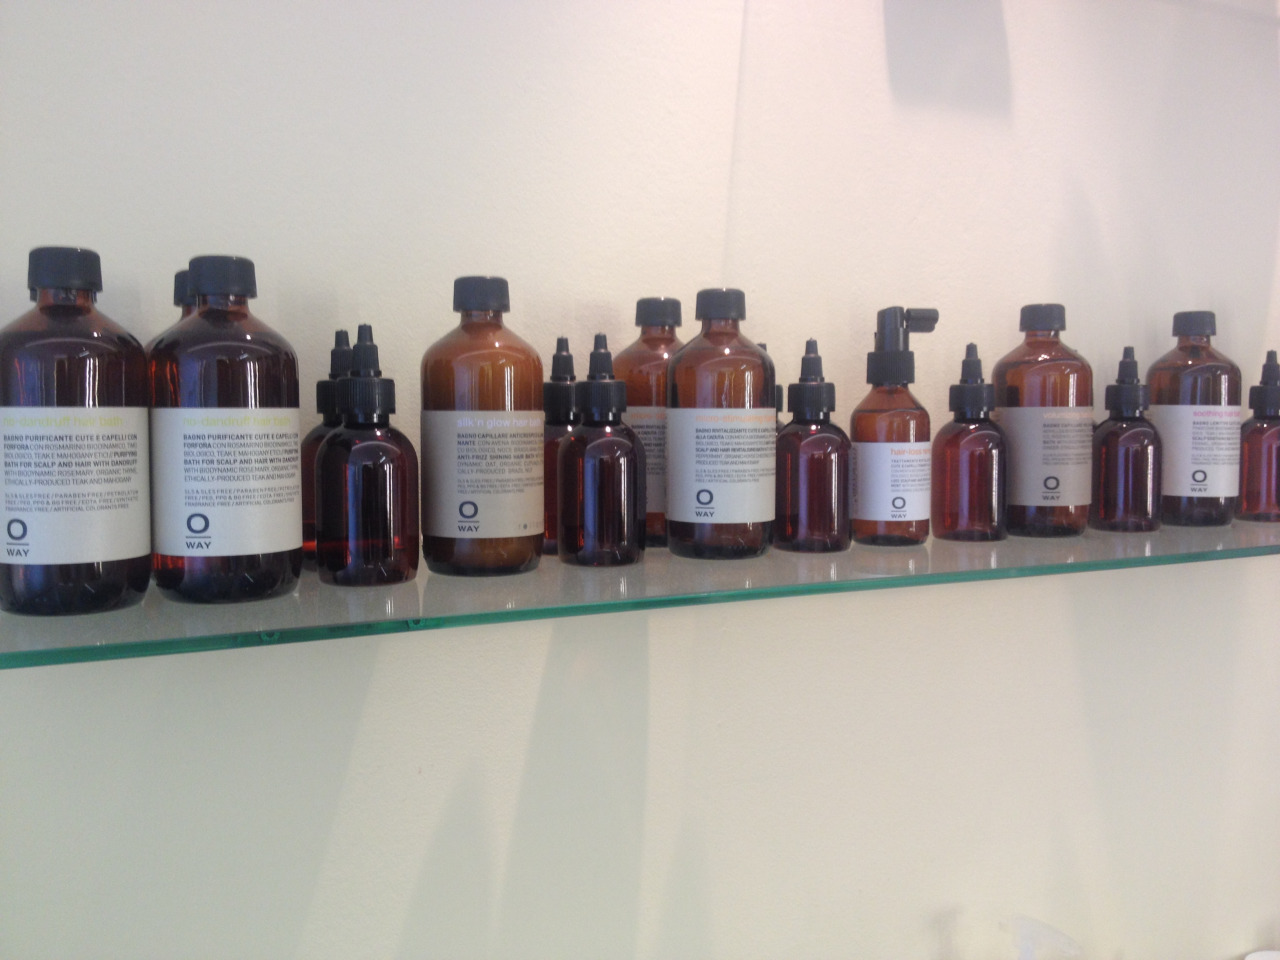
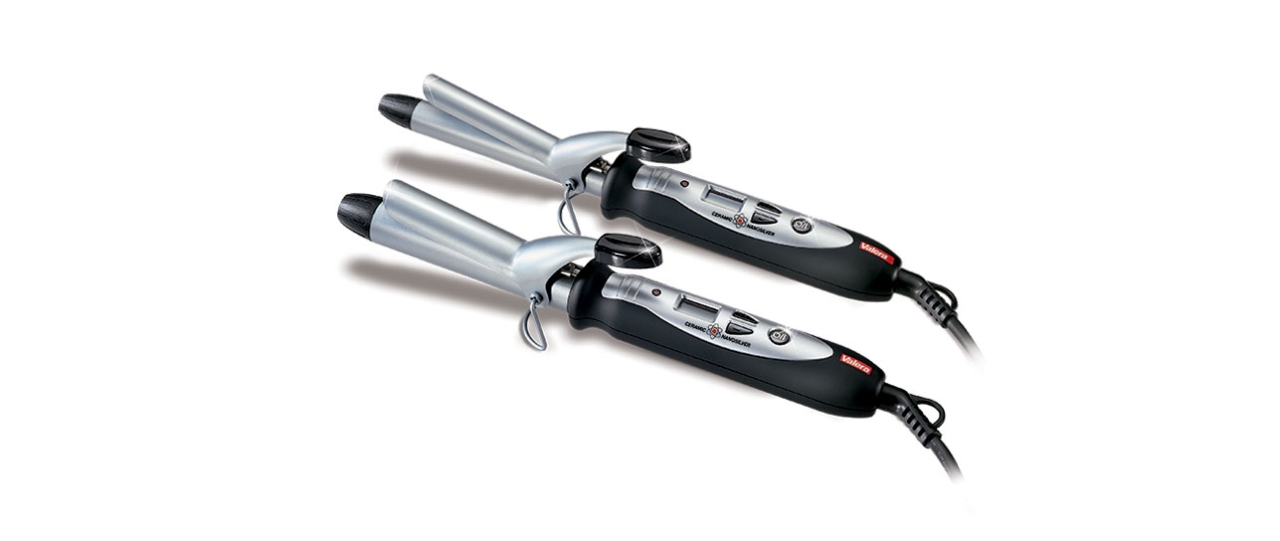
so let me start with the TUTORIAL and guide you thru some easy steps – ten to be exact. Firs of all you need Curling Irons in two different sizes (small and medium) and some good shampoo and treatment products, I used the REDKEN Blonde Idol collection and the VALERA curling irons. We also need booby pins, Hairspray and makeUp (redlipstick, fake eyelashes, foundation, eyeliner in black) and a Marilyn Monroe outfit.
step 1
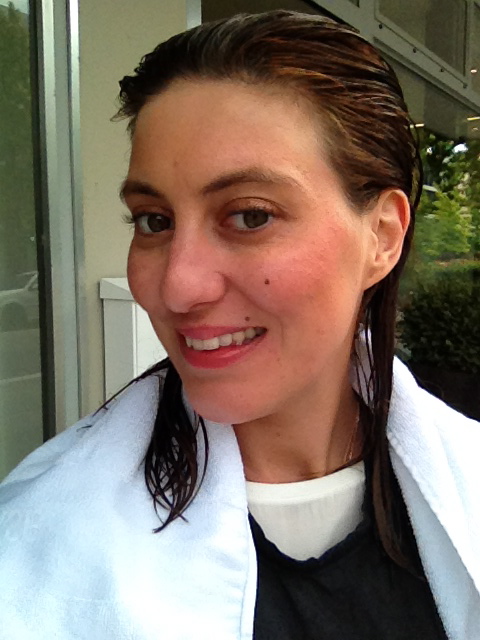
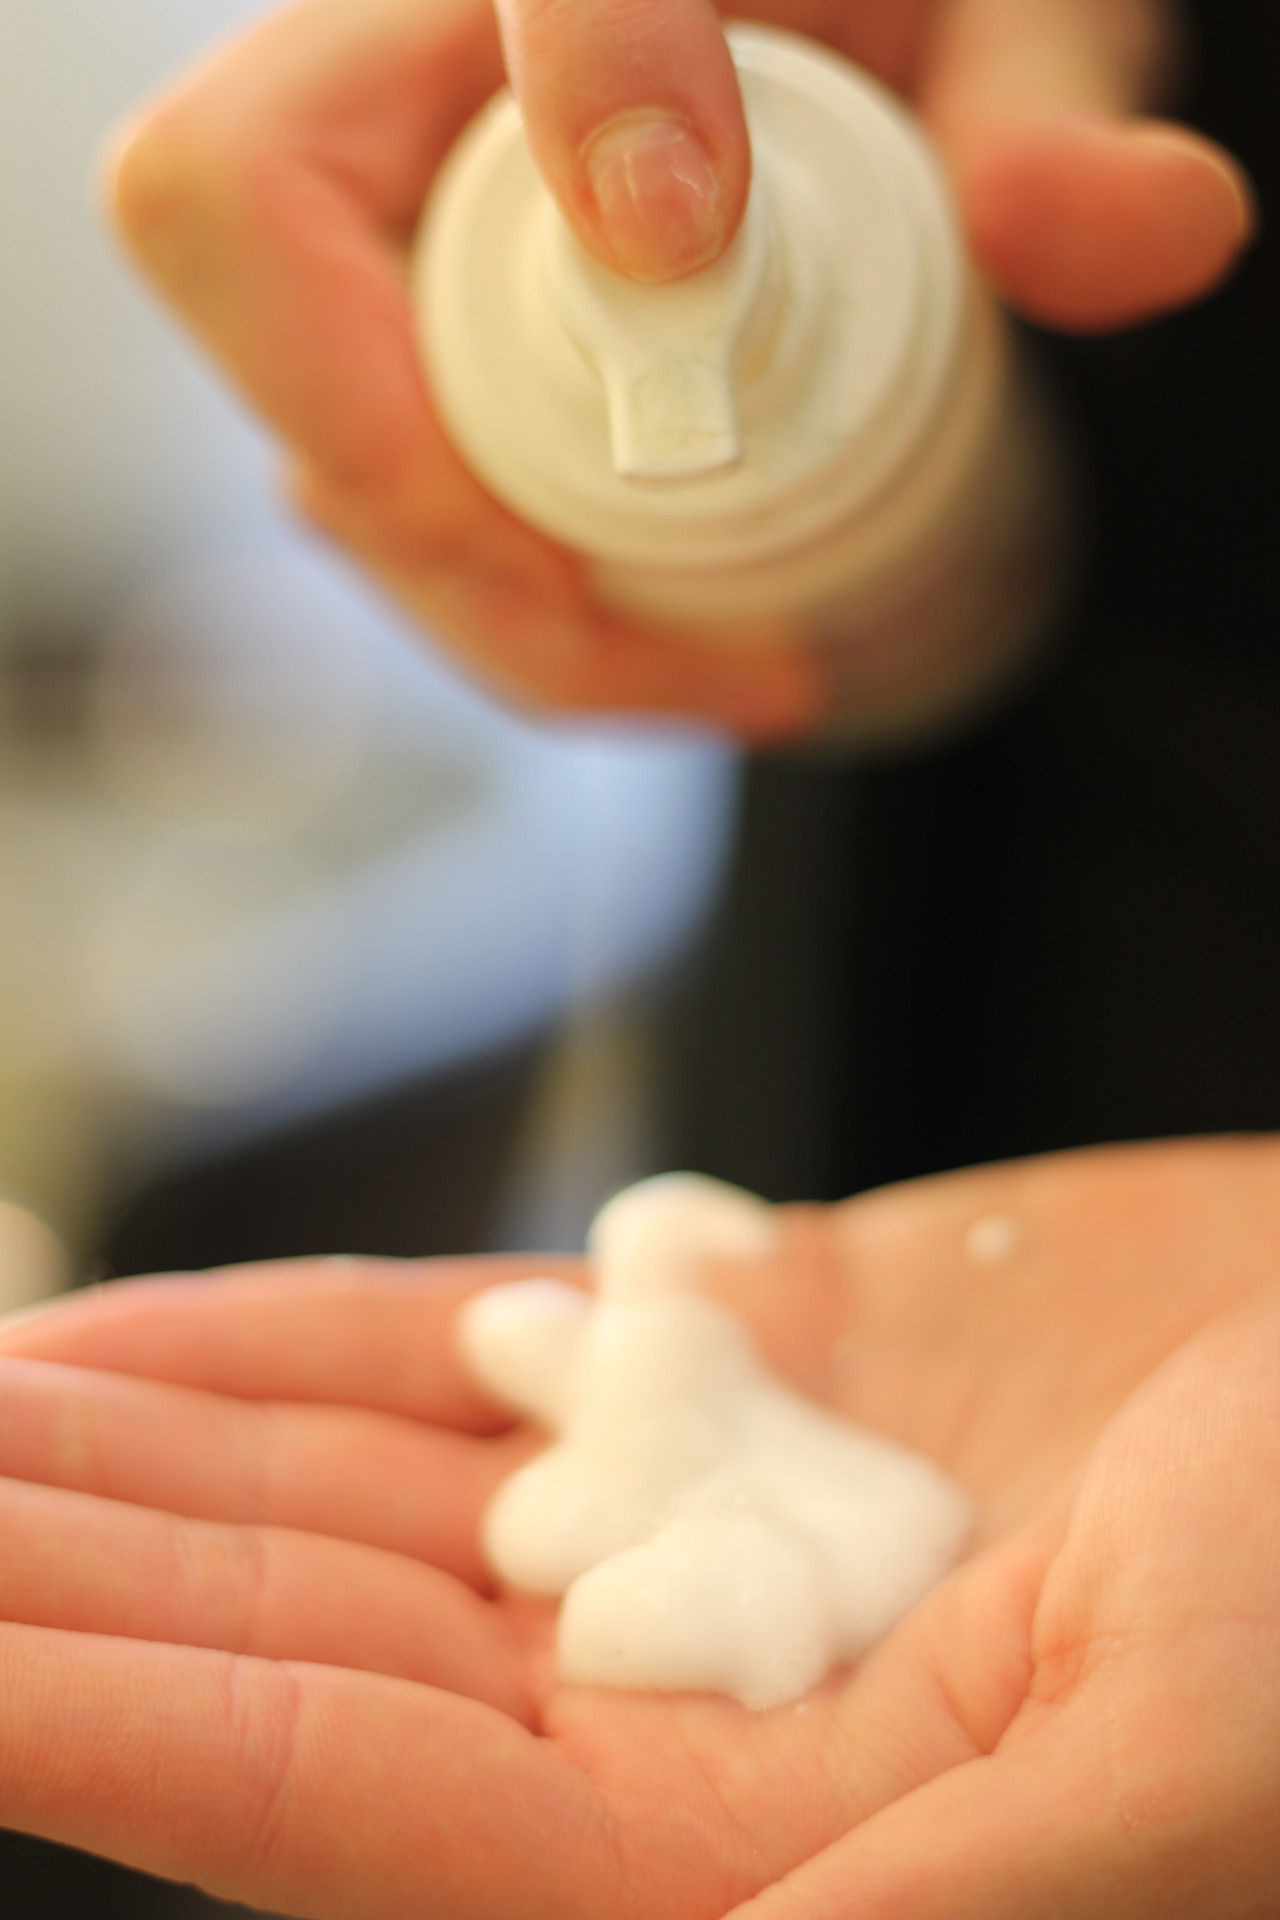
wash your hair and use mousse for a better grip – pull it through the hair from scalp to the ends.
step 2
blow dry your hair. I read that it is better to do the curls on fresh washed hair for a very long lasting Marilyn Monroe look.
step 3
use heat protection spray and start to heat the curling irons. I used the VALERA curling irons and they worked really great. You can adjust the heat from 130 to 190 °C and they have a nice clip to really hold a tight curl. and thats exactly what we want for this look.
step 4
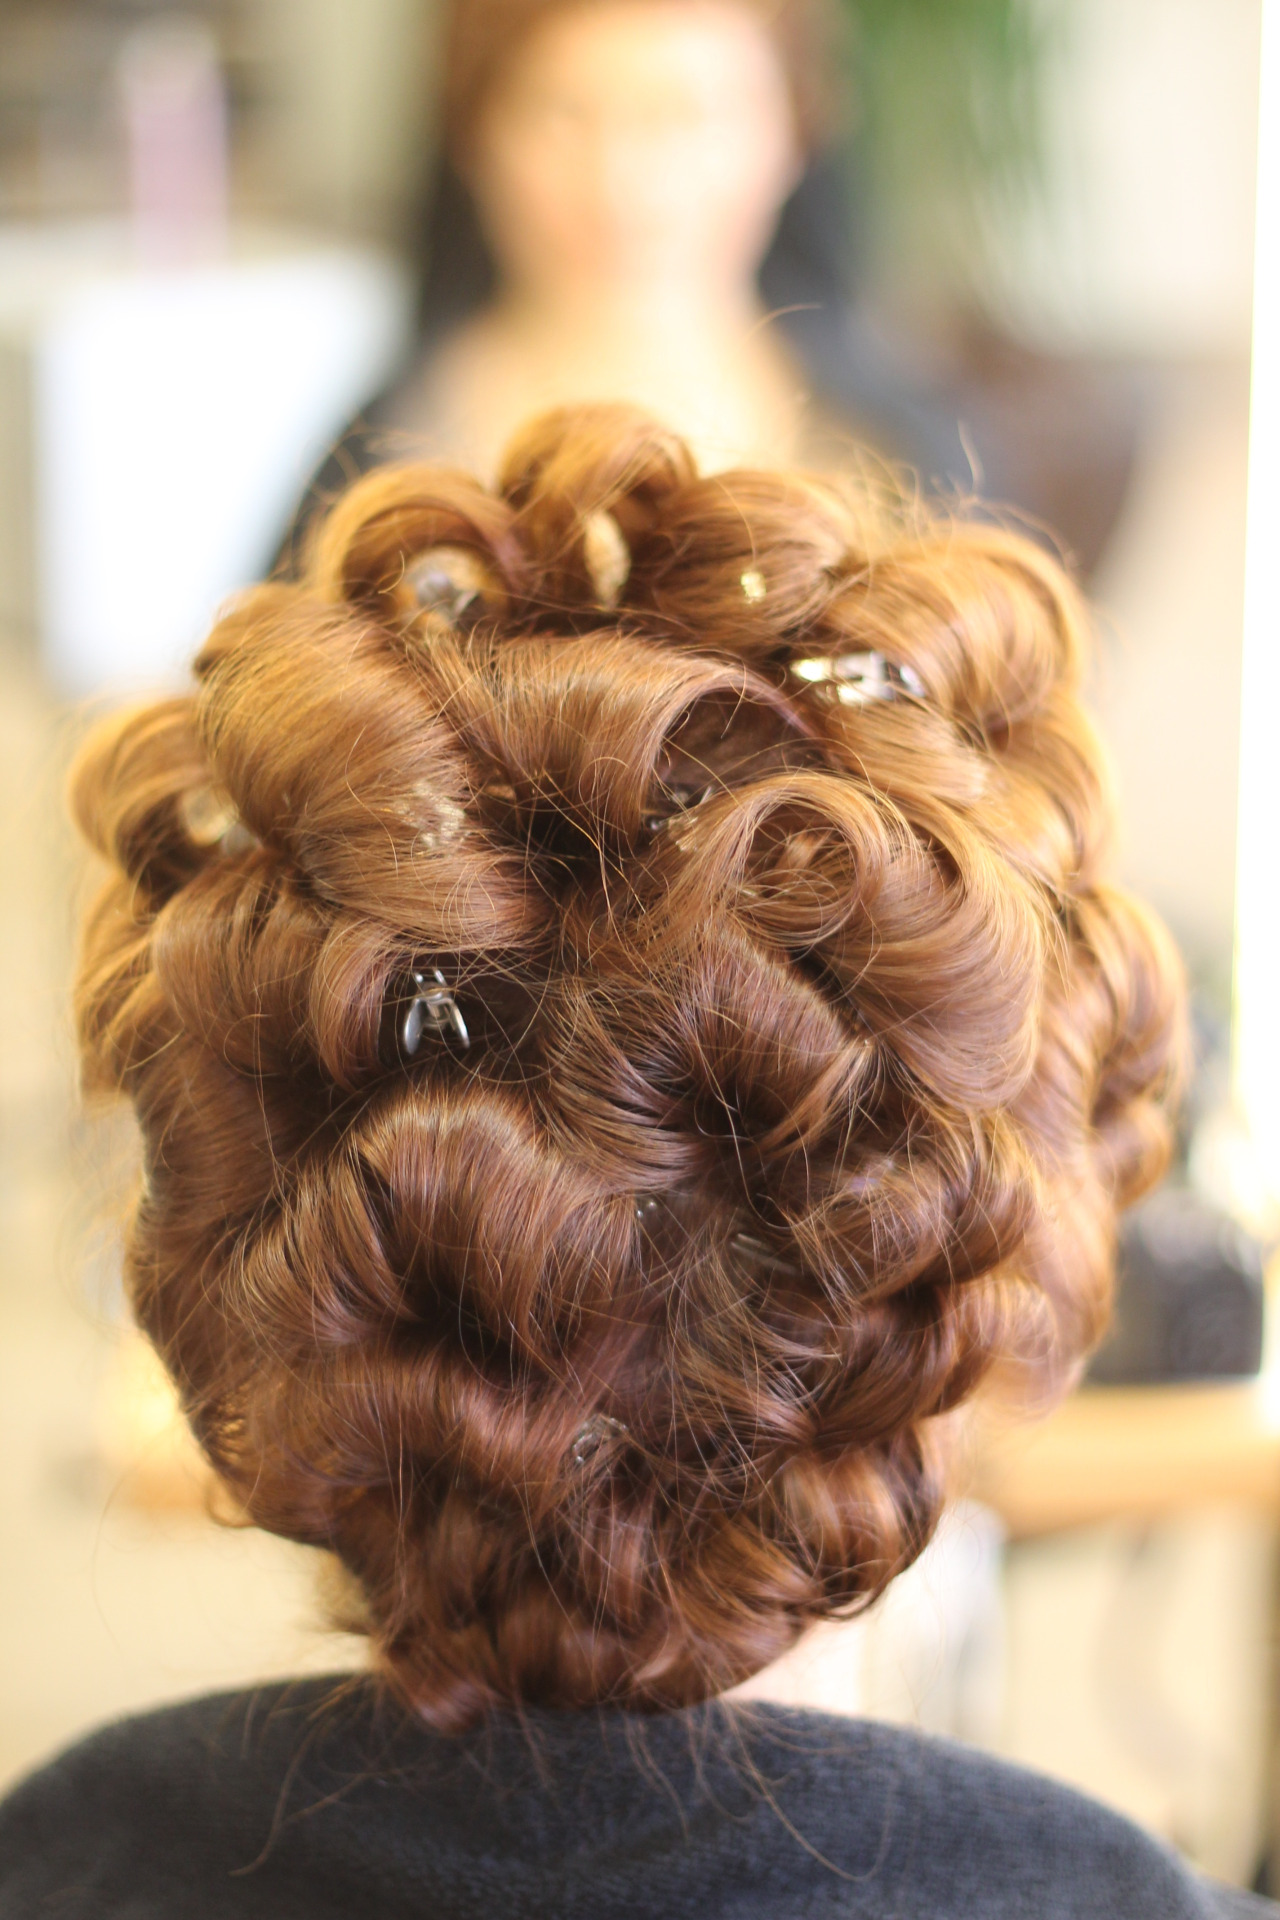
section your hair in tiny parts all around the head and start at the lower back of the head. start with the smaller curling iron and start to curl the hair towards the head. after you have curled two sections you grap a clip and clip the curl to the head – like this the curl can cool in a very soft way and this will help the curls to last a lot longer. so alternate the curling irons and switch between the smaller and medium one. always curl towards the head and never outwards. leave out the bang parts.
step 5
now we will curl the bang section and also here we curl towards the face and we use the bigger curling iron for doing that. also here we clip the curl to the head and let everything cool.
step 6
spray a light hairspray over the clipped curls and let it all set and cool.
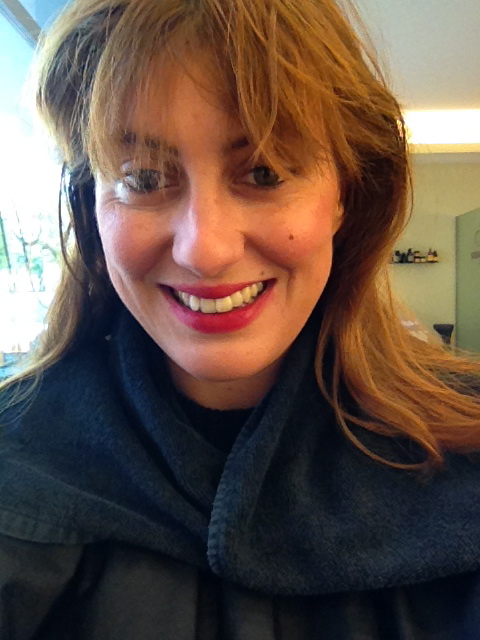
step 7
remove all the clips and take a nice brush and start brushing the curls out – dont use too much force so lightly brush thru your curls and always make sure to brush the ends inwards.
step 8
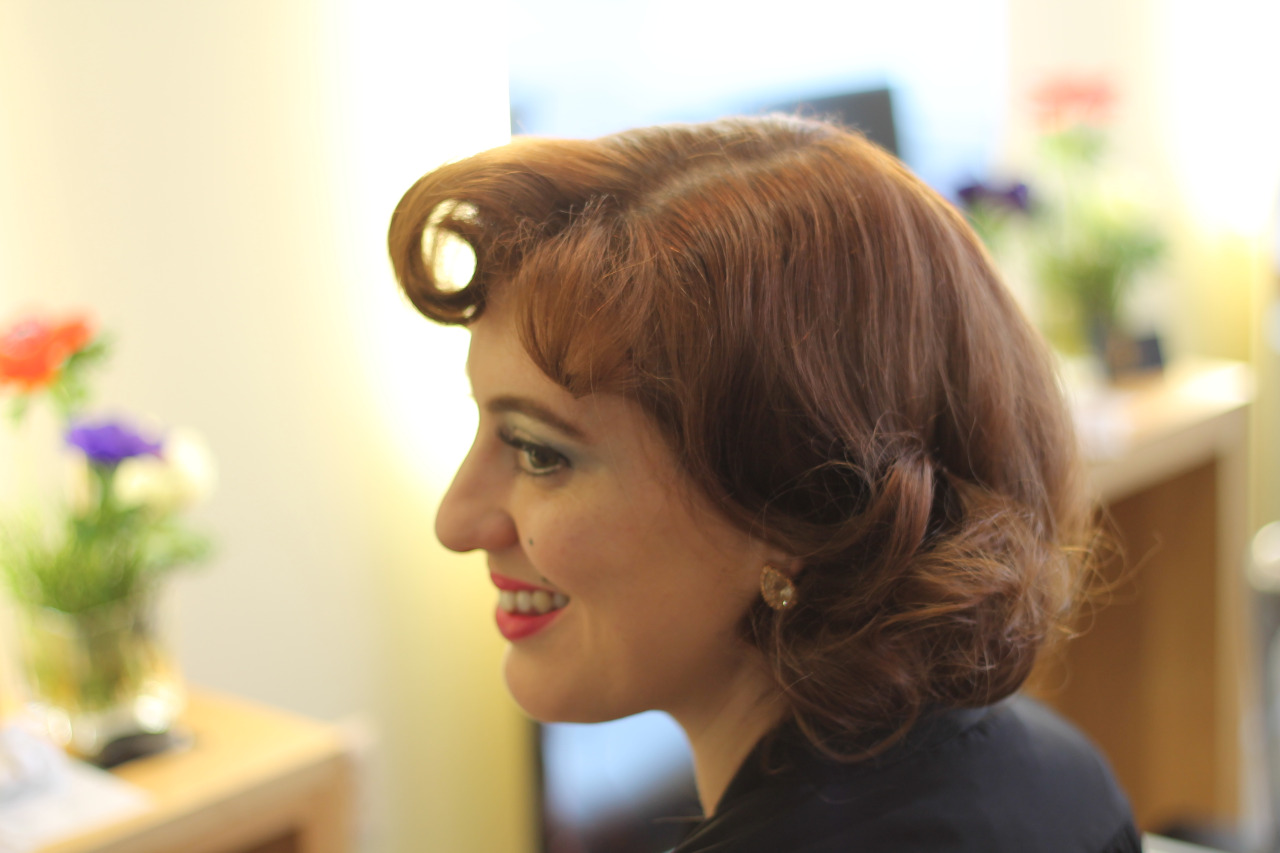
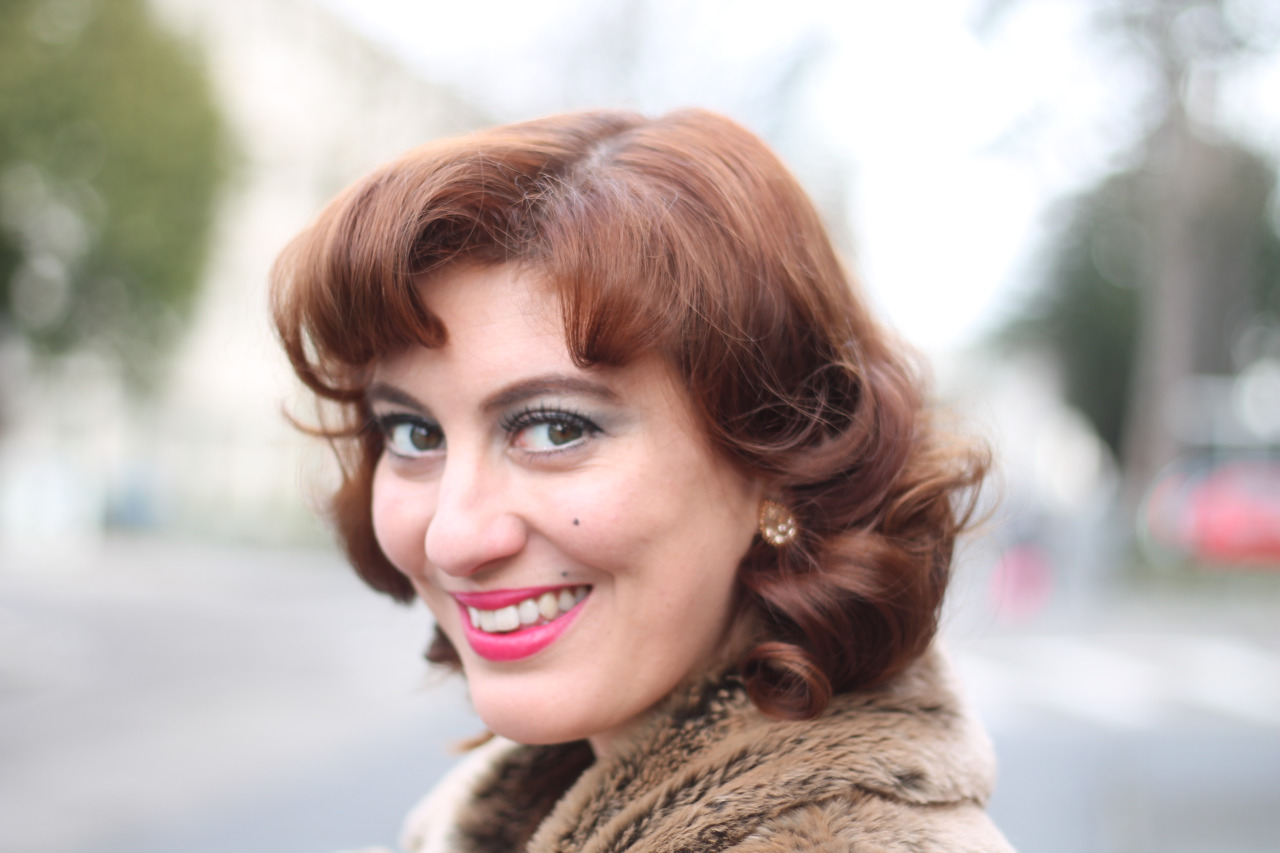
Marilyn Monroe didnt have a split she styled her hair in a very nice and voluminous way – I tried to achieve this but it made me look like a mix between a puddle and afro – not kidding again. so I figured why not transforming this style a bit towards my looks and therefore I styled a split on the left and brushed the hair around it.
step 9
in case you have longer hair than Marilyn did than you need some bobby pins to tuck your curls in – like I had to do it too. this gives a fuller look and also the curls will last a lot longer as there is no weight pulling them down – hello gravity!
step 10
use another spritz of hairspray in order to seal the complete look. now it is time for the styling. I choose a nice elegant dress with a fakefur coat, some sparkly earrings that look like real diamonds and black heels. for the makeUp we need a pair of fake eyelashes, a black eyeliner and red lipstick – voila – thats it!
makeUp tricks
so Marilyn Monroe had a very dramatic winged eyeliner with a nice winged lower lash line too. she had a sheer silver eyeshadow all over her lid and used a rather dark color to cut the crease. this gives the impressions of more hidden but also more lustre eyes. I already have a beauty mark on my cheek so I just darkened this one – in case you dont have one just easily fake one.
so that is really it – I hope you liked it and I would be super happy to see your Marilyn Monroe looks – please share them with me! x