-
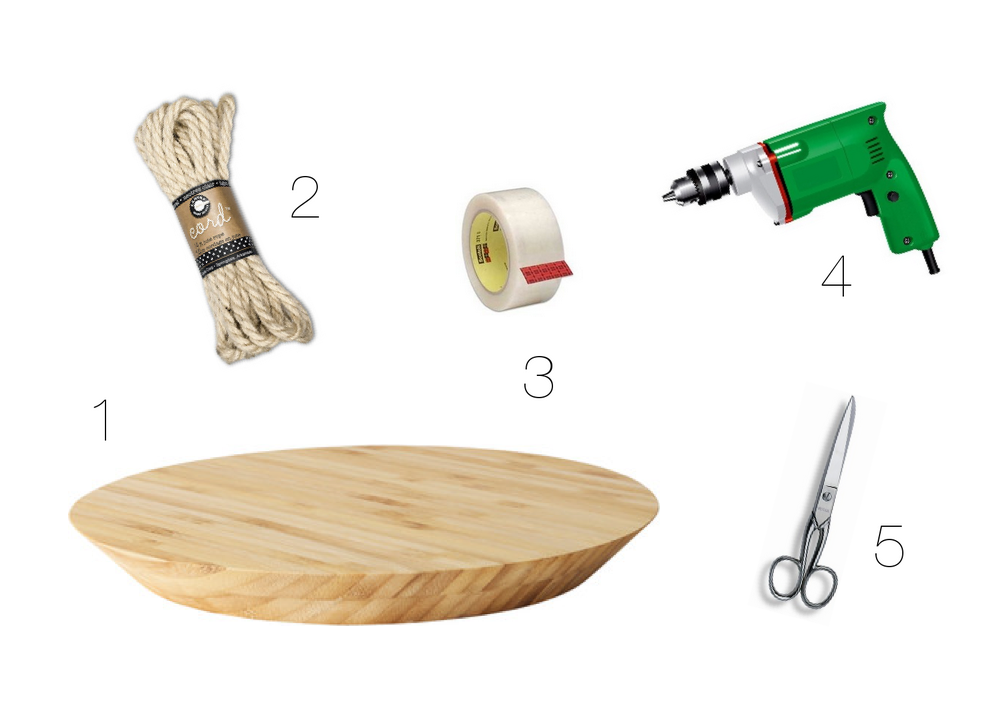
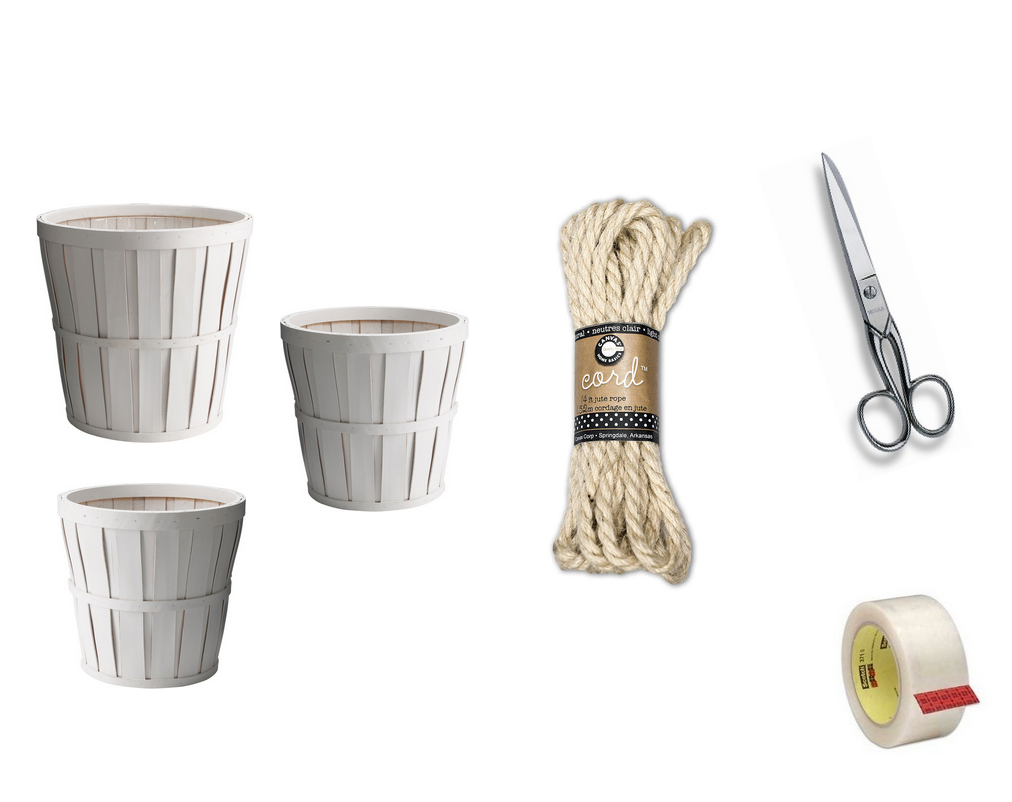
1 VIKTIGT tray (found via IKEA)
-
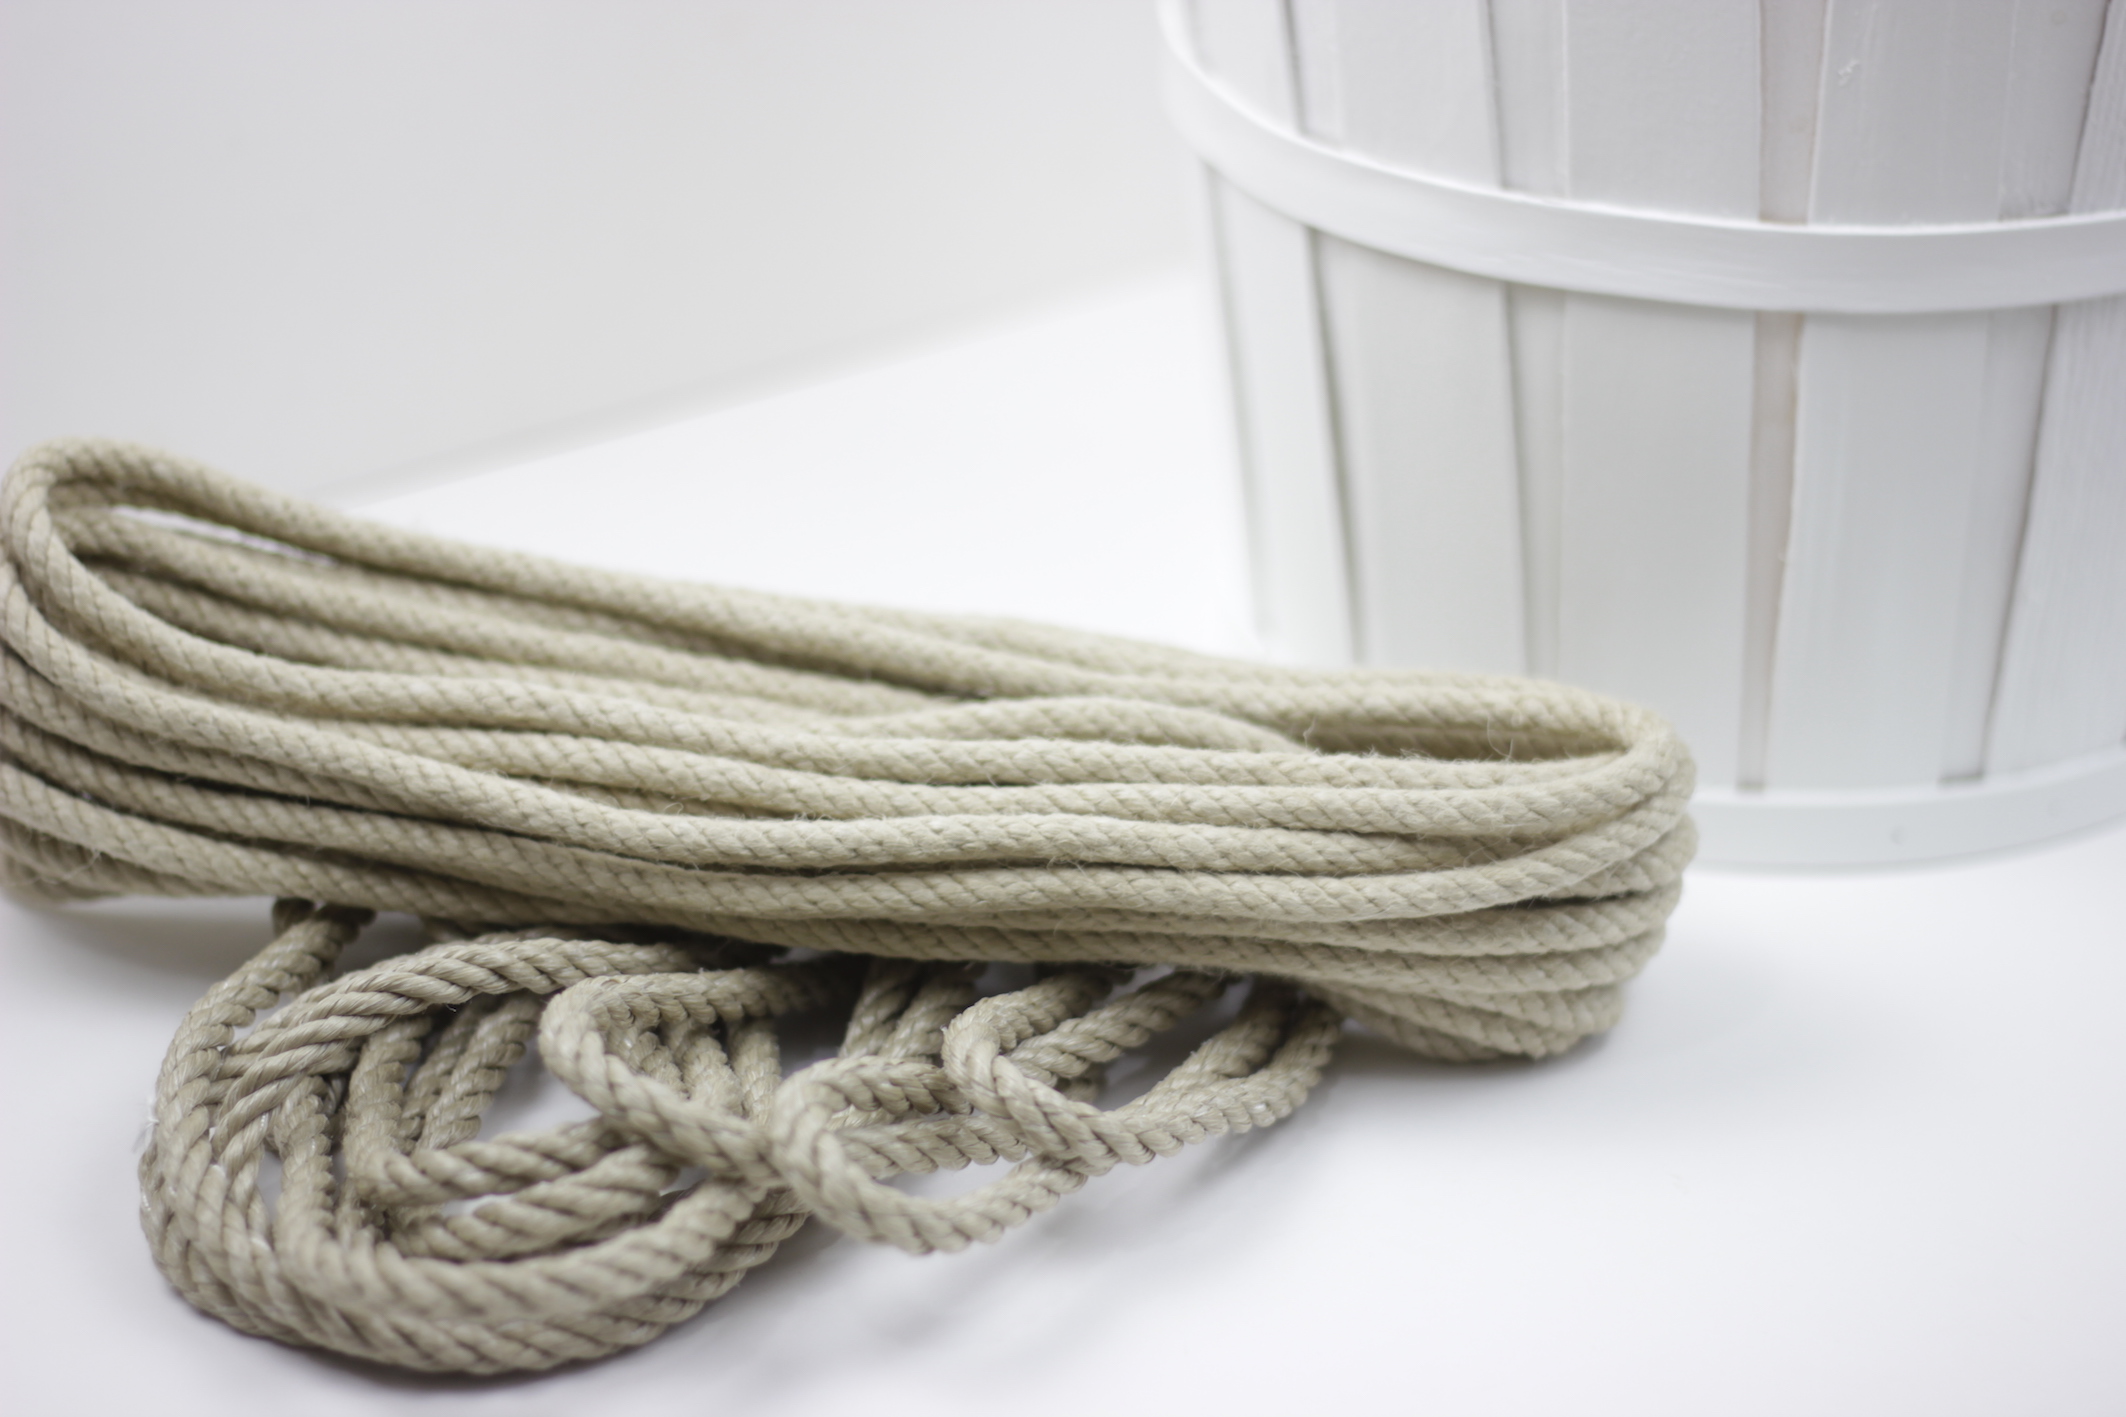
2 ROPE
-
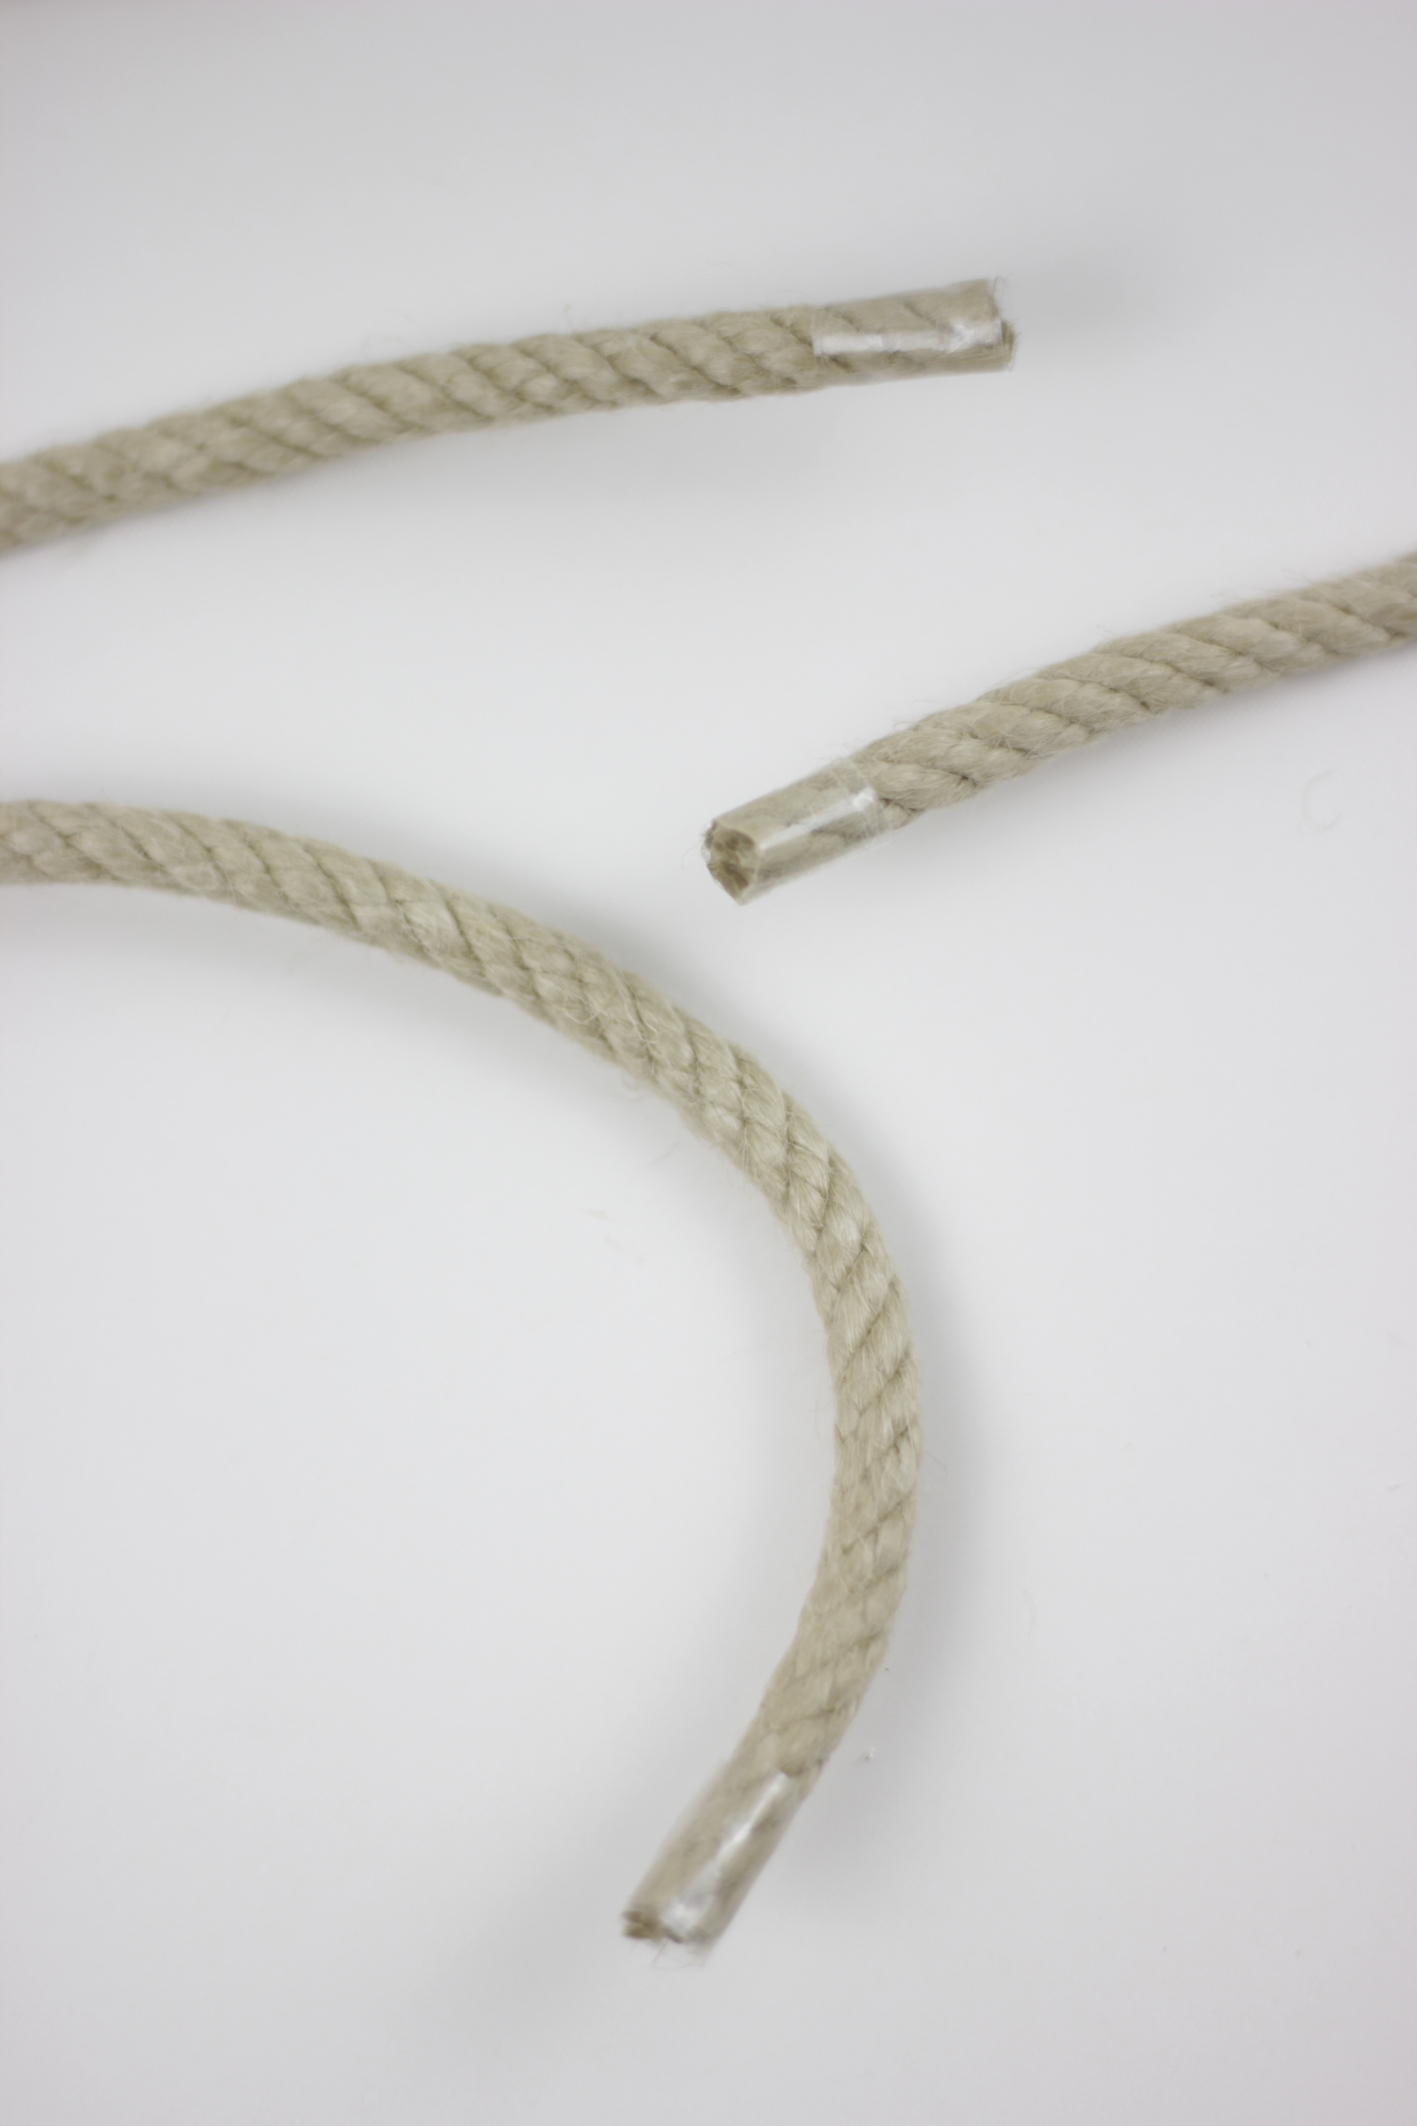
3 TAPE
-
4 DRILLING MACHINE
-
5 SCISSORS
- 5 SAND PAPER (optional)
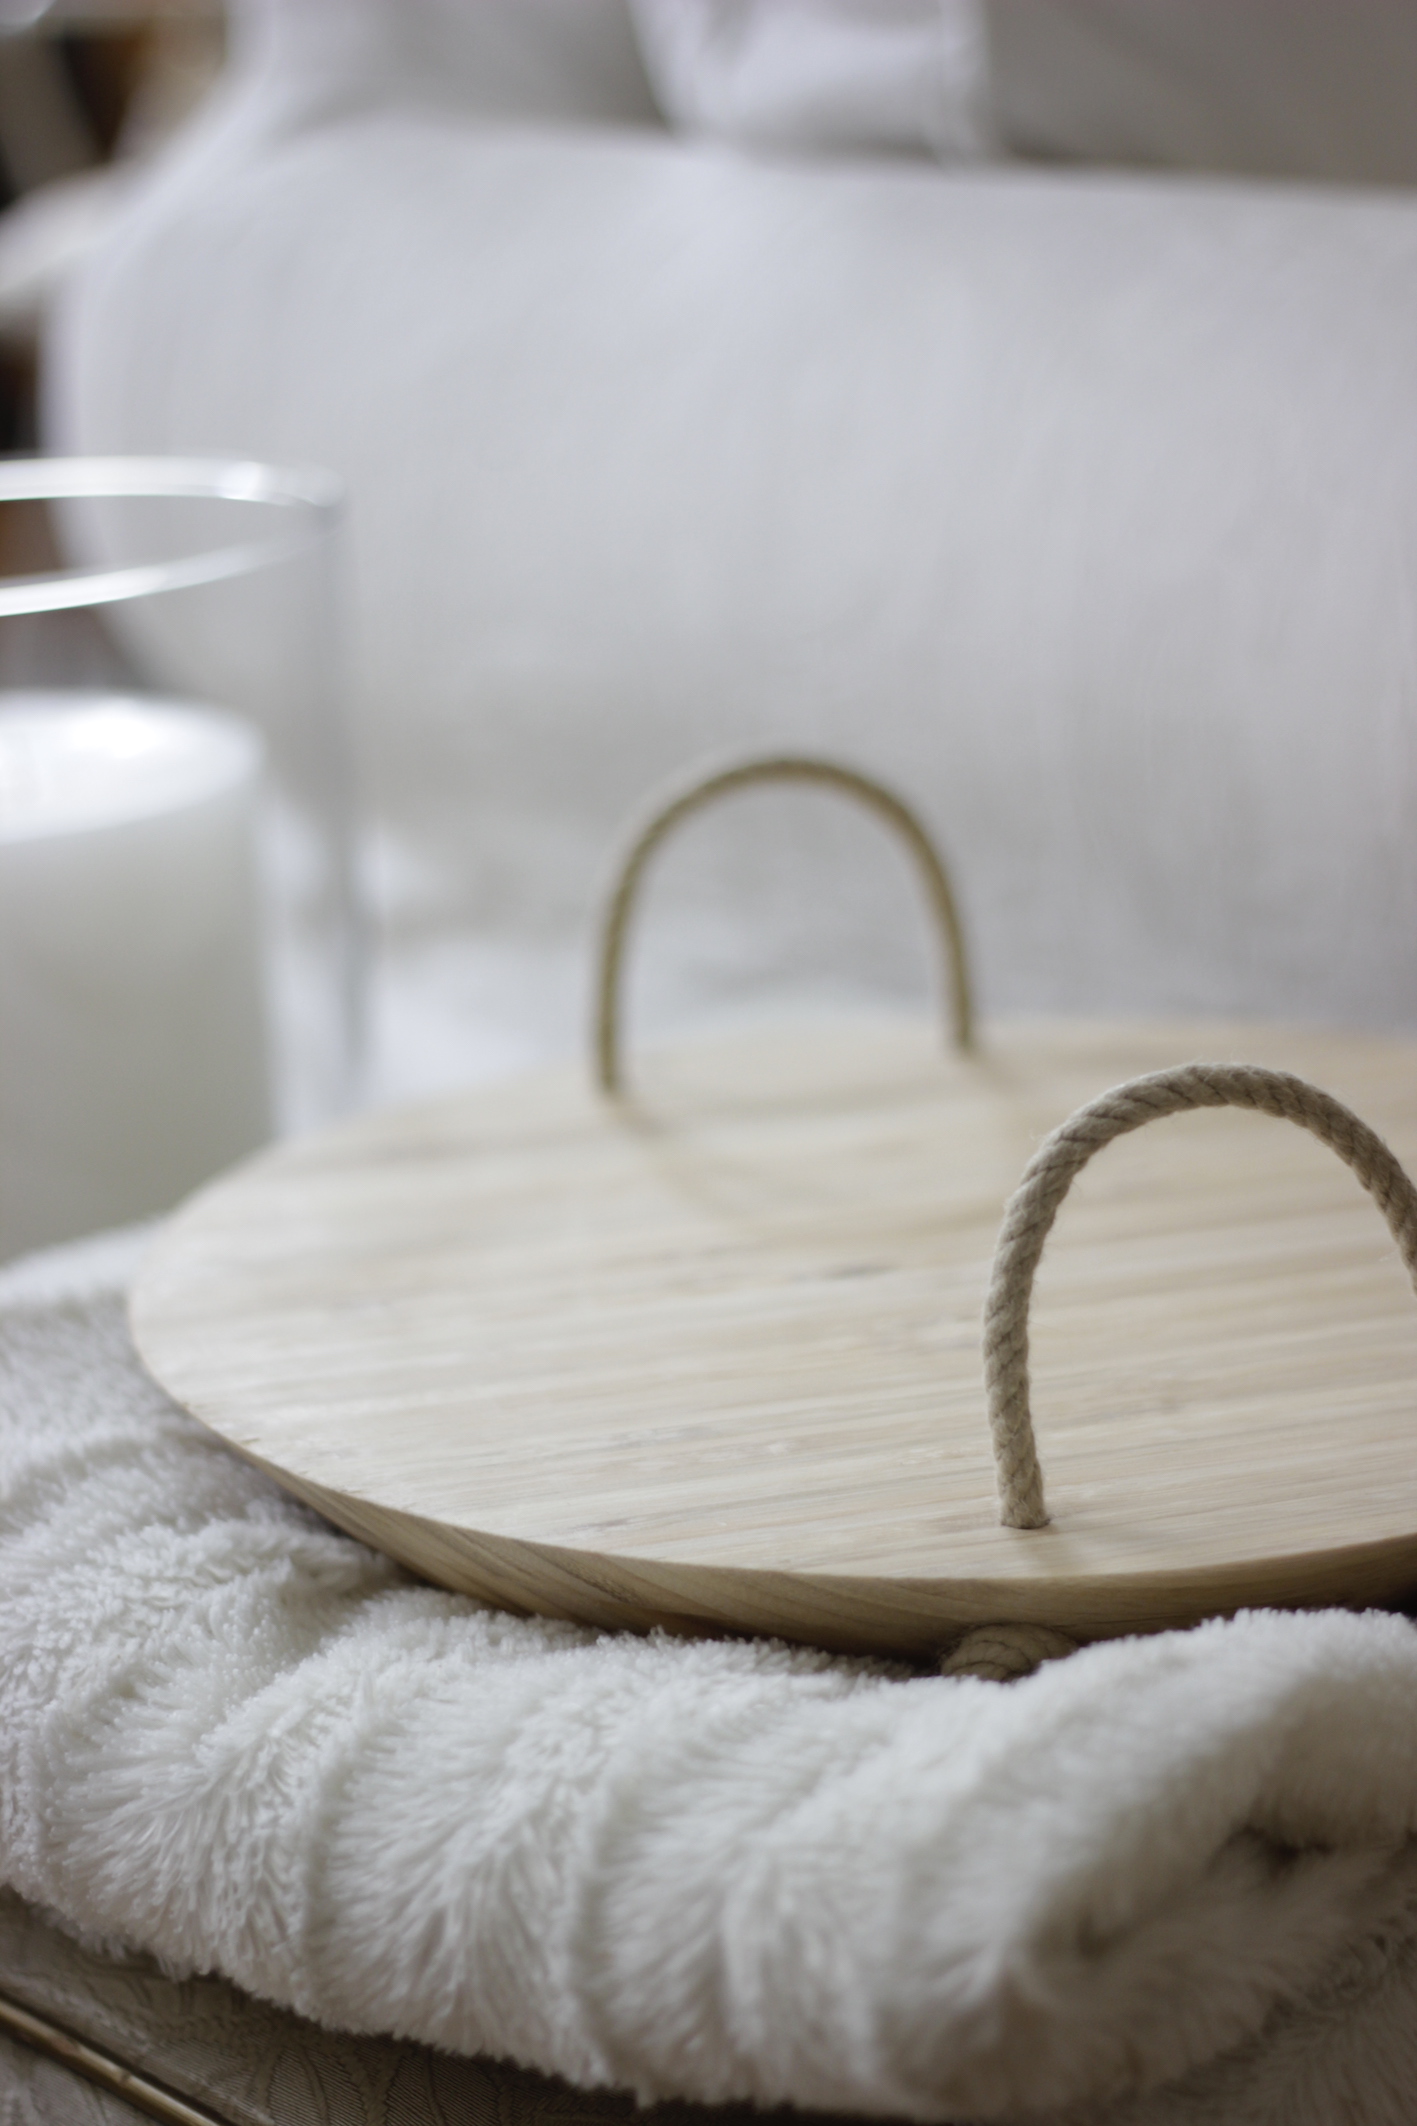
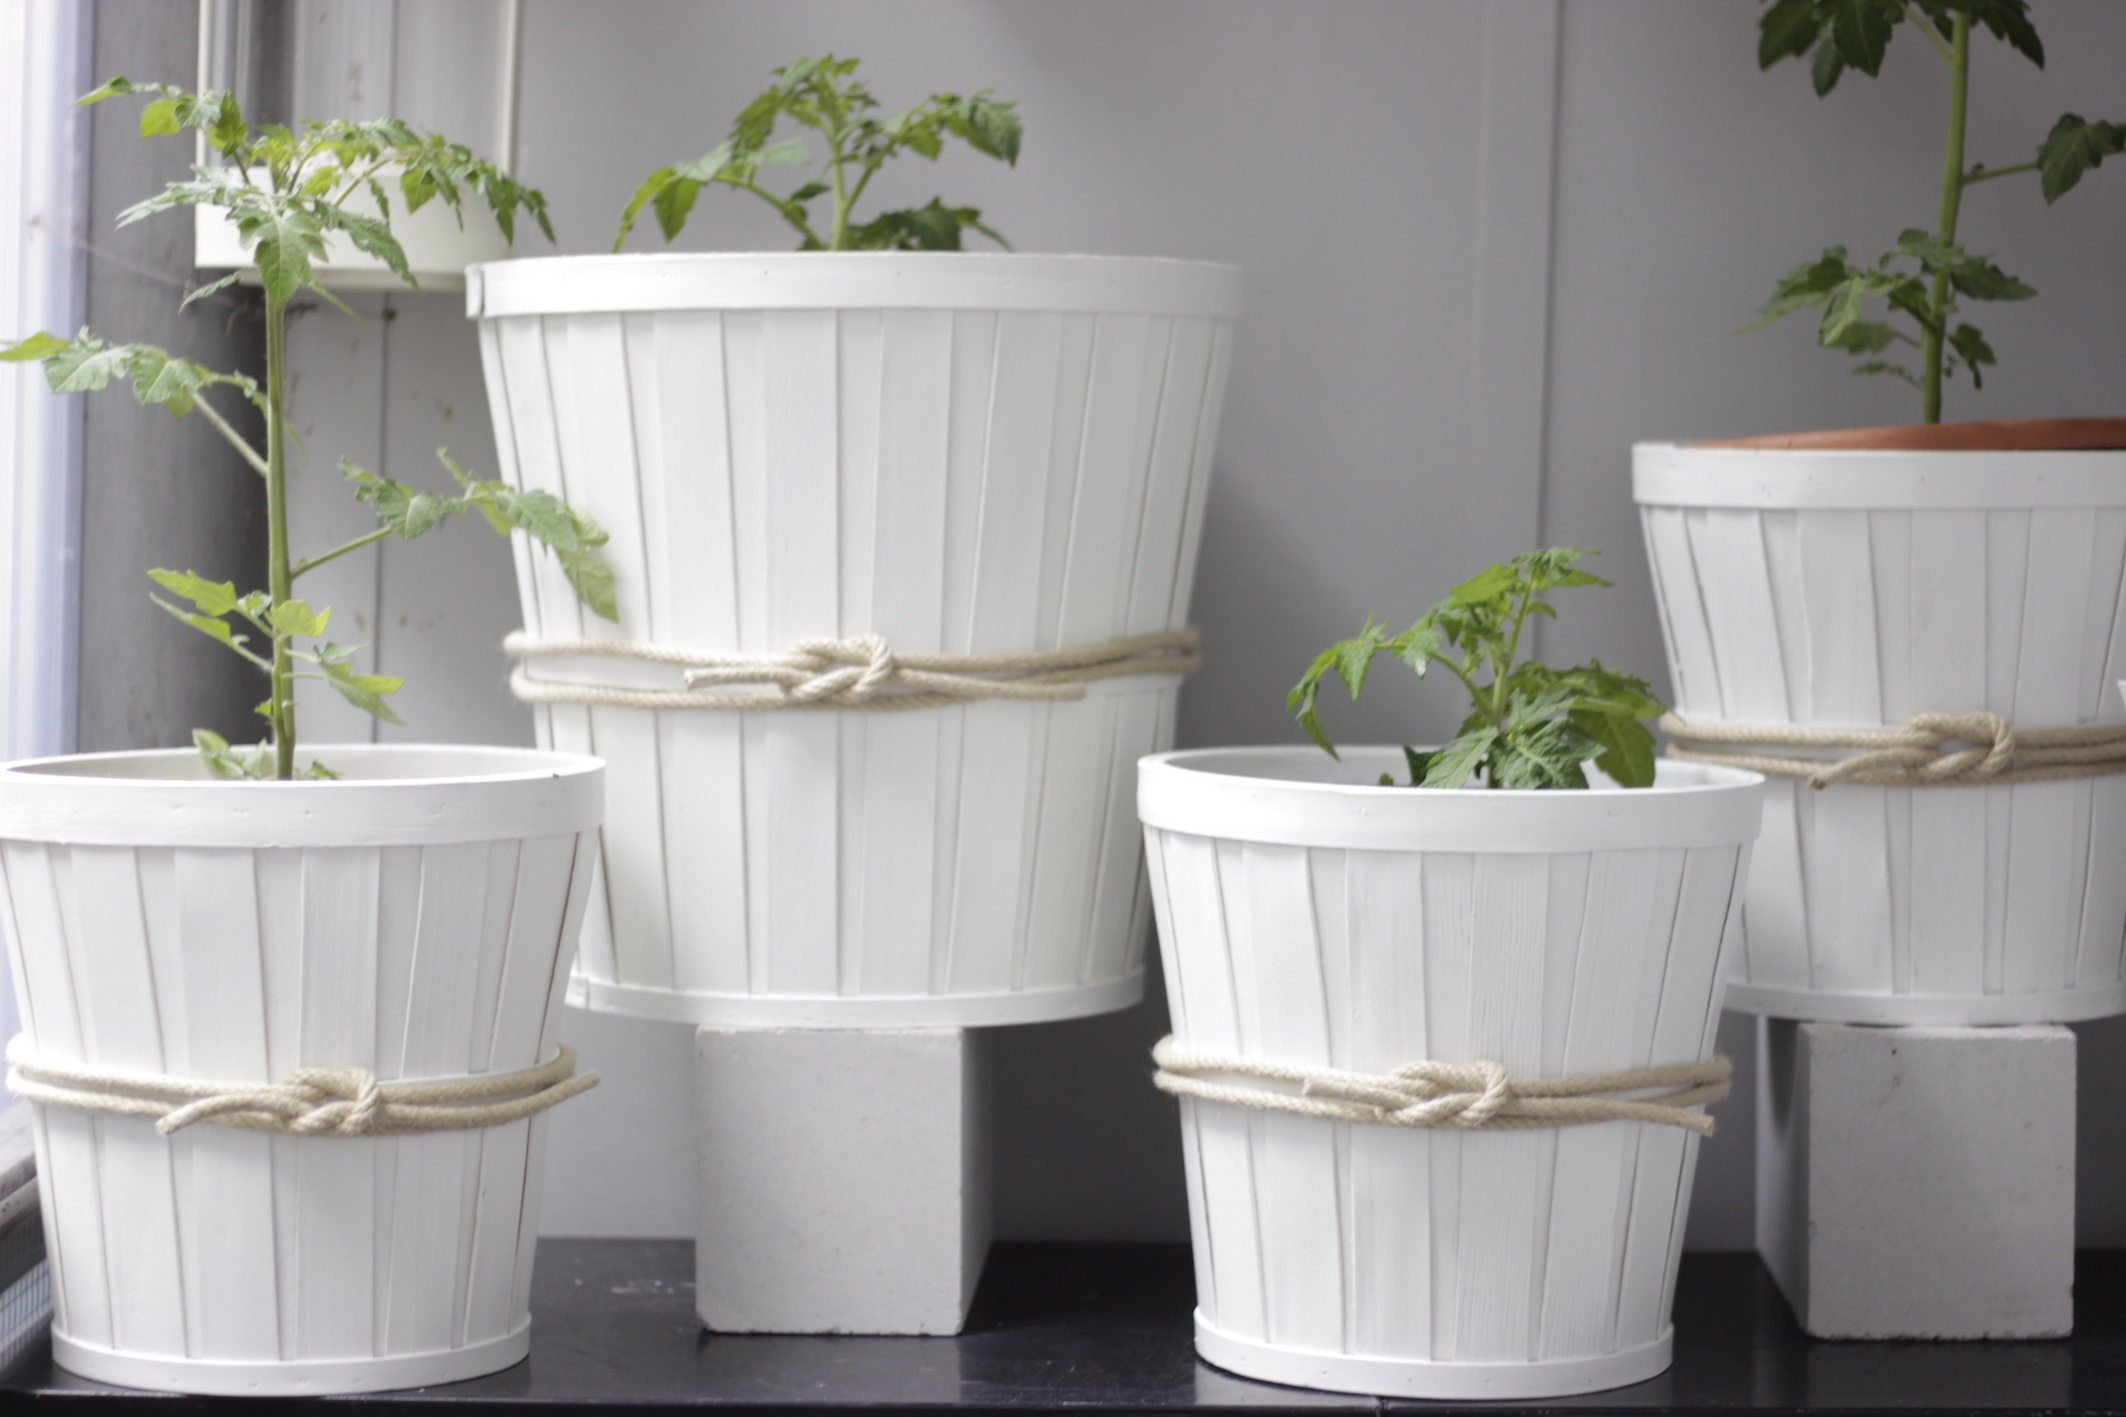
another simple DIY that I have made with another cool piece that I have found at IKEA. I love to use things a bit differently, and thats why we use a cutting/chopping board for a tray today.
I am sure that some of you, including me, love to hang out on the couch and drink tea or whatever. my problem is always where to put my cup of tea so that it is close to me but on a solid spot. thats how I got the idea to make something solid, the perfect solid tray.

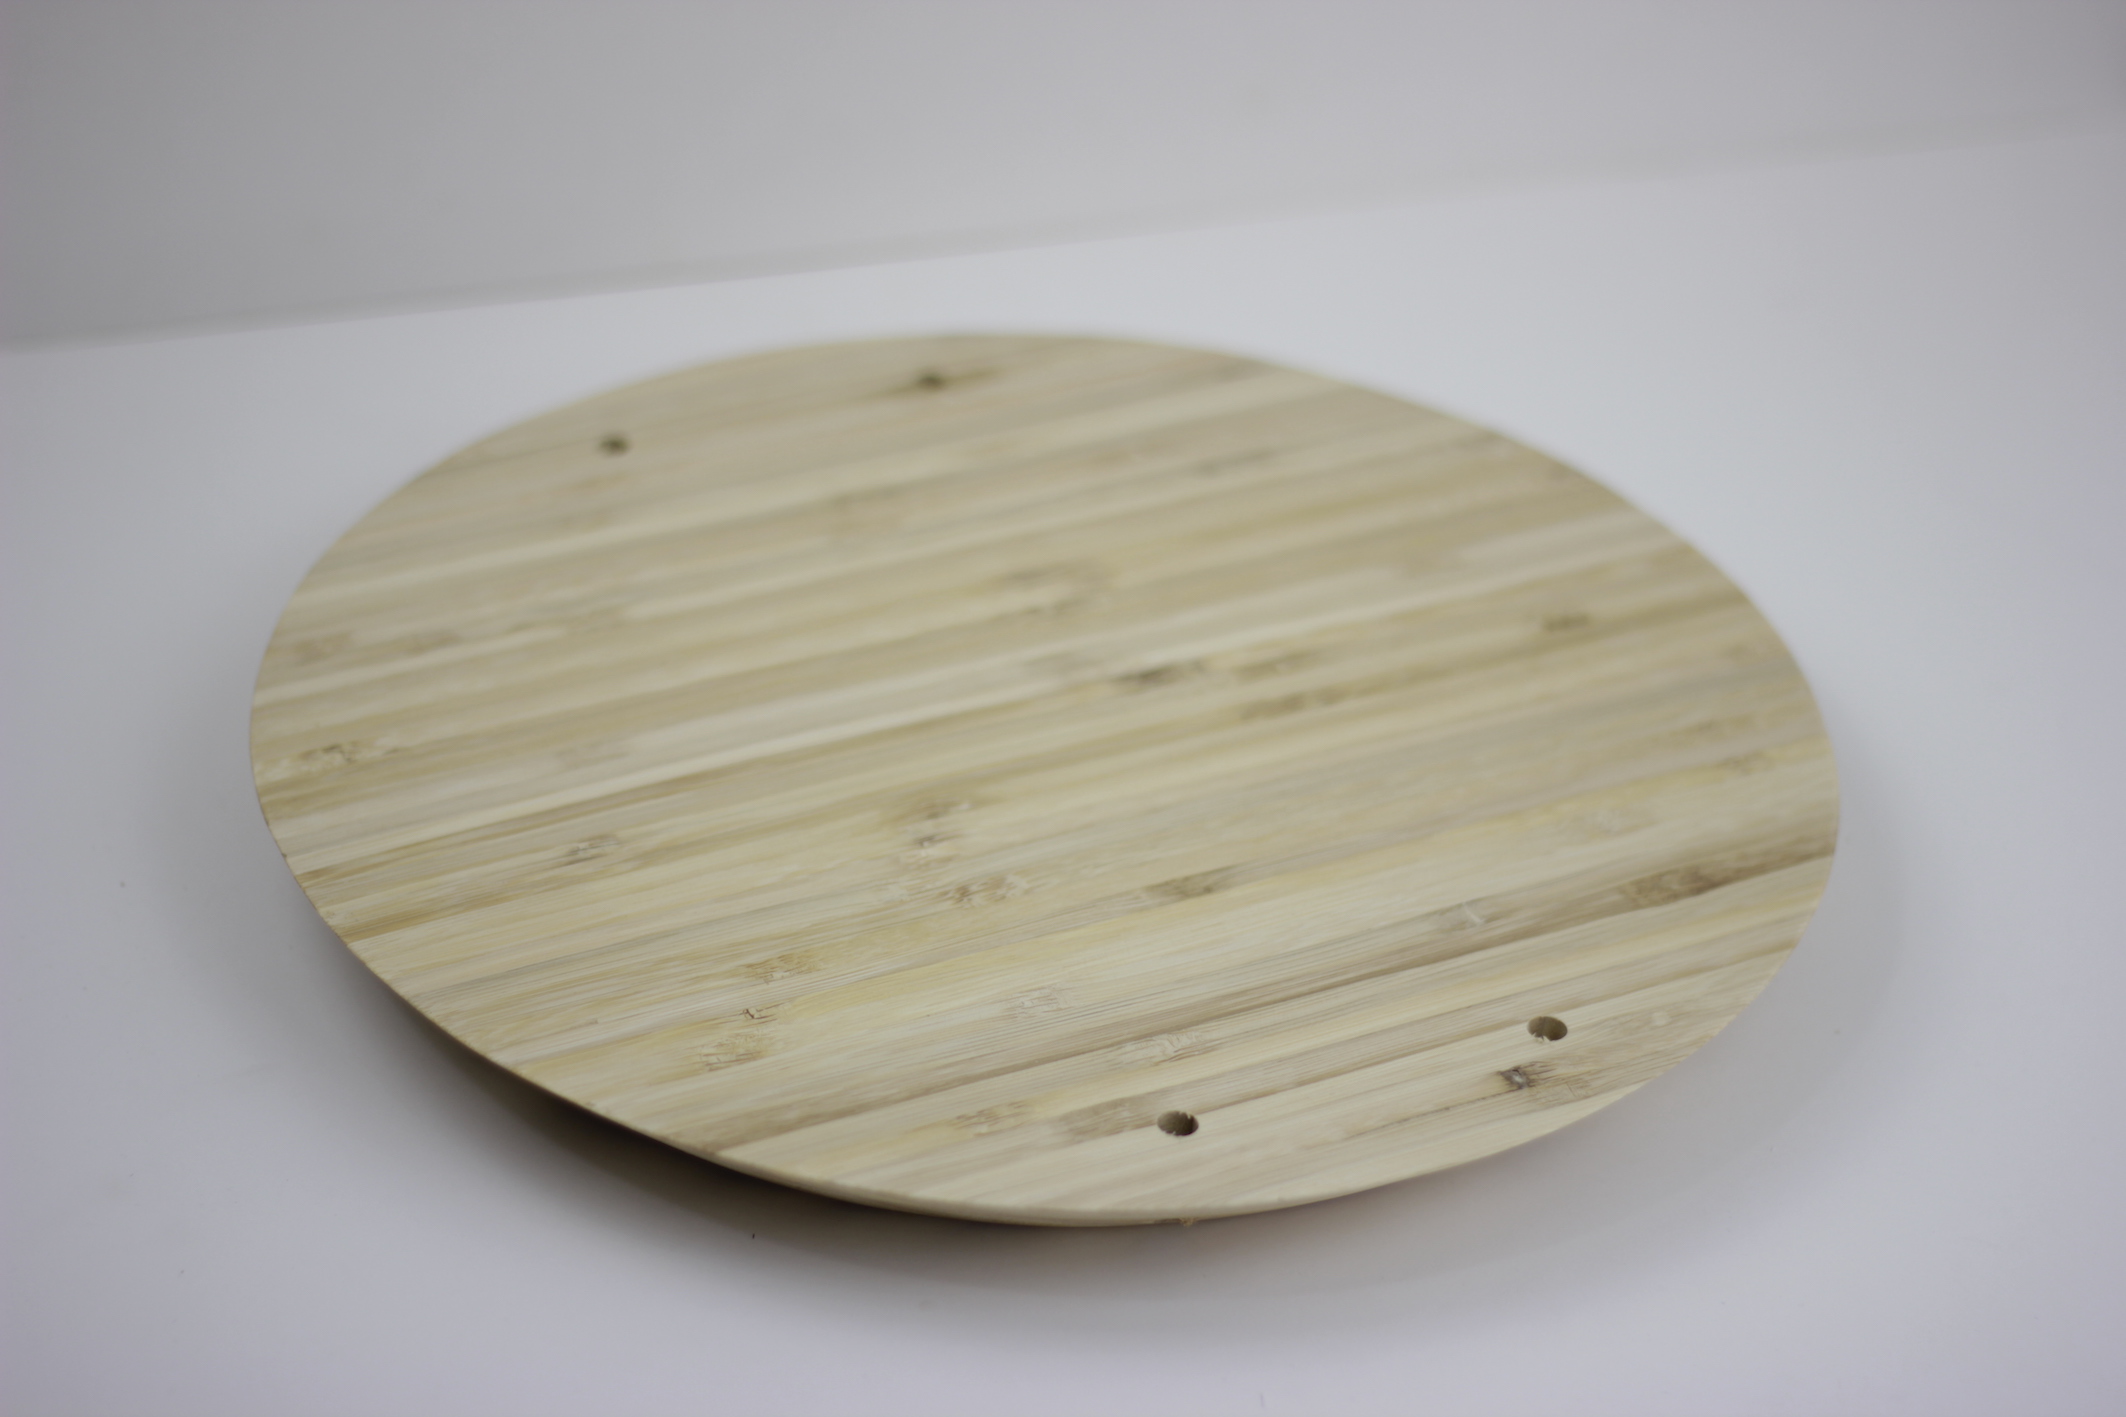
step one
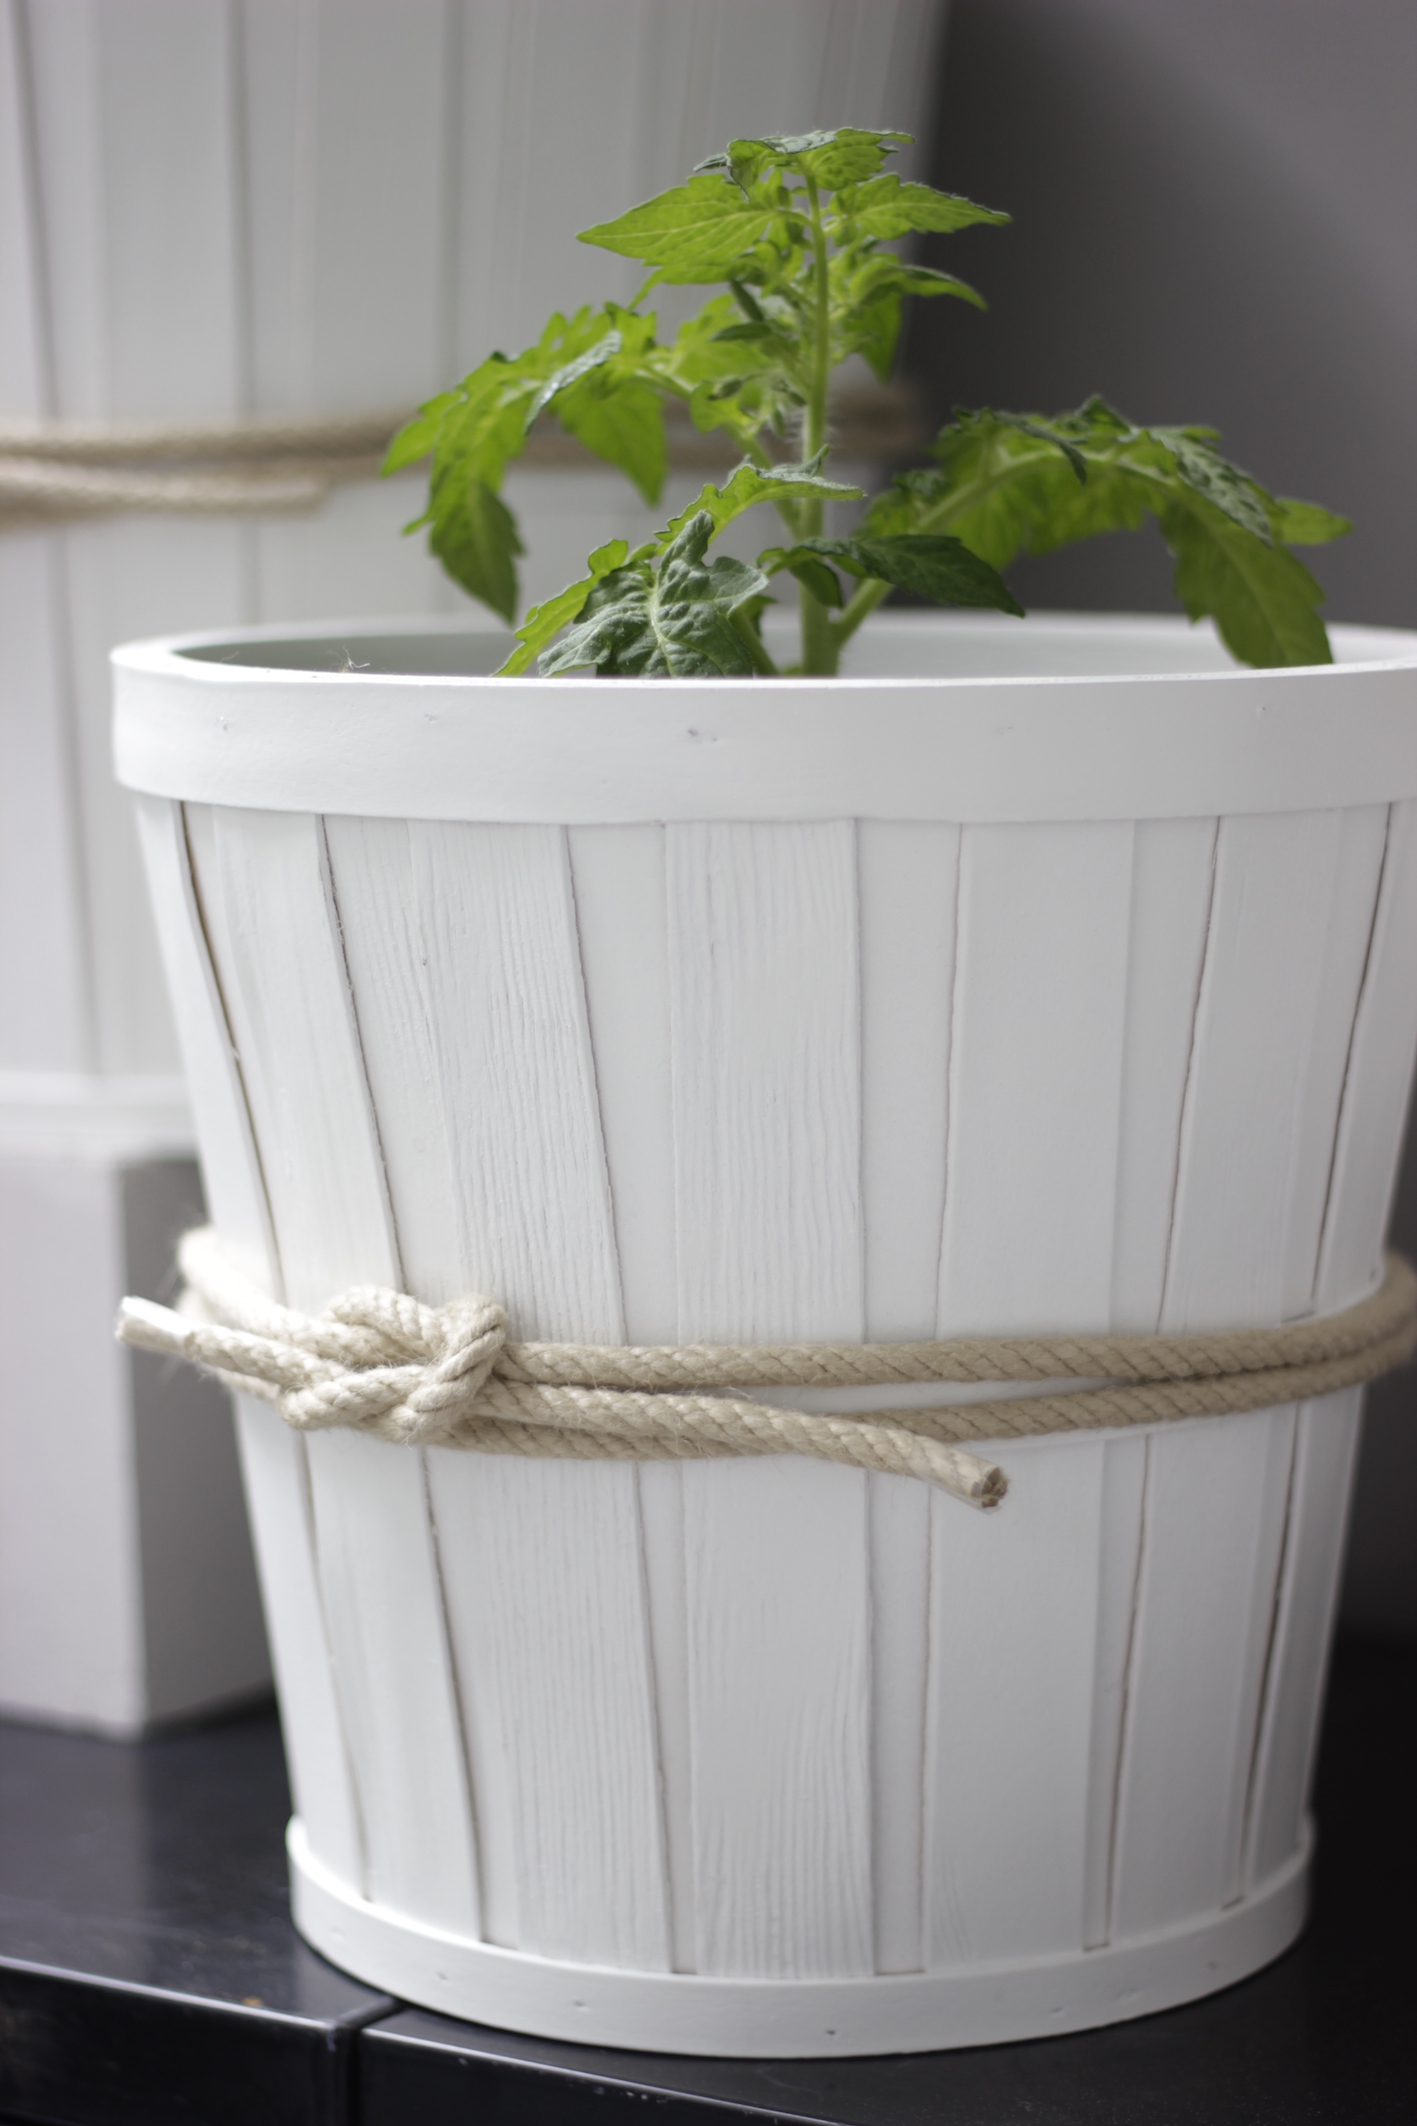
start by drilling four holes, two on each side. I used a hole puncher to measure the distance between the holes. also make sure to not drill too close to the edge or the wood may break, and not too far into the center, as you want the holes to be on the cut side of the tray. another thing I did was to keep the plastic on the board to avoid scratches.
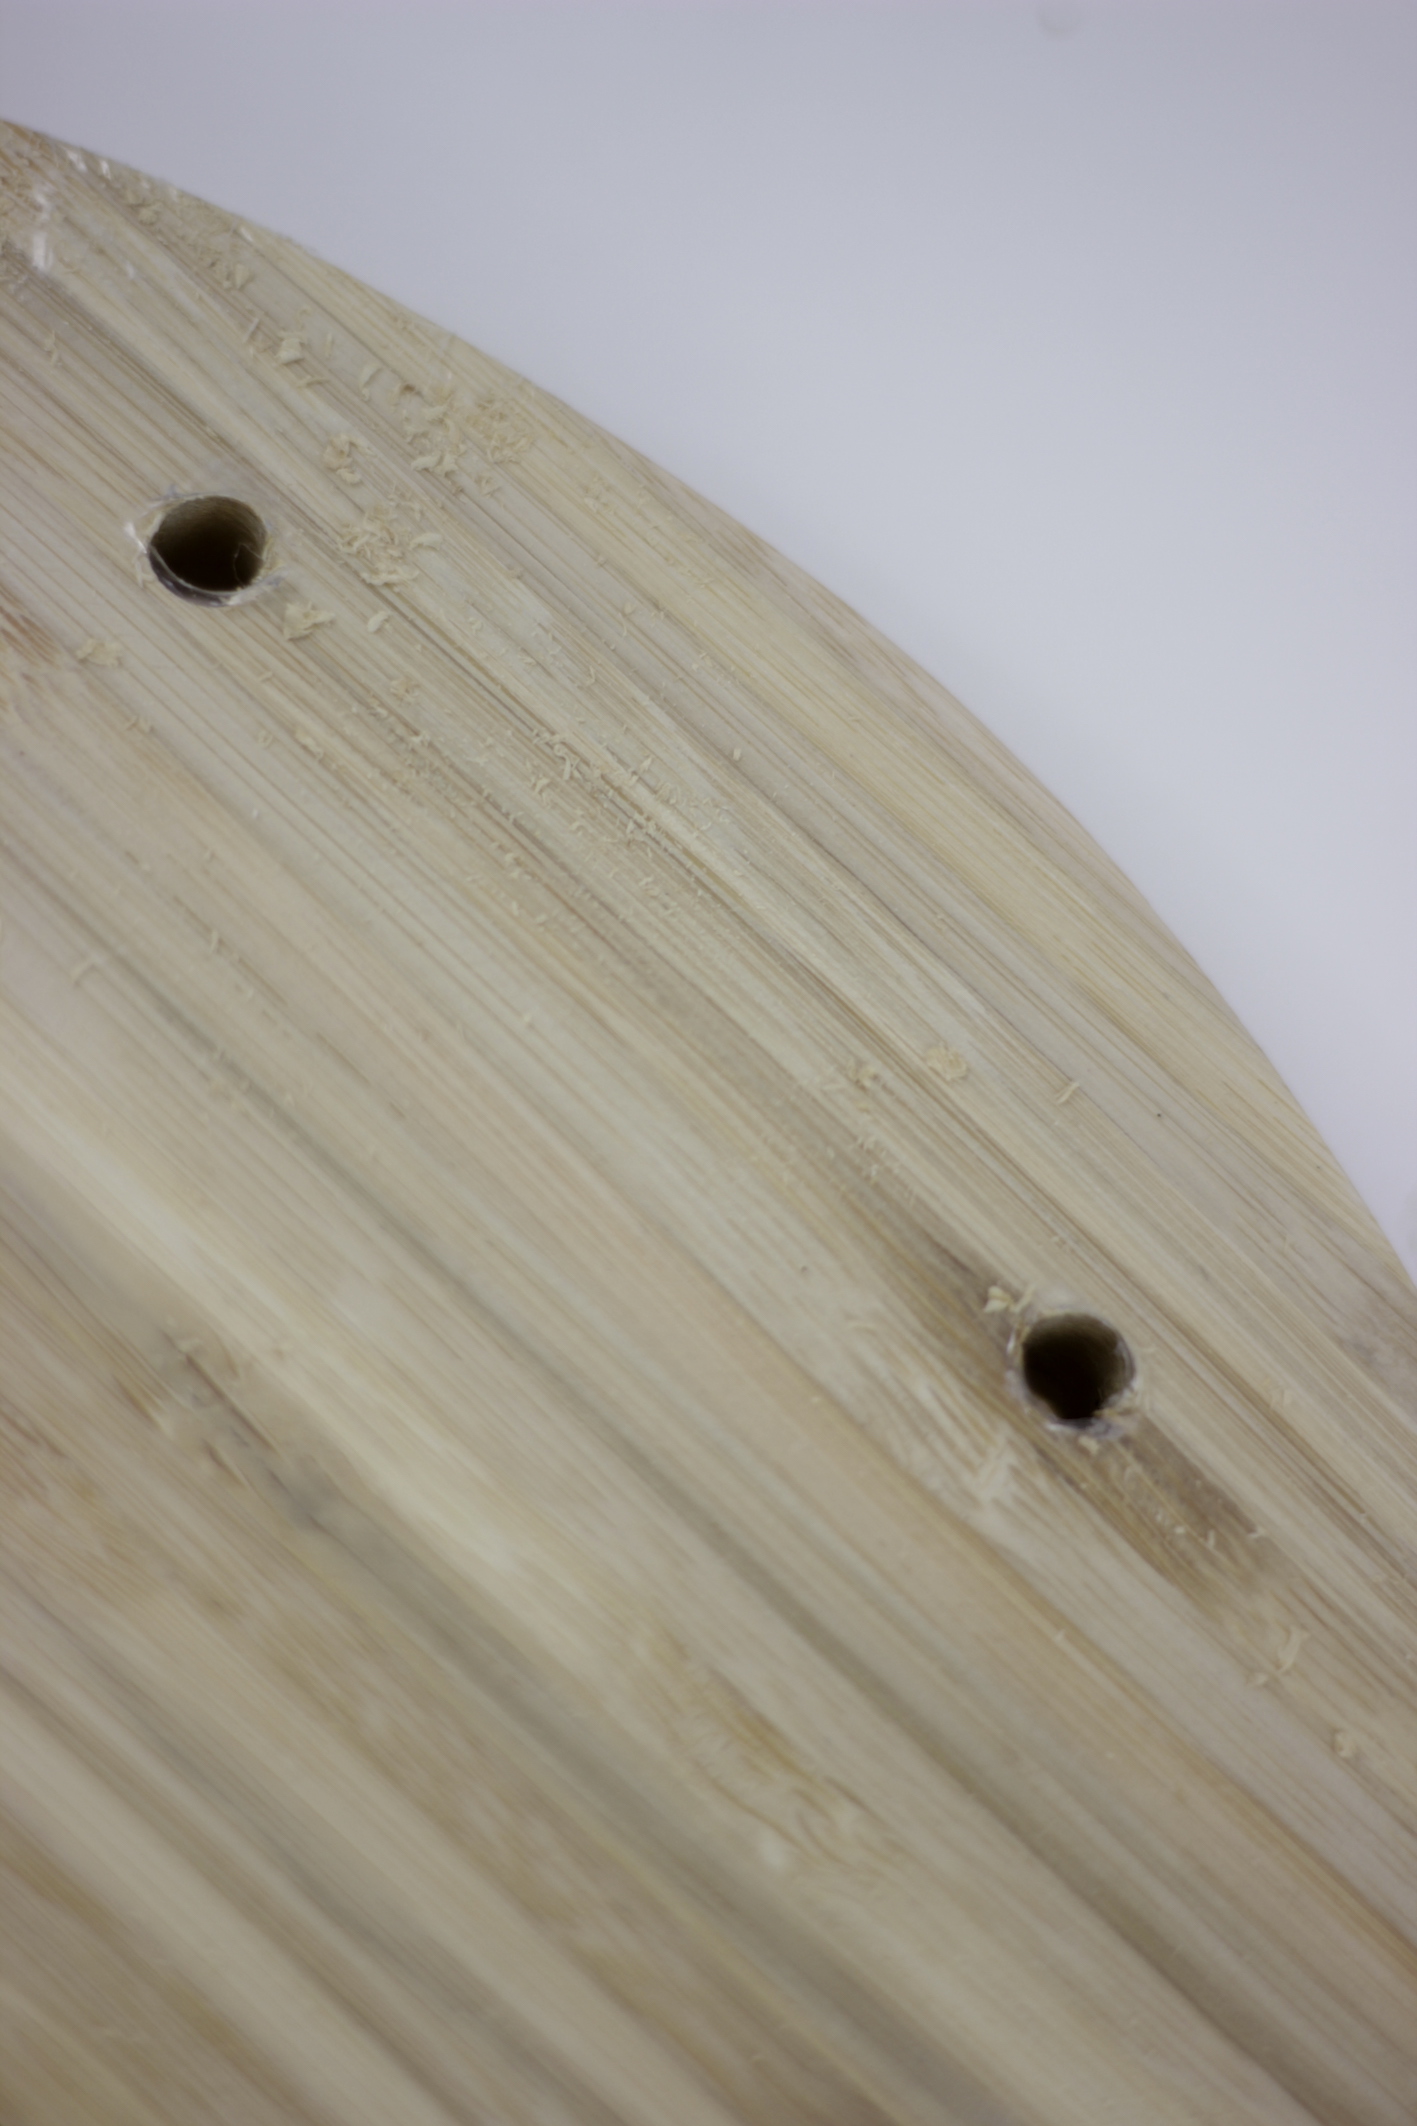
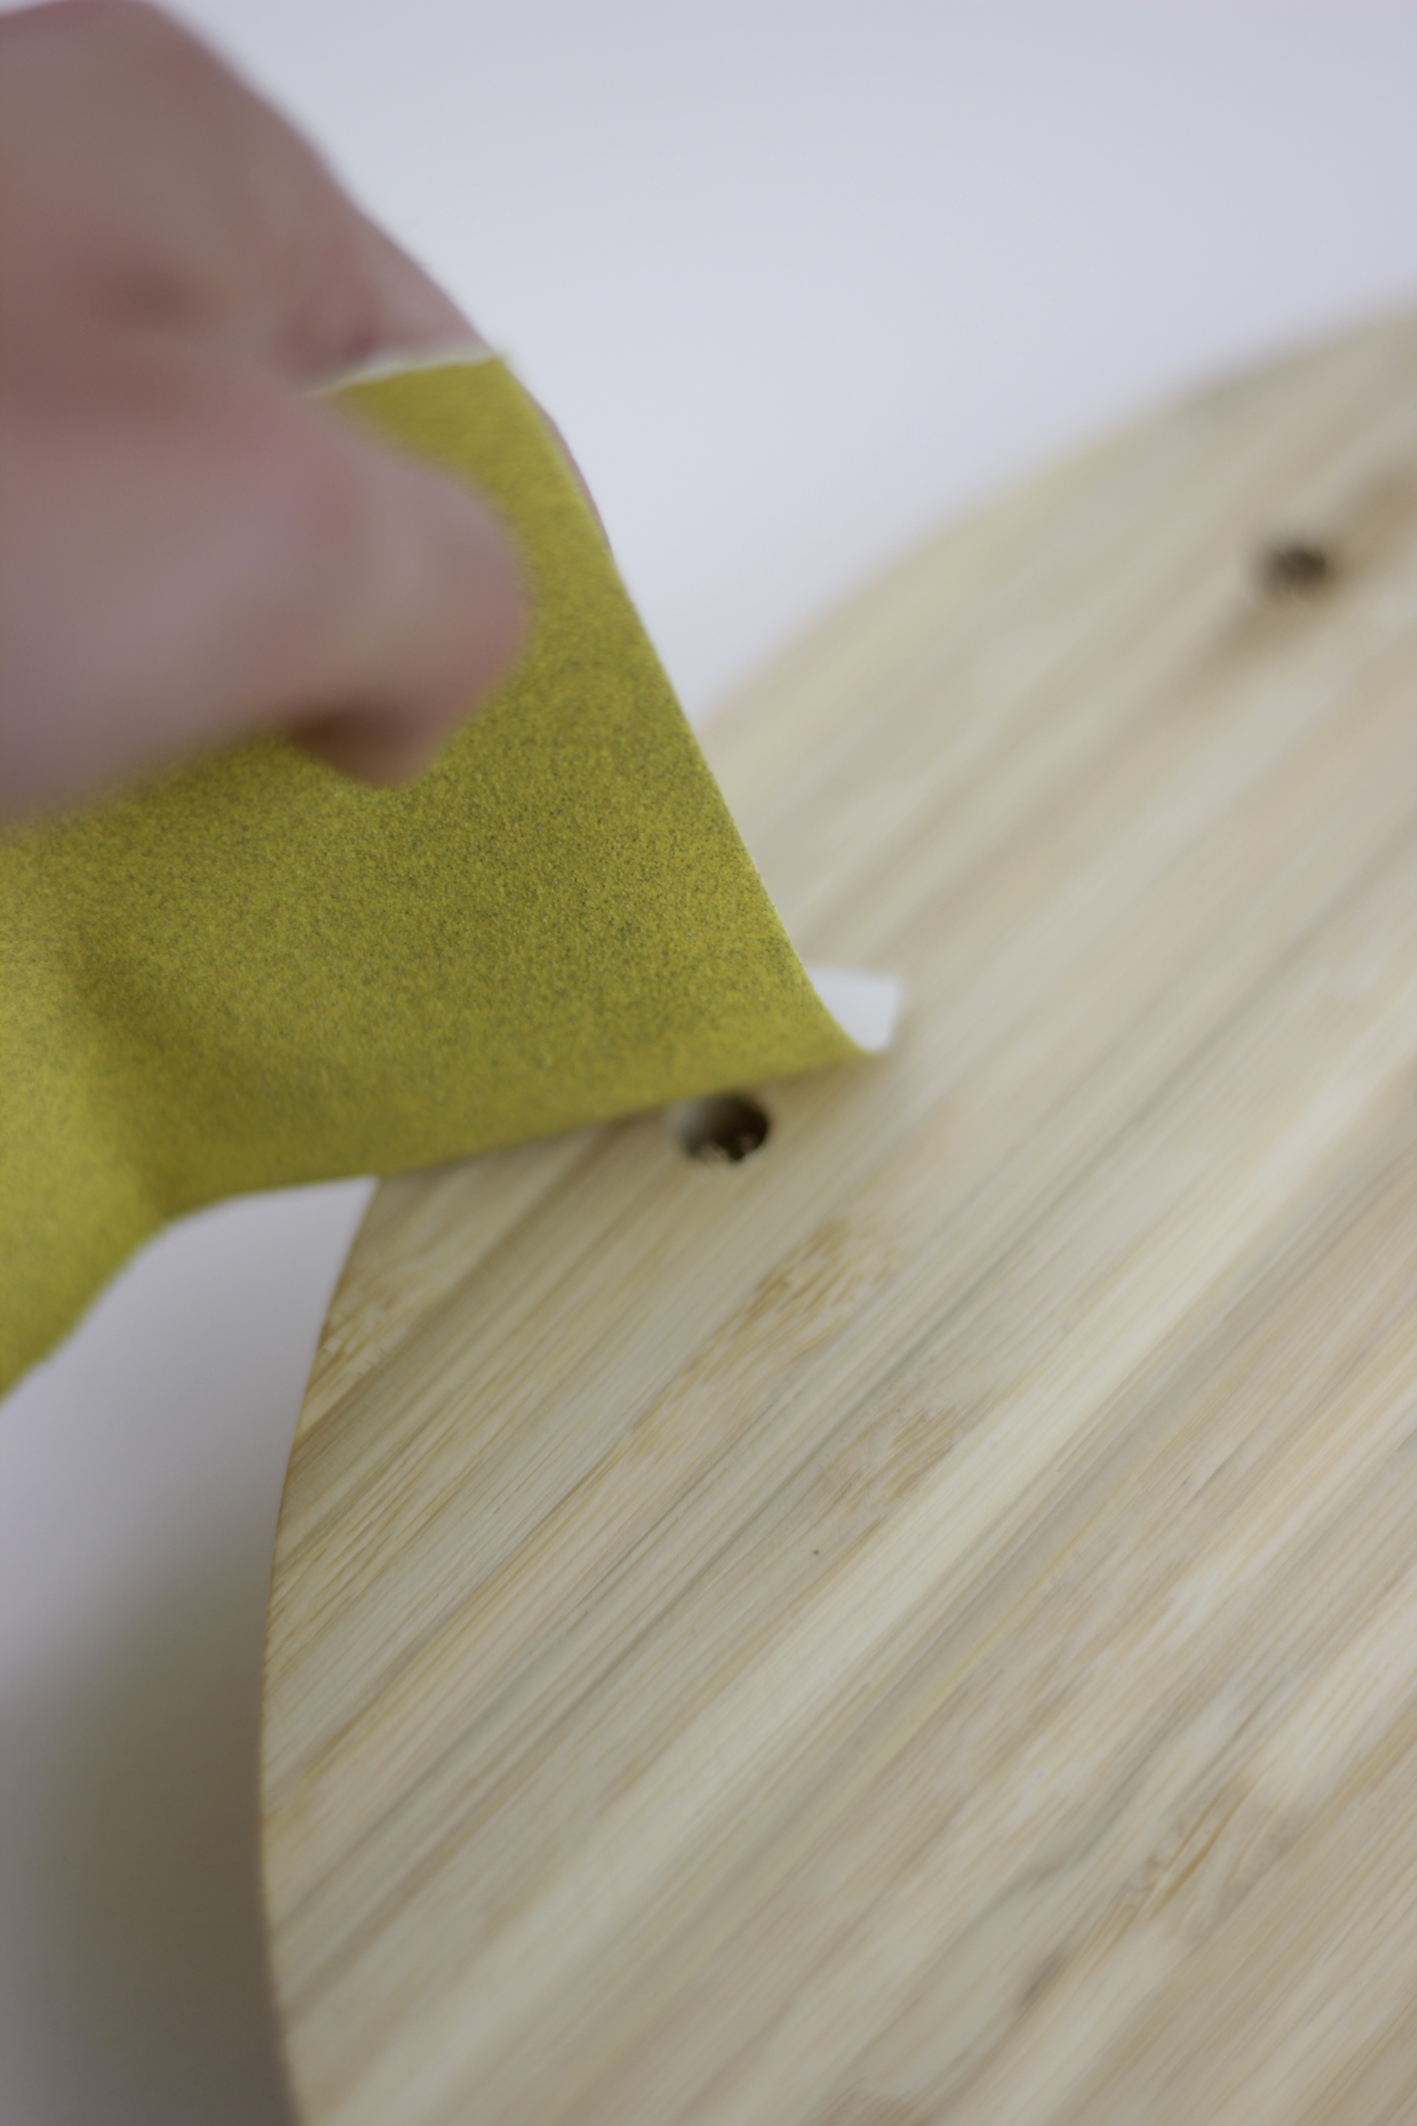
step two
use a piece of sand paper to smoothen the driled holes.
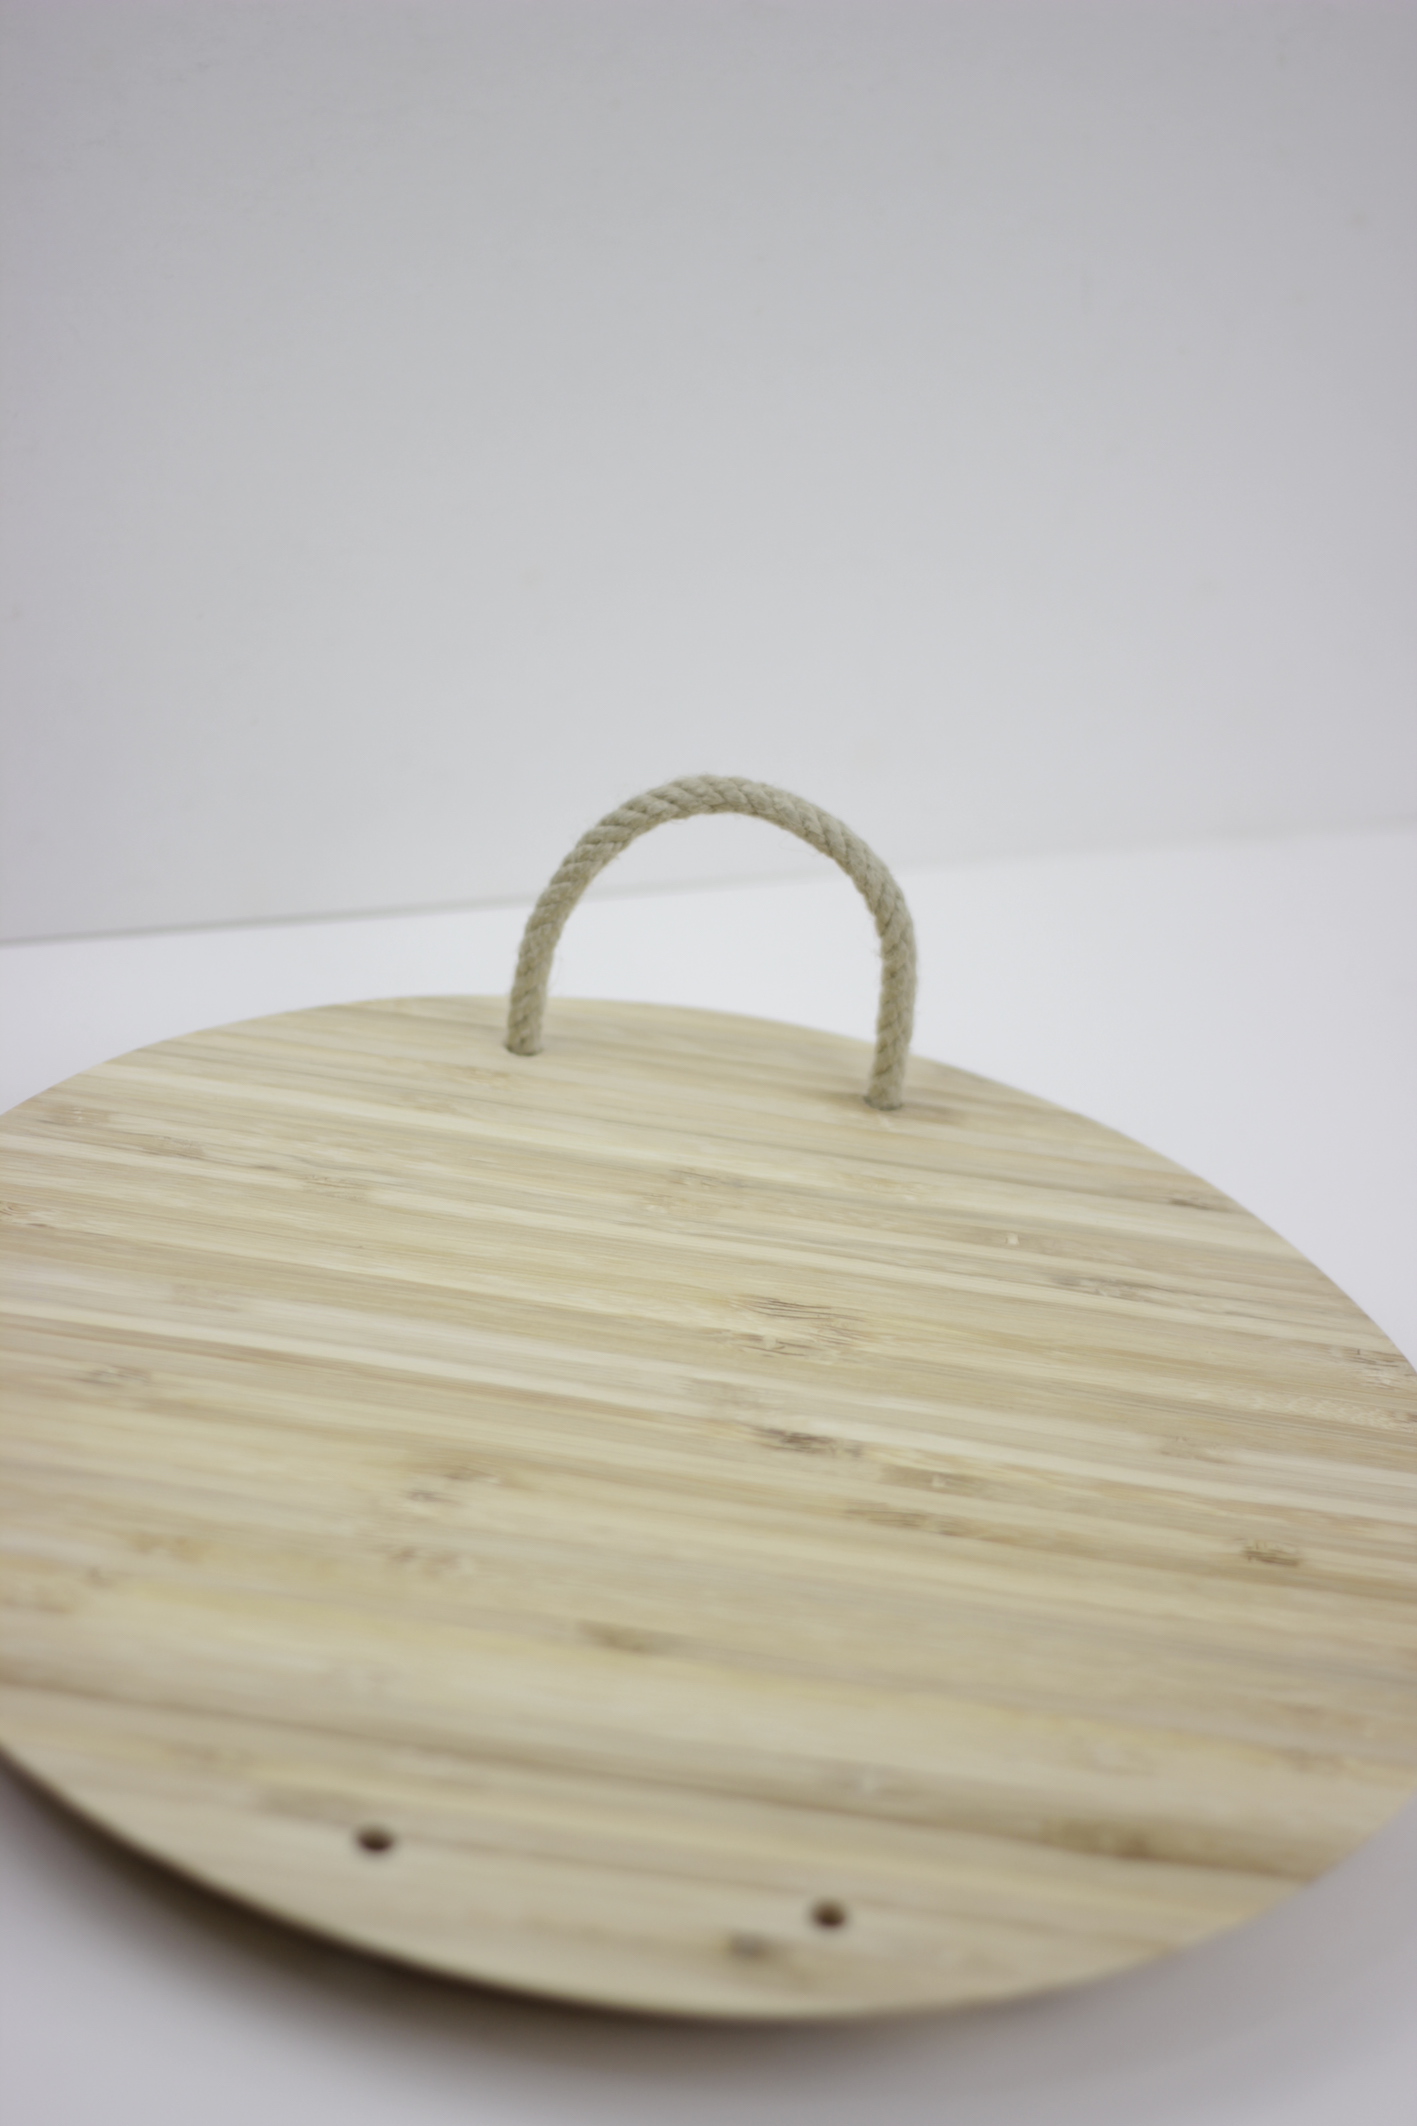
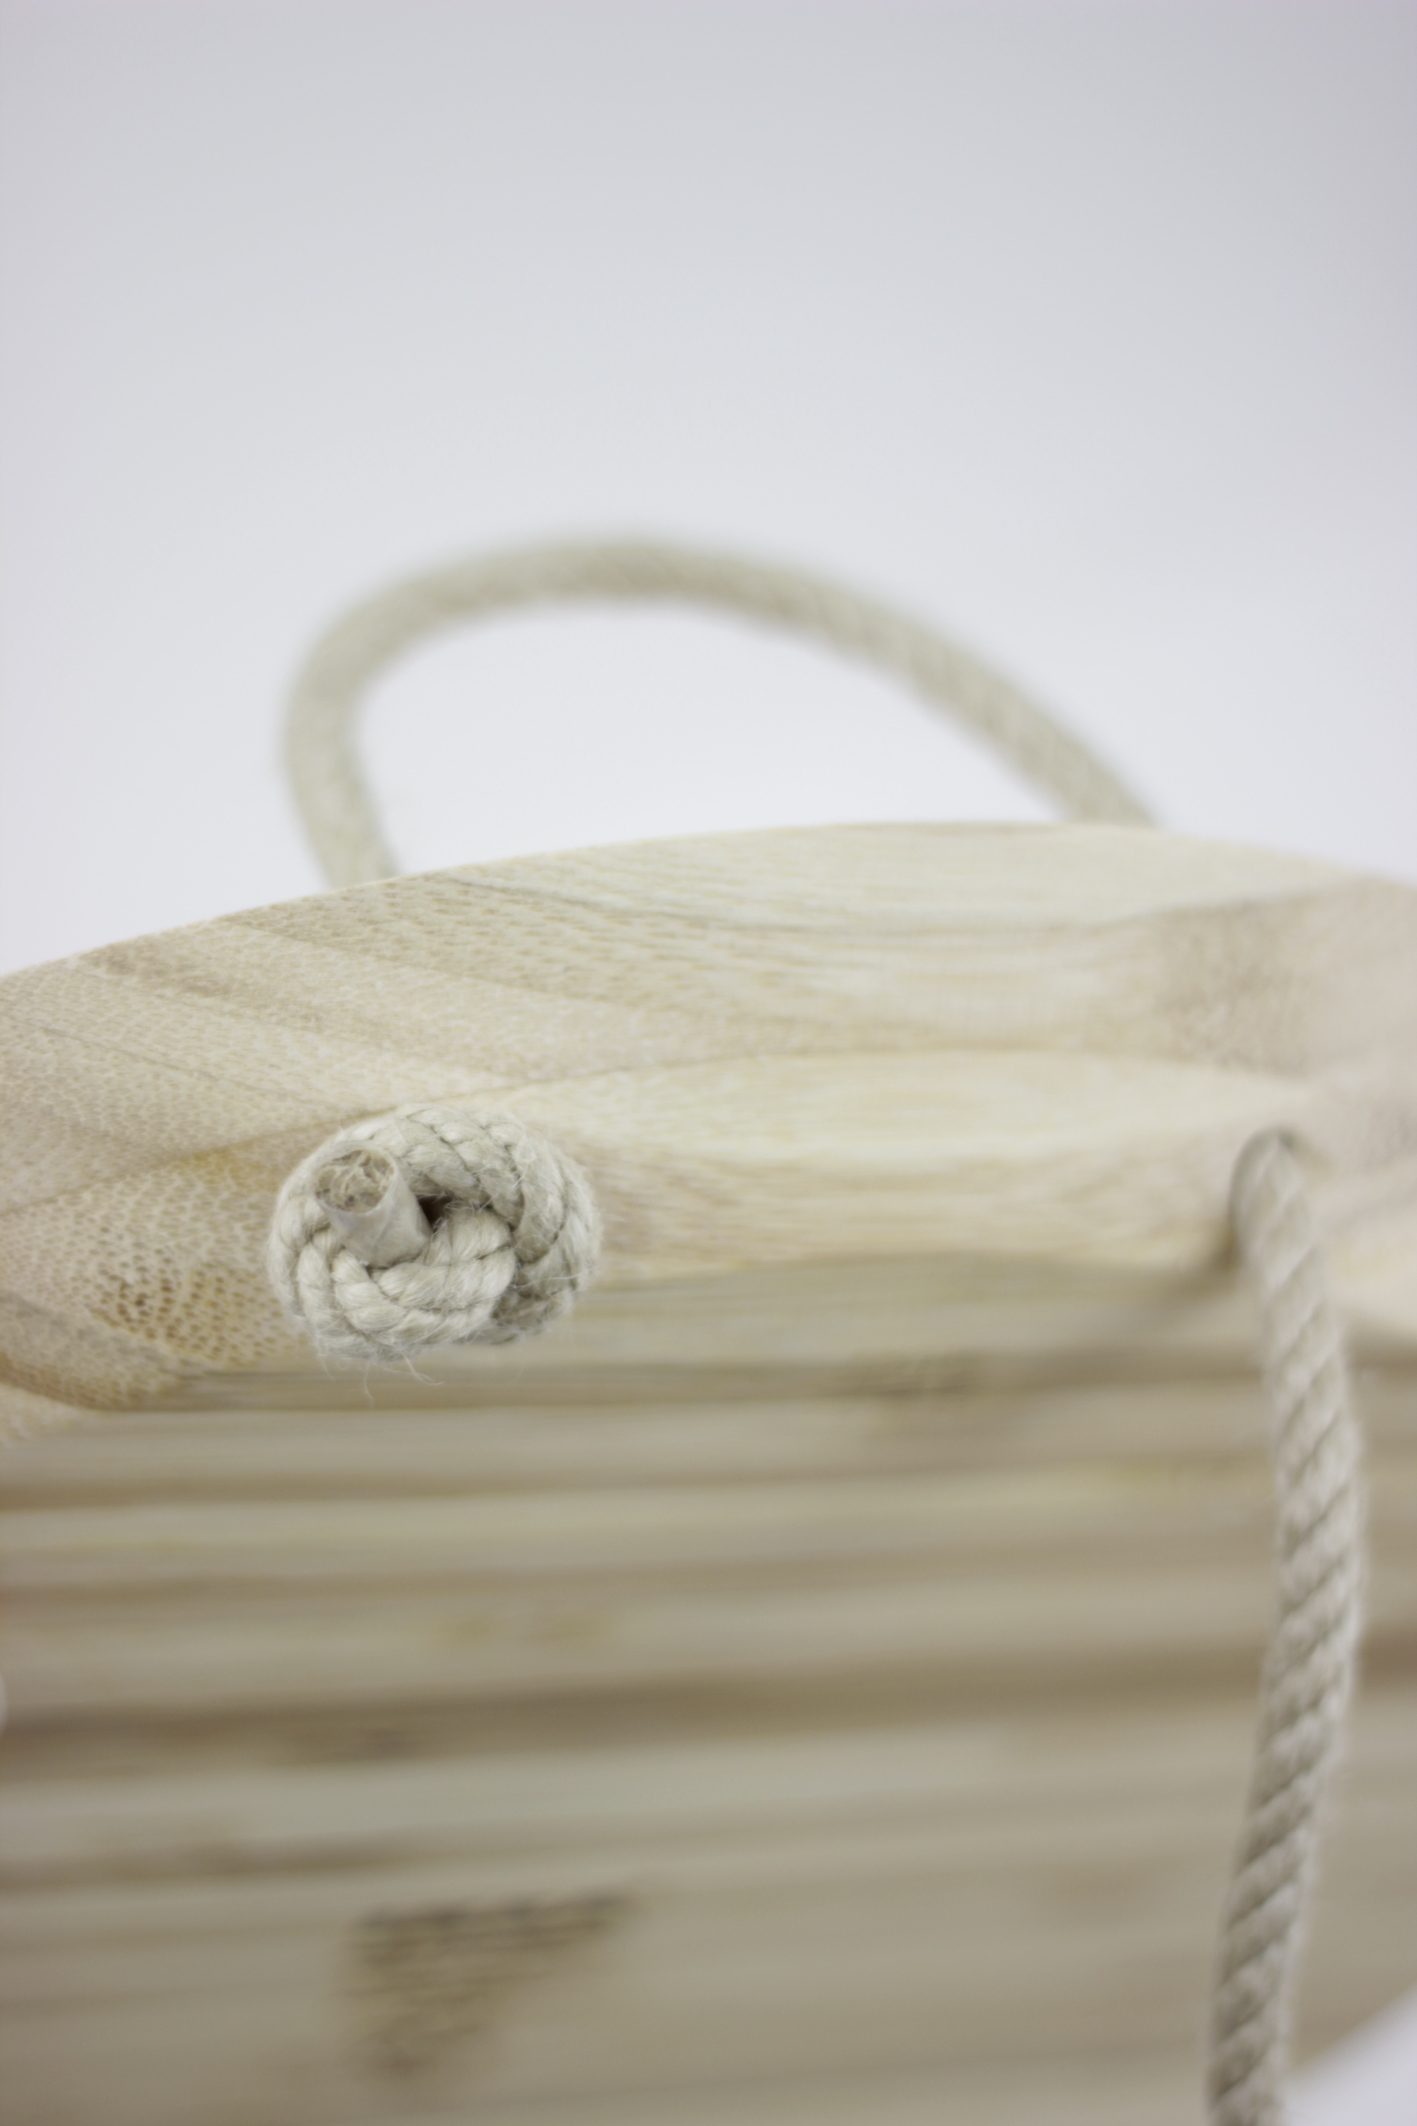
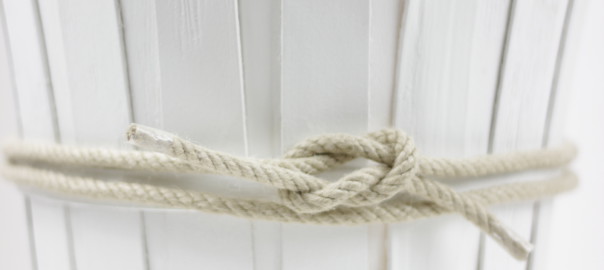
step three
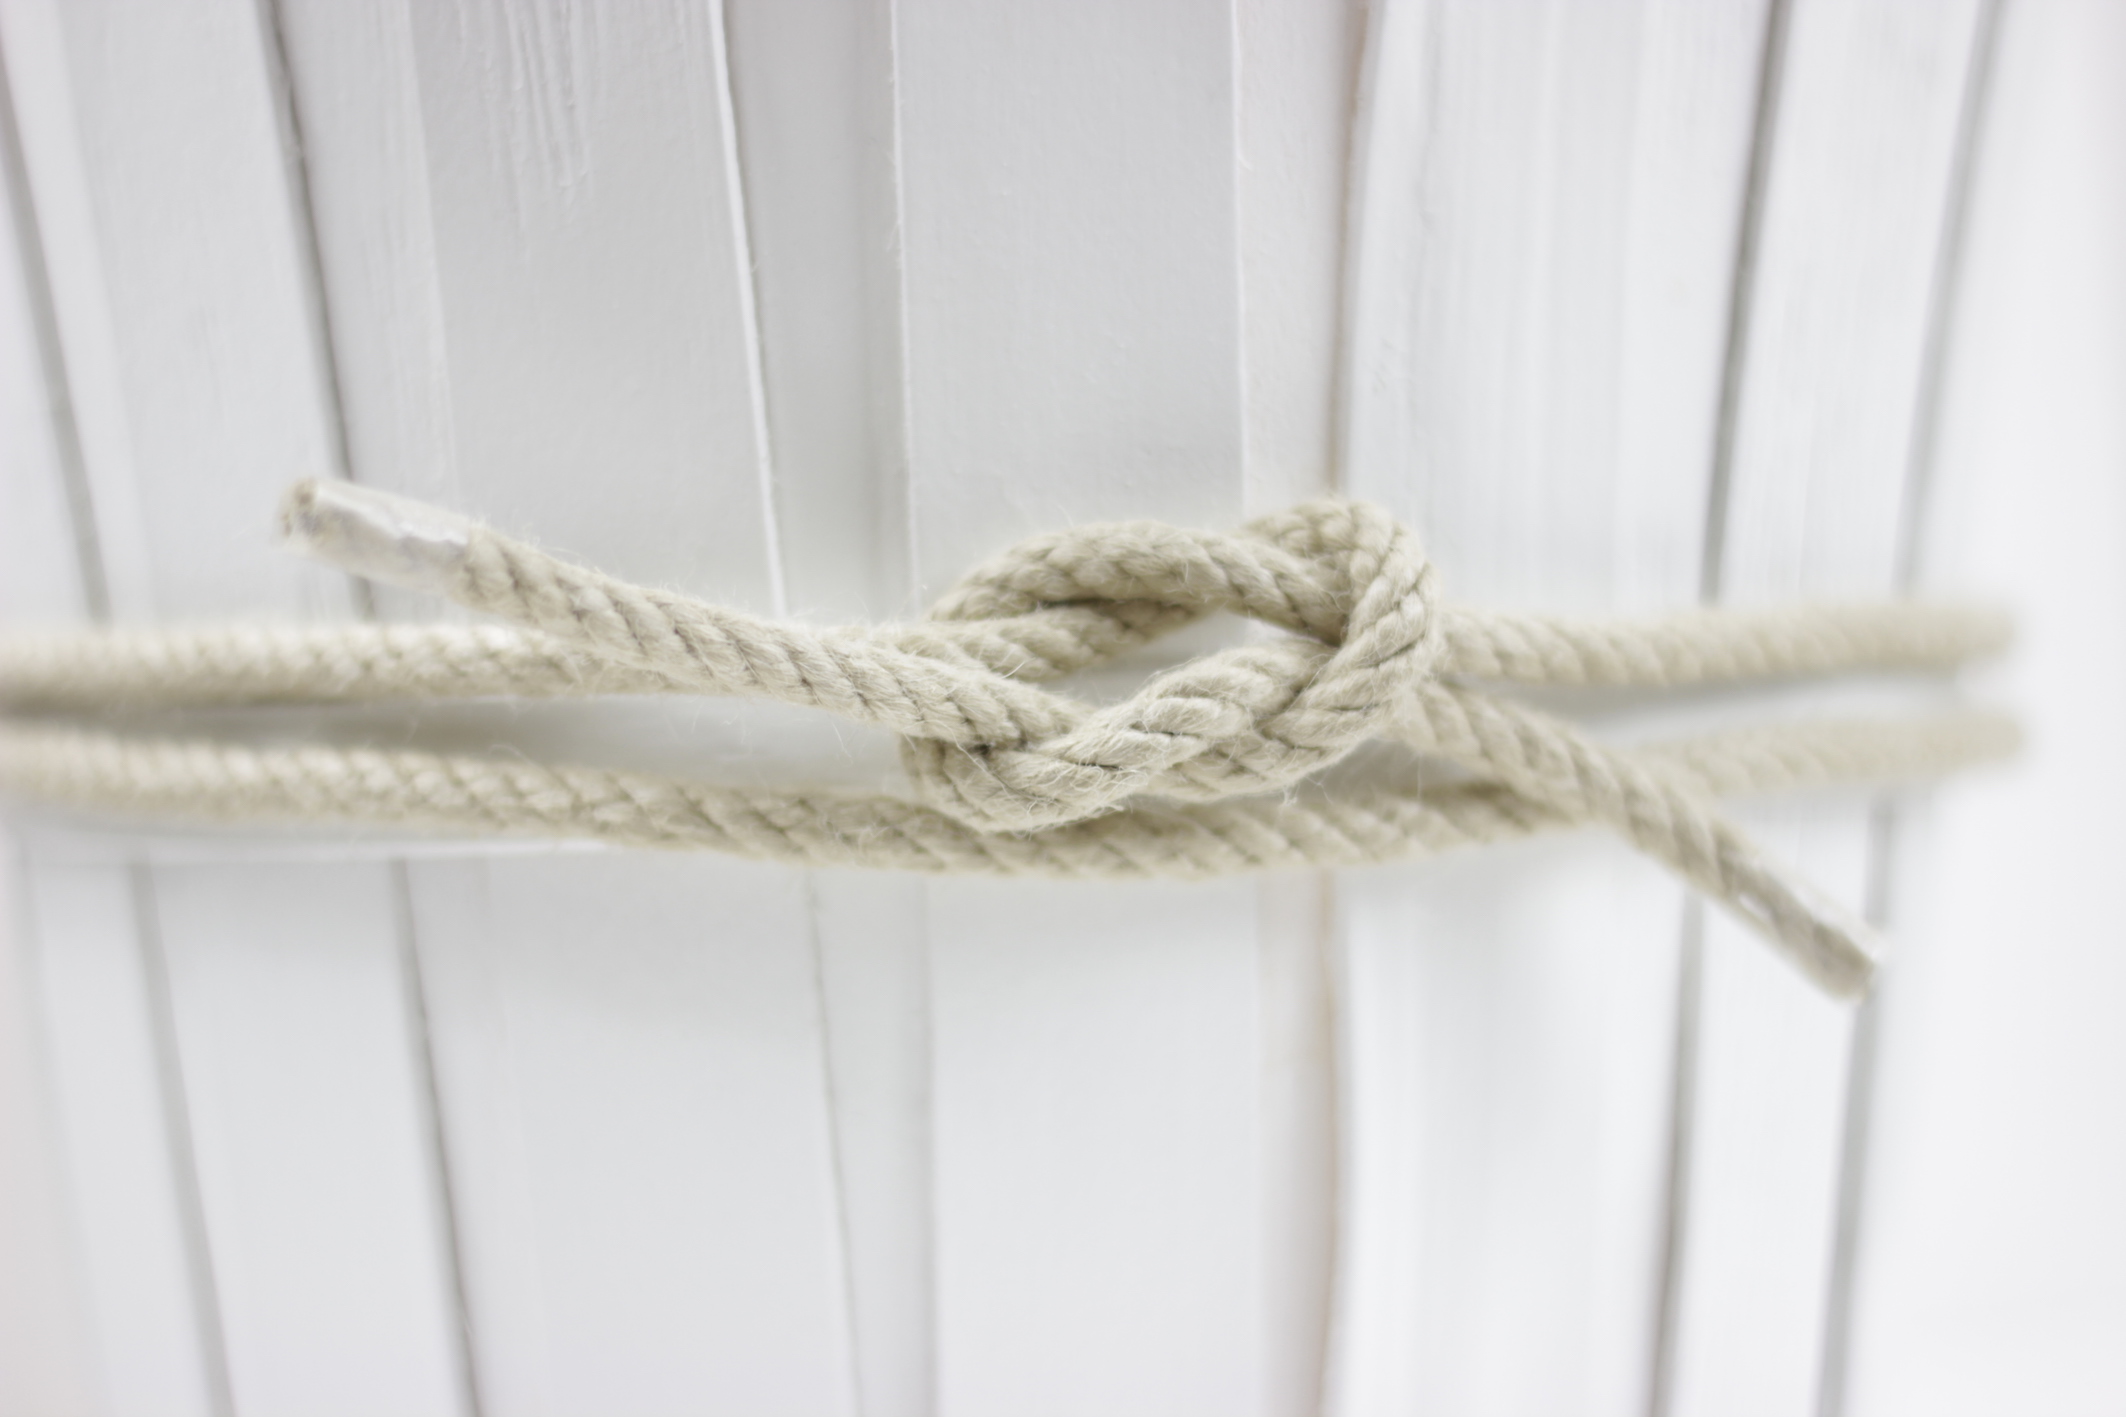
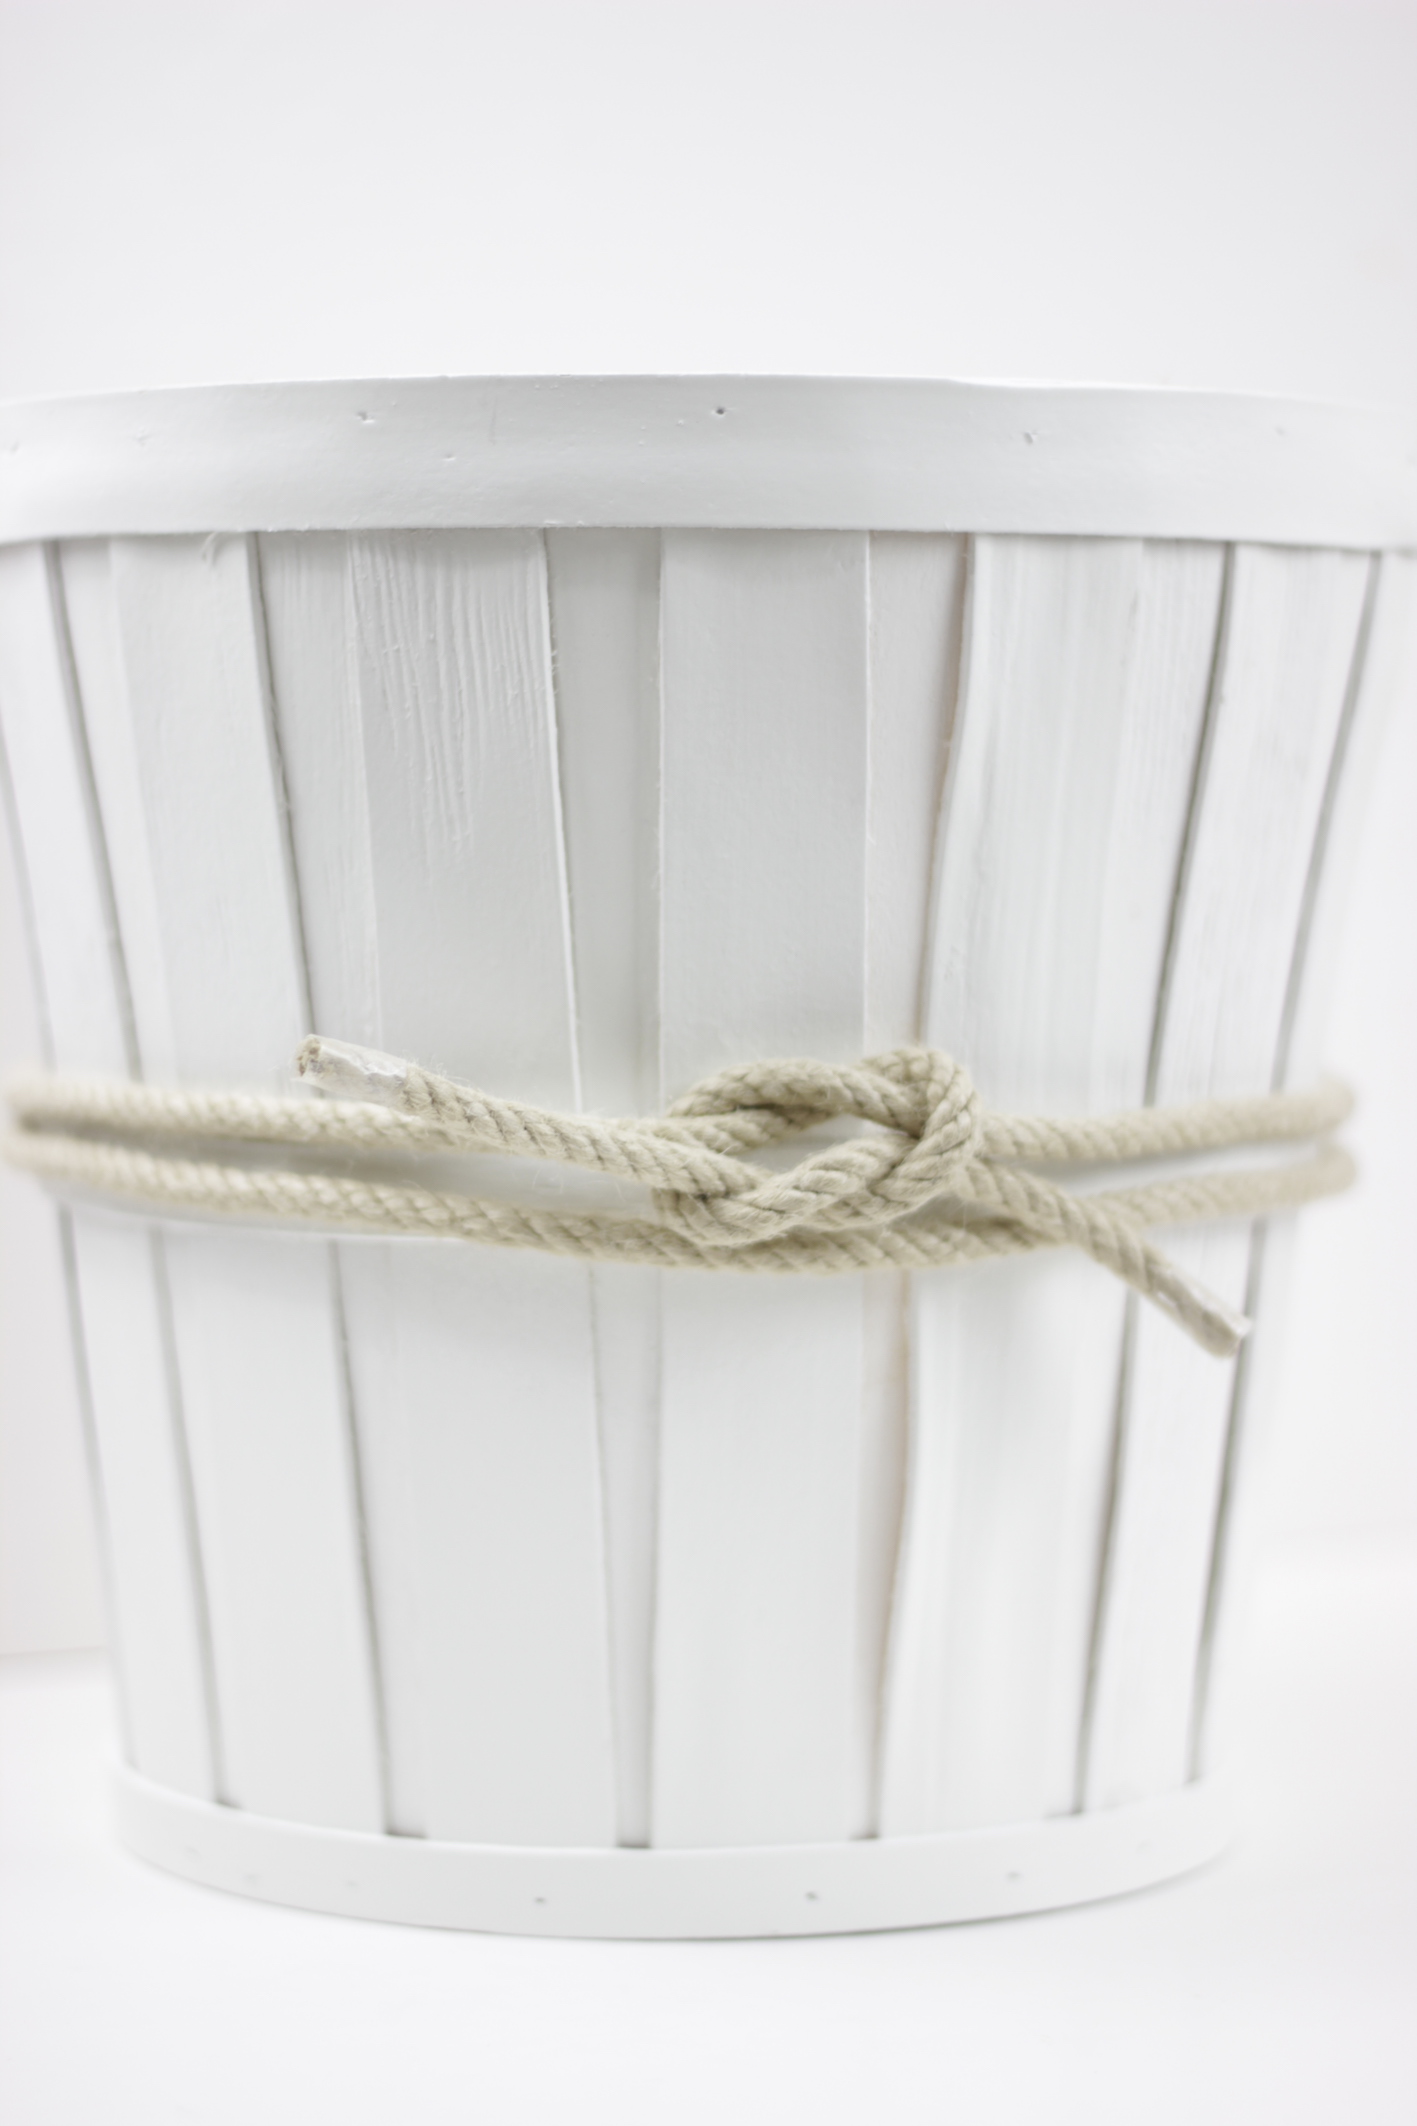
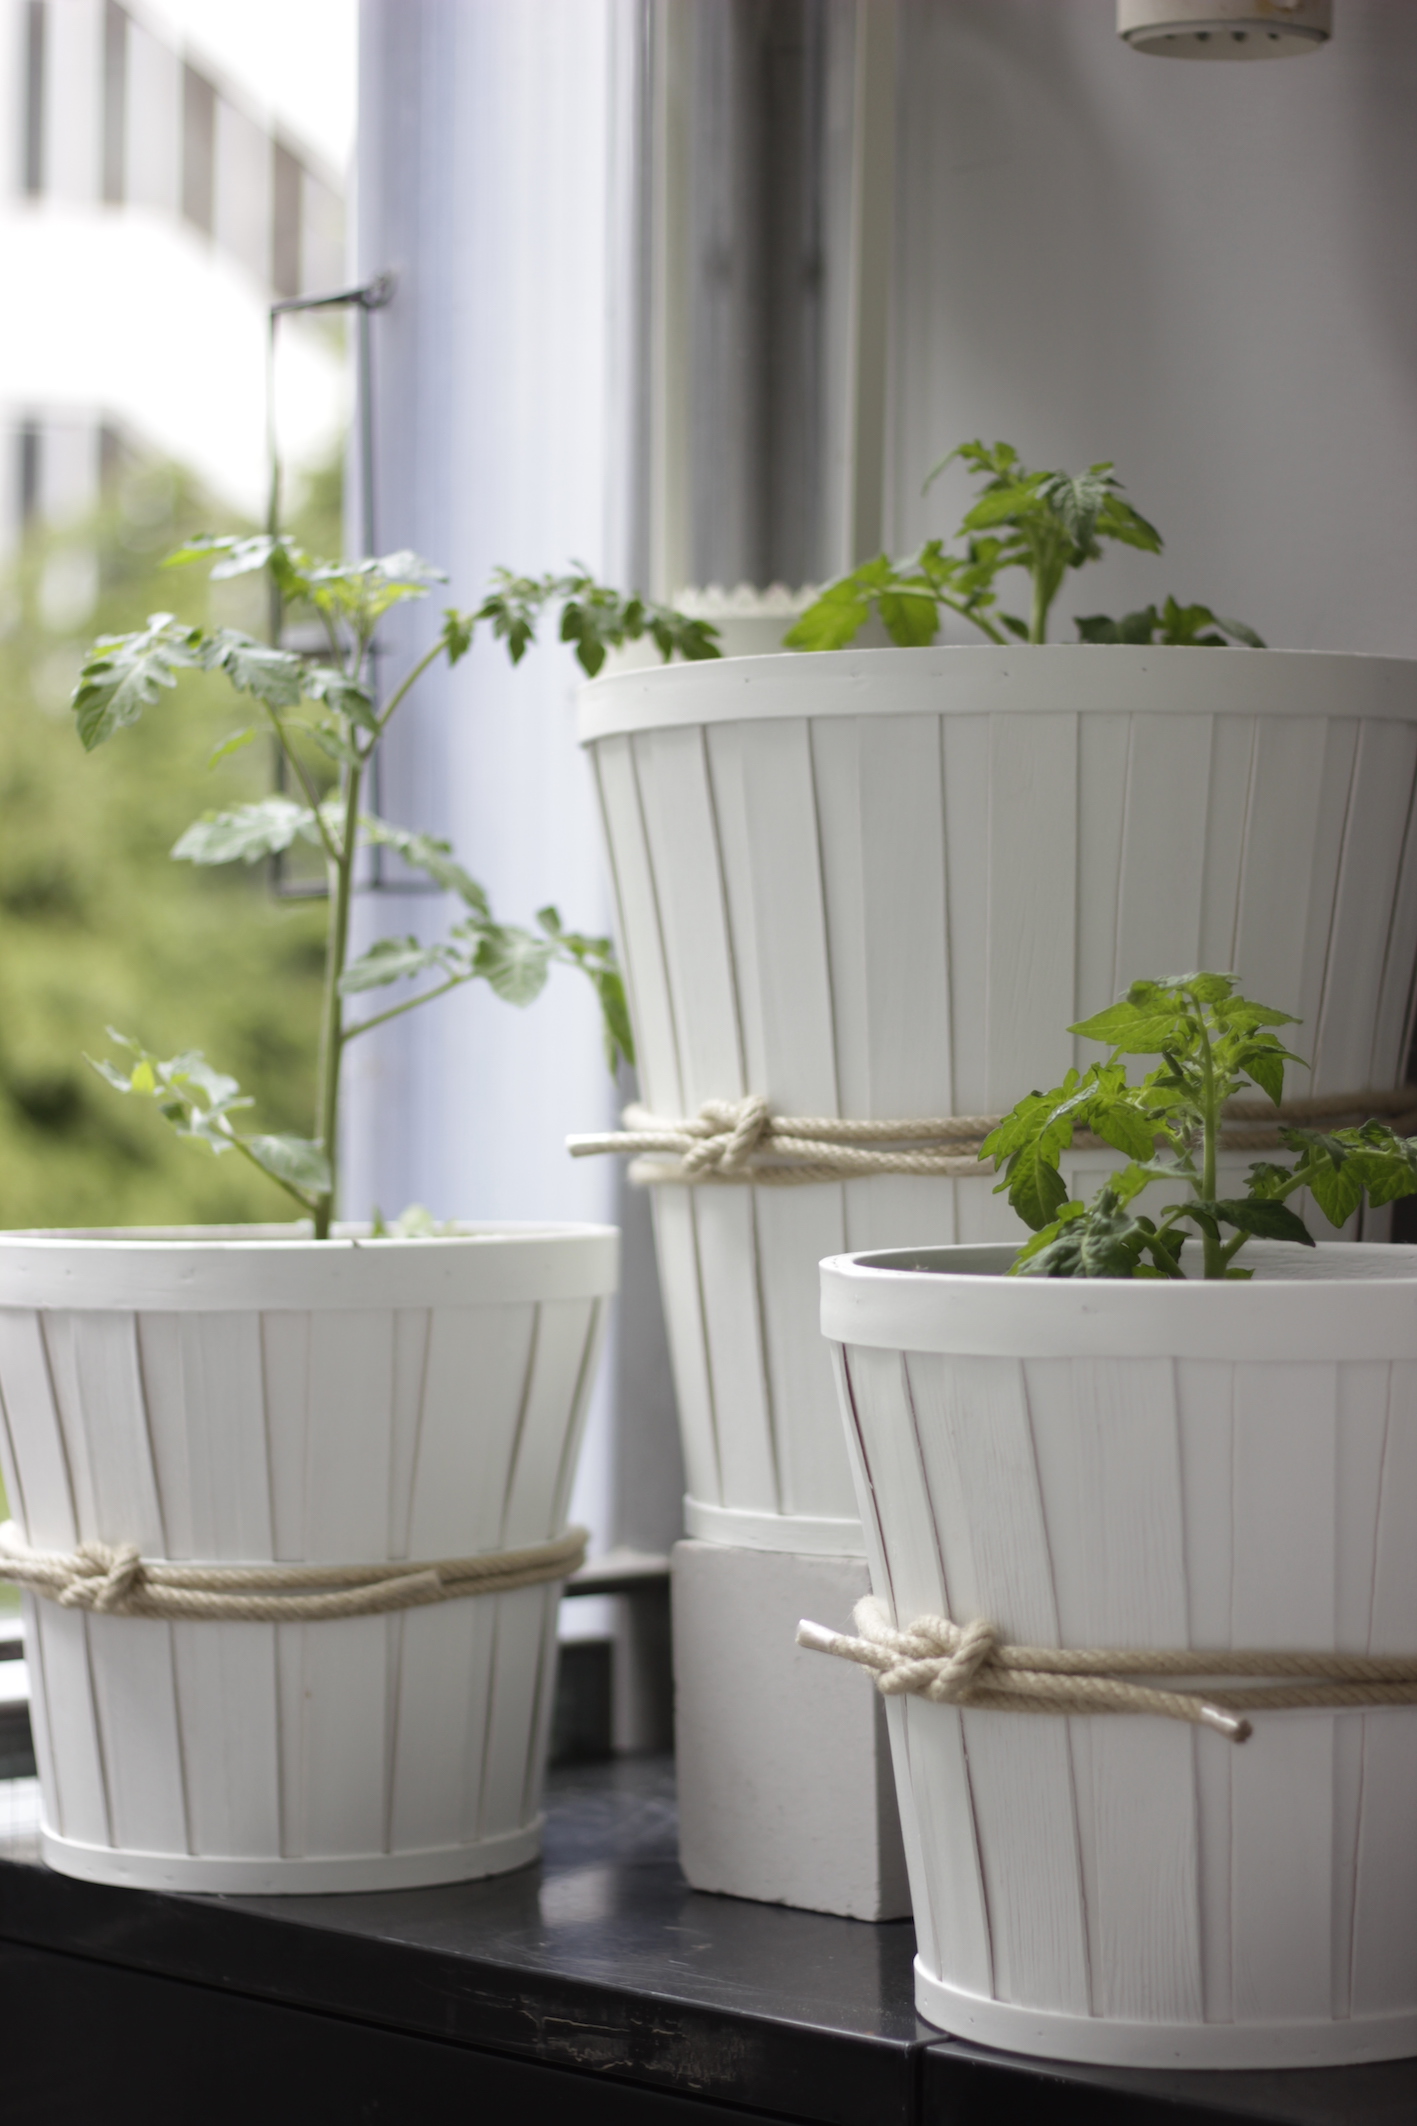
measure enough rope so you can put your hands around the handles and have enough to tie a knot. loop the rope thru the holes and tie knots at the ends.

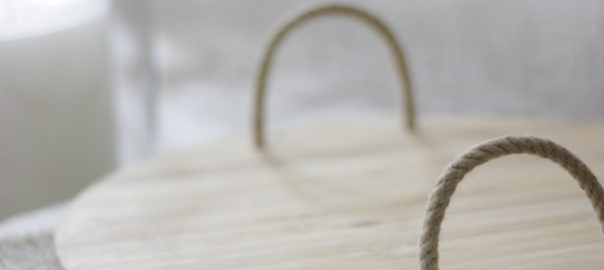
thats it, very simple and easy, right? I had so much fun creating this DIY and I hope you all like the way it turned out. in case you did something similar or feel inspired to make your own tray please leave a comment below, I love hearing from you. X
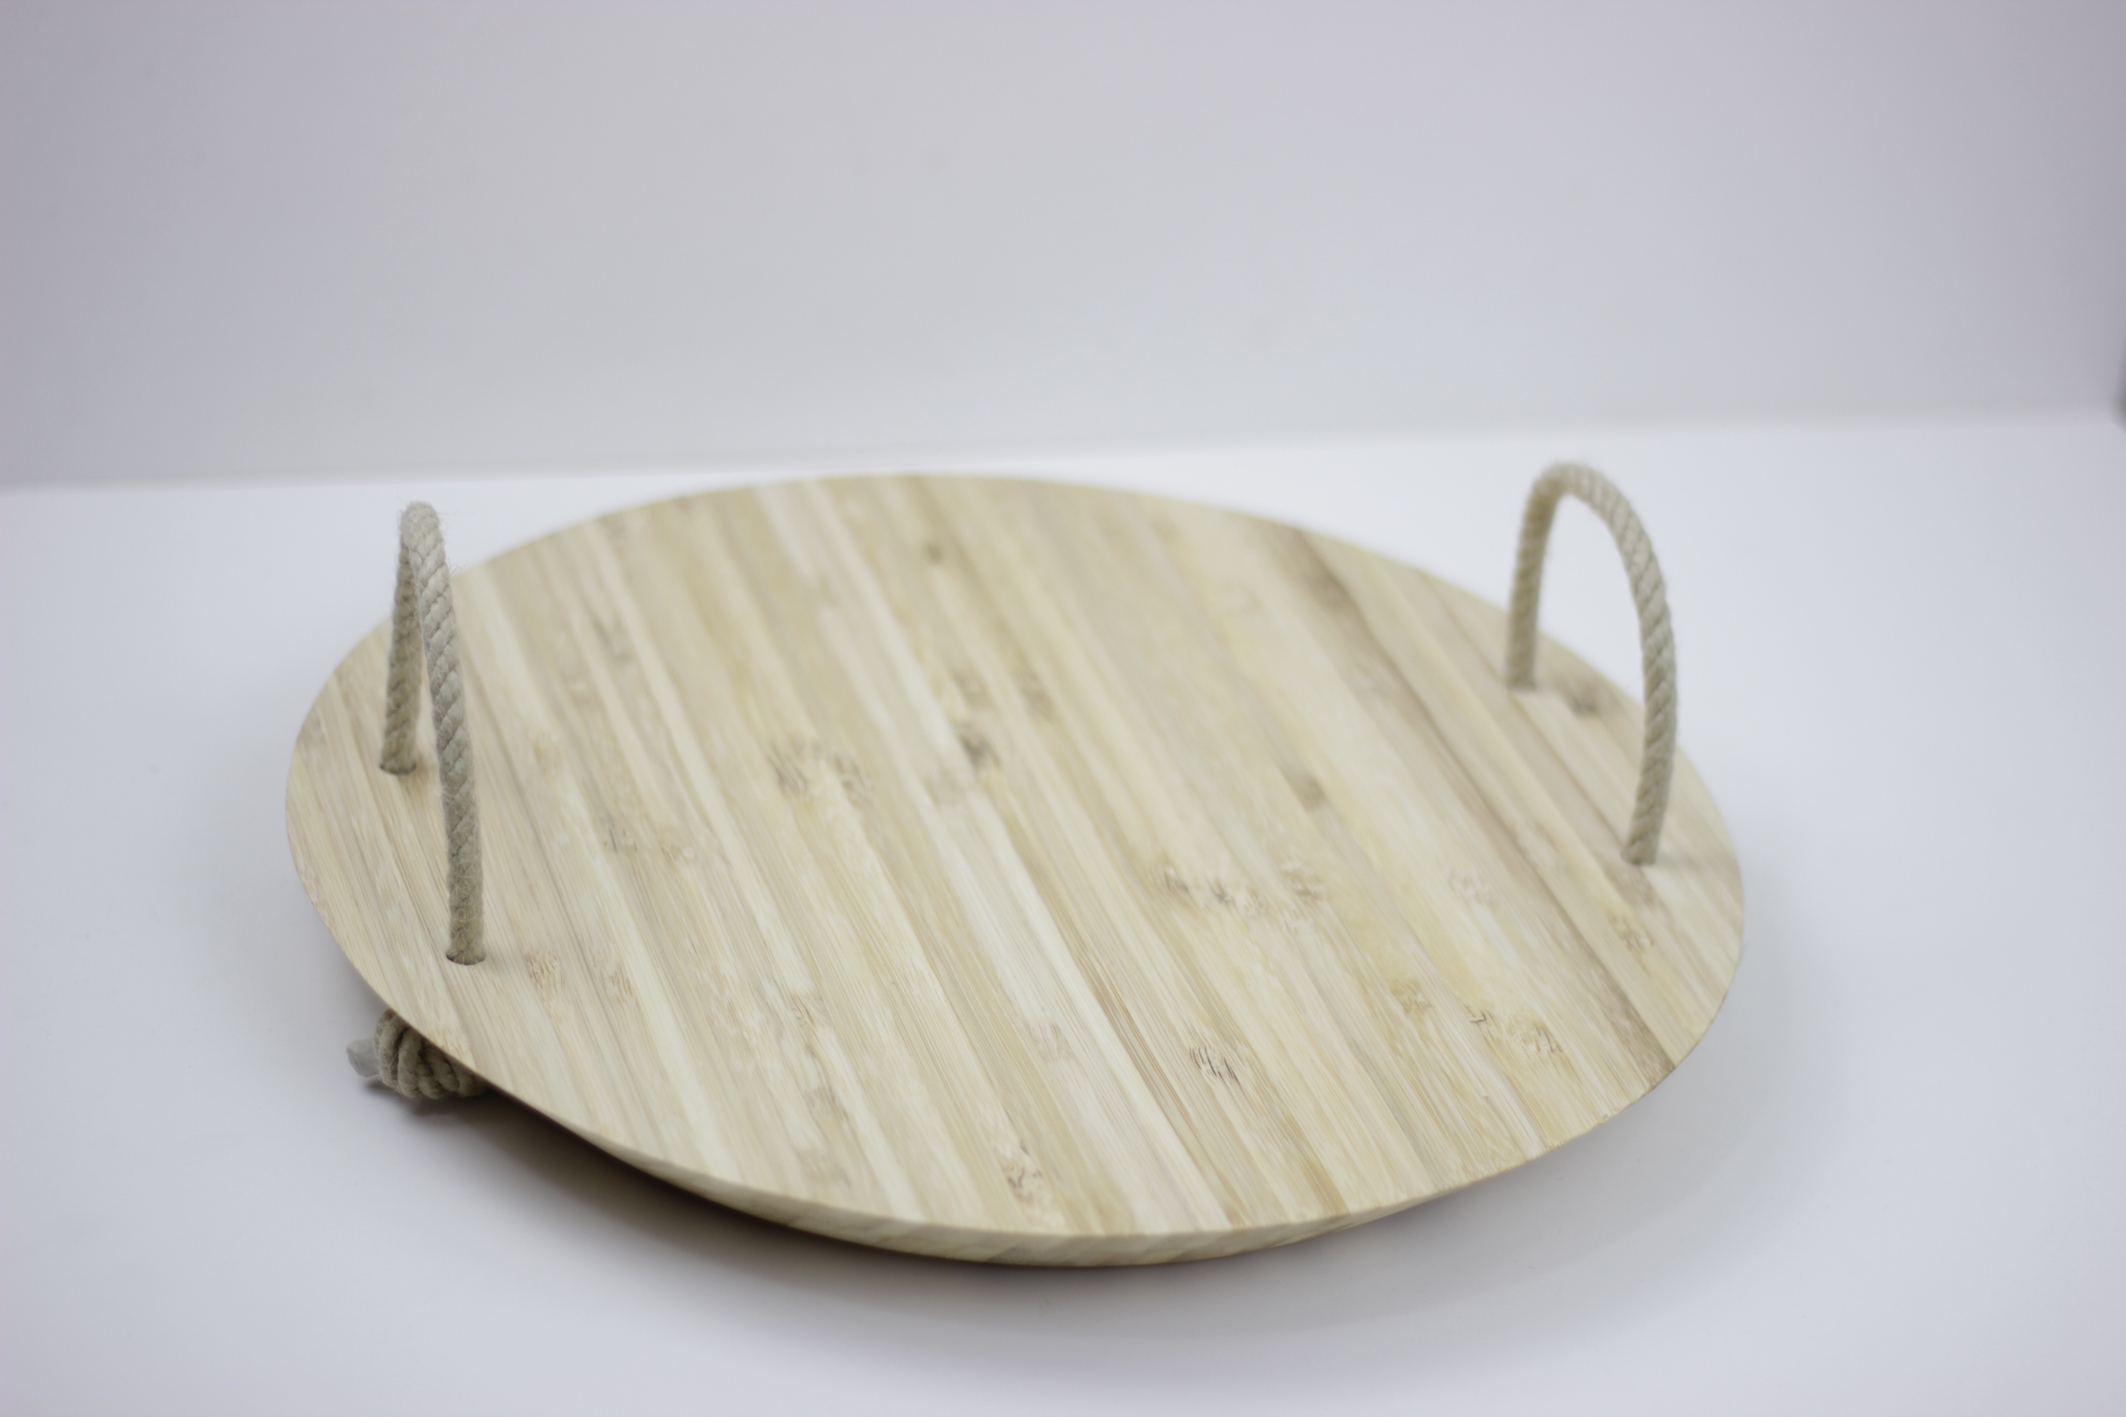
and now lets have a look how you can use our newly made DIY in action. my intention was to use it for drinking tea on the couch and be sure that the tea wont spill but now I saw how cute it can look as a simple presentation board. so as you can see the options to use are endless.

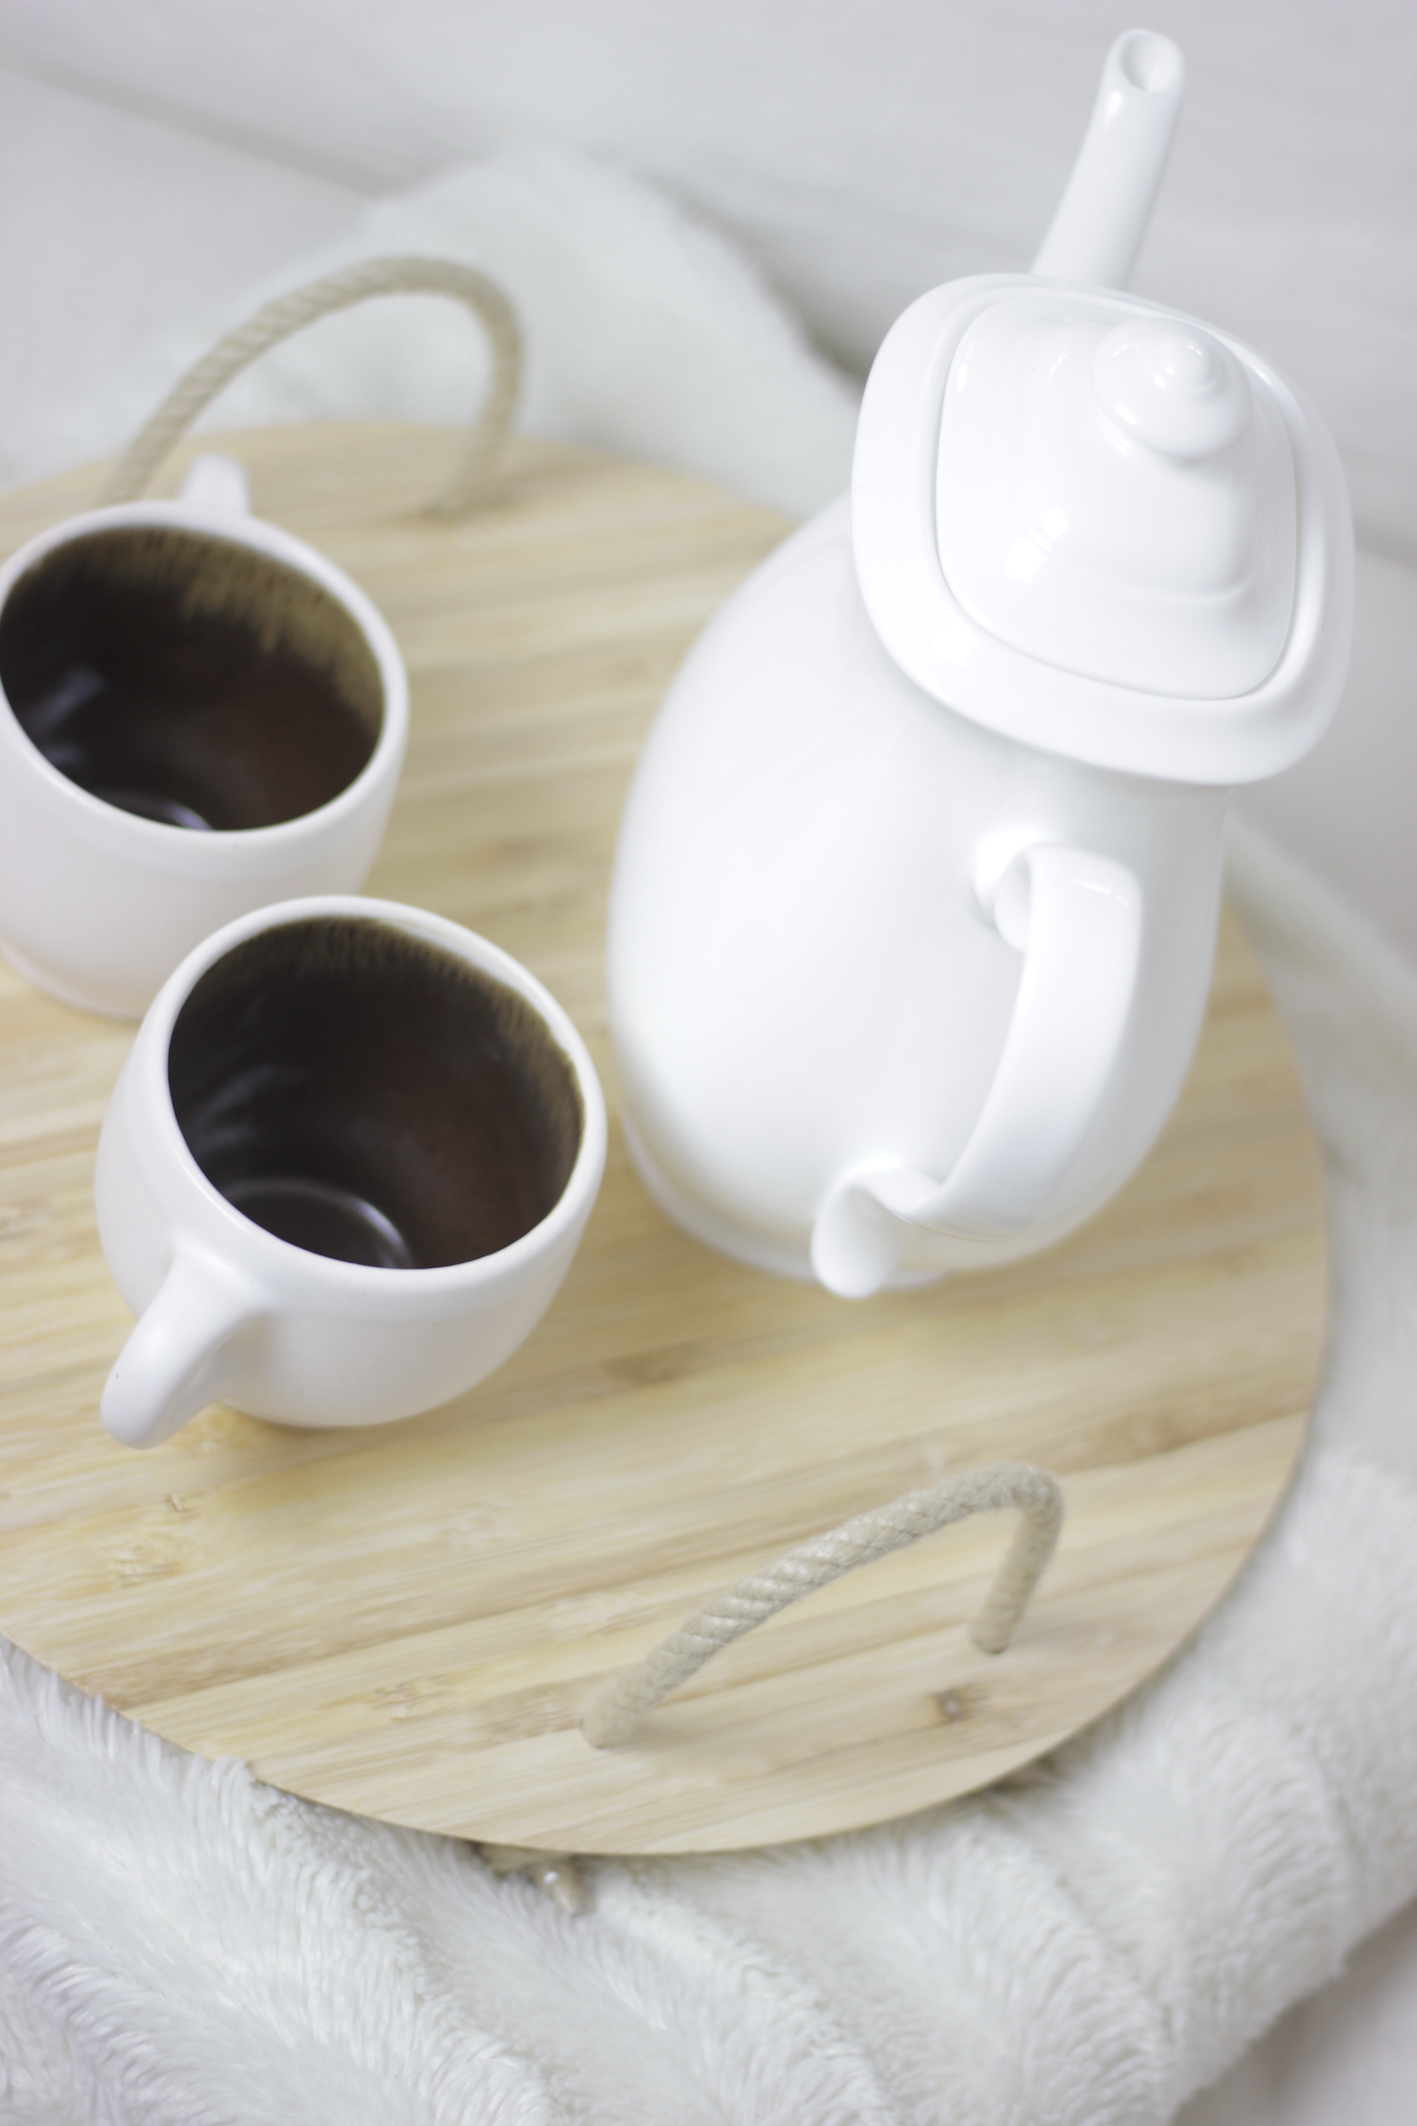
that was it from today. I am looking forward to your comments and am sure that there will soon be another DIY feat. IKEA on the blog. stay tuned. X

