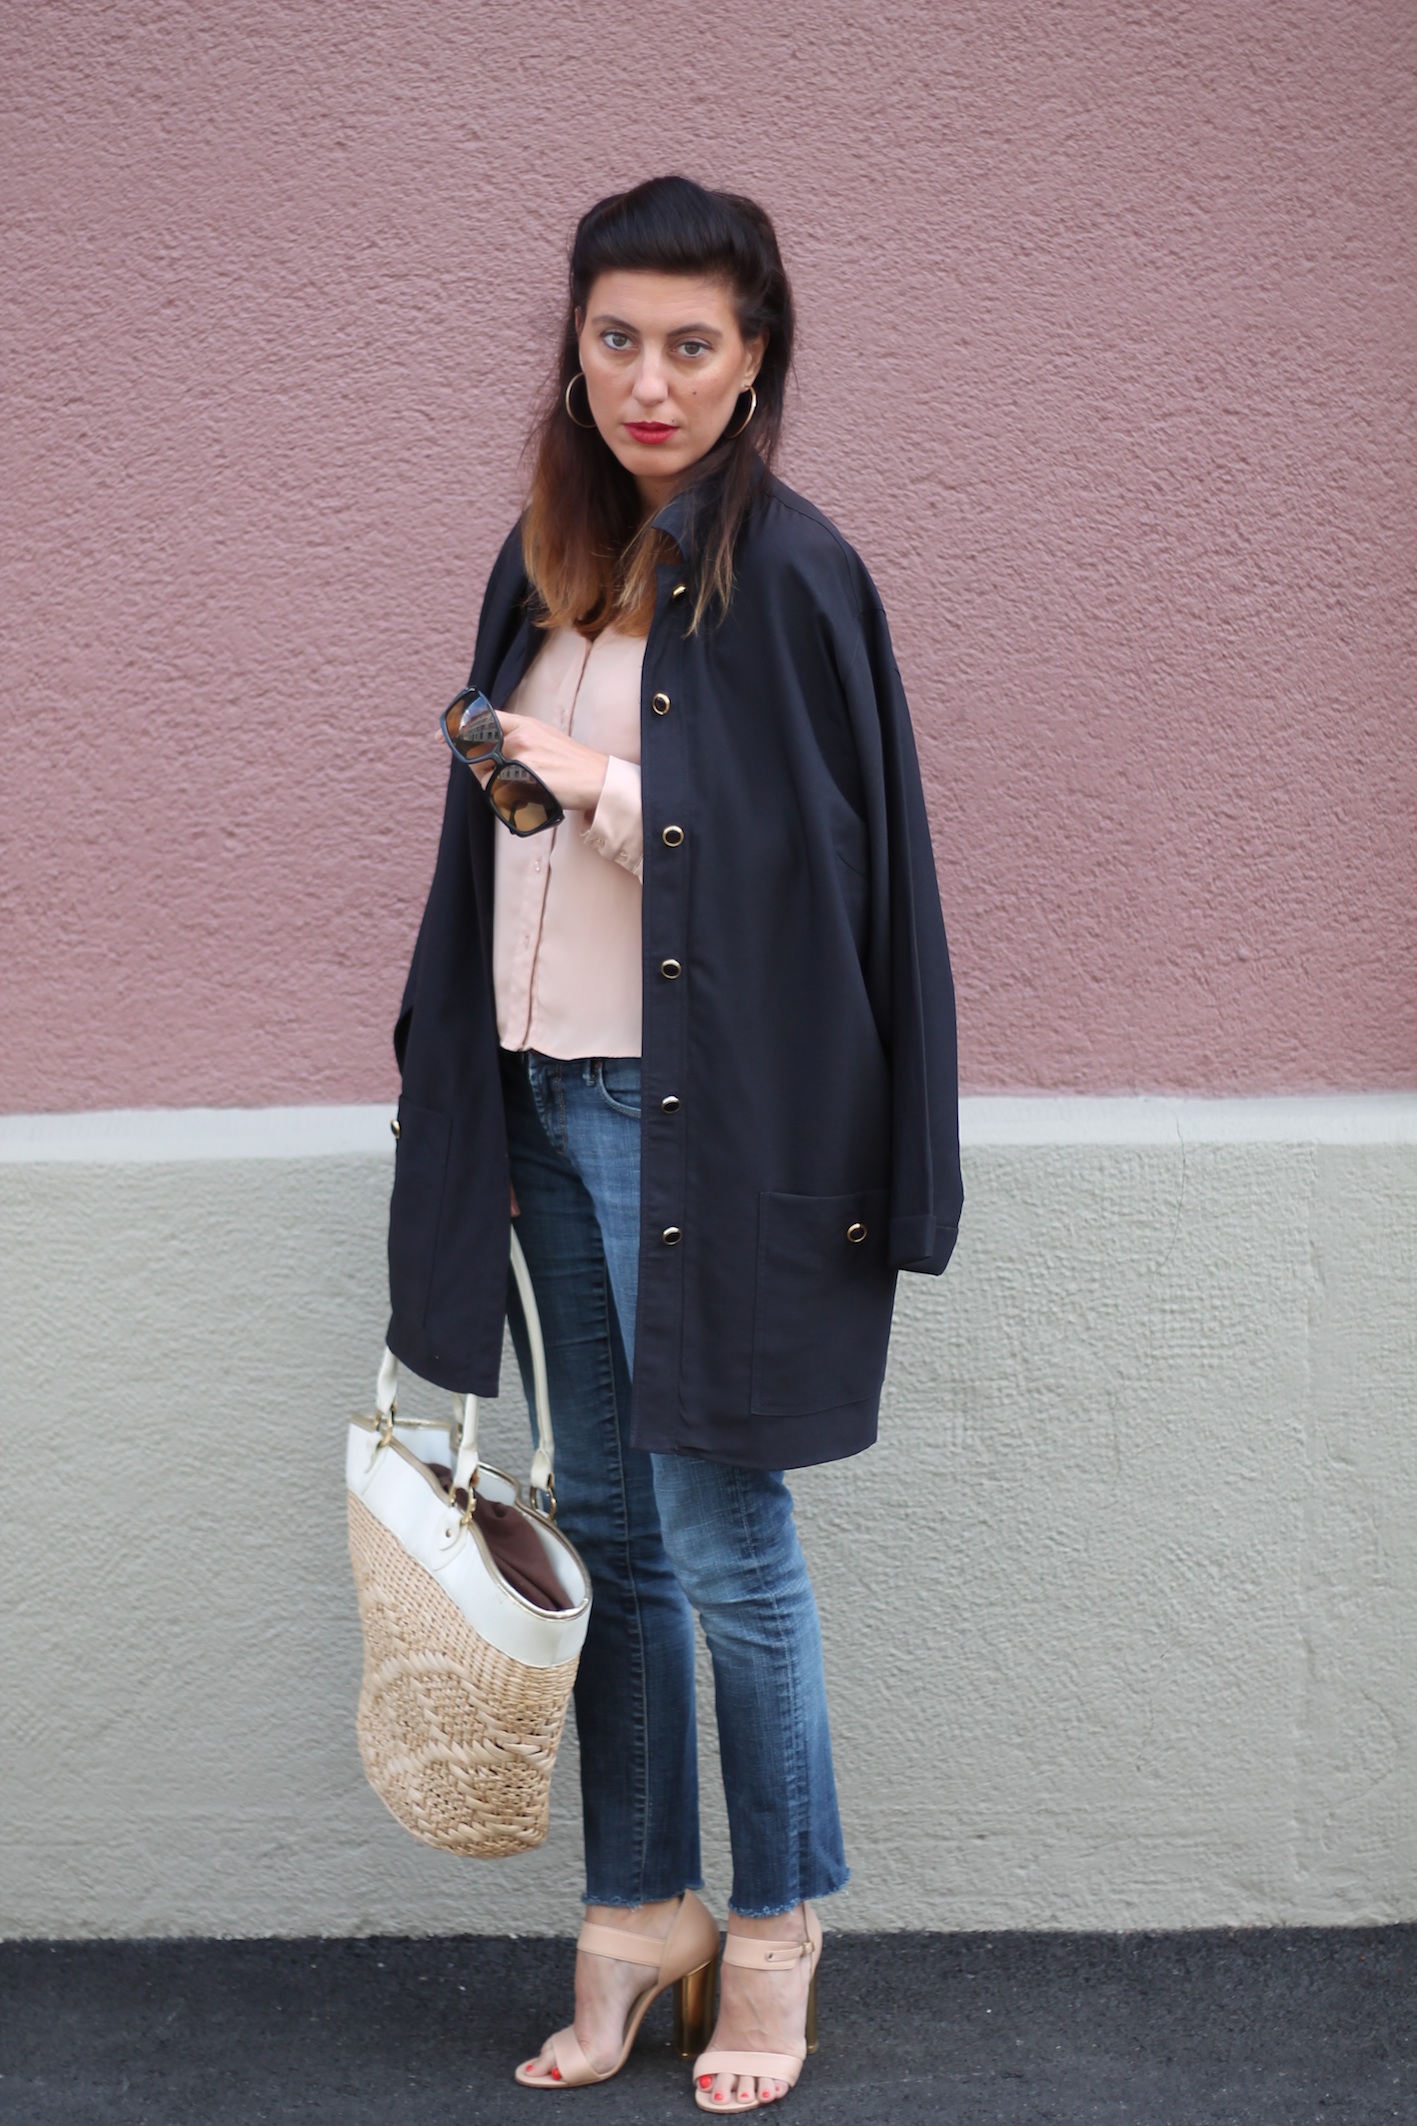
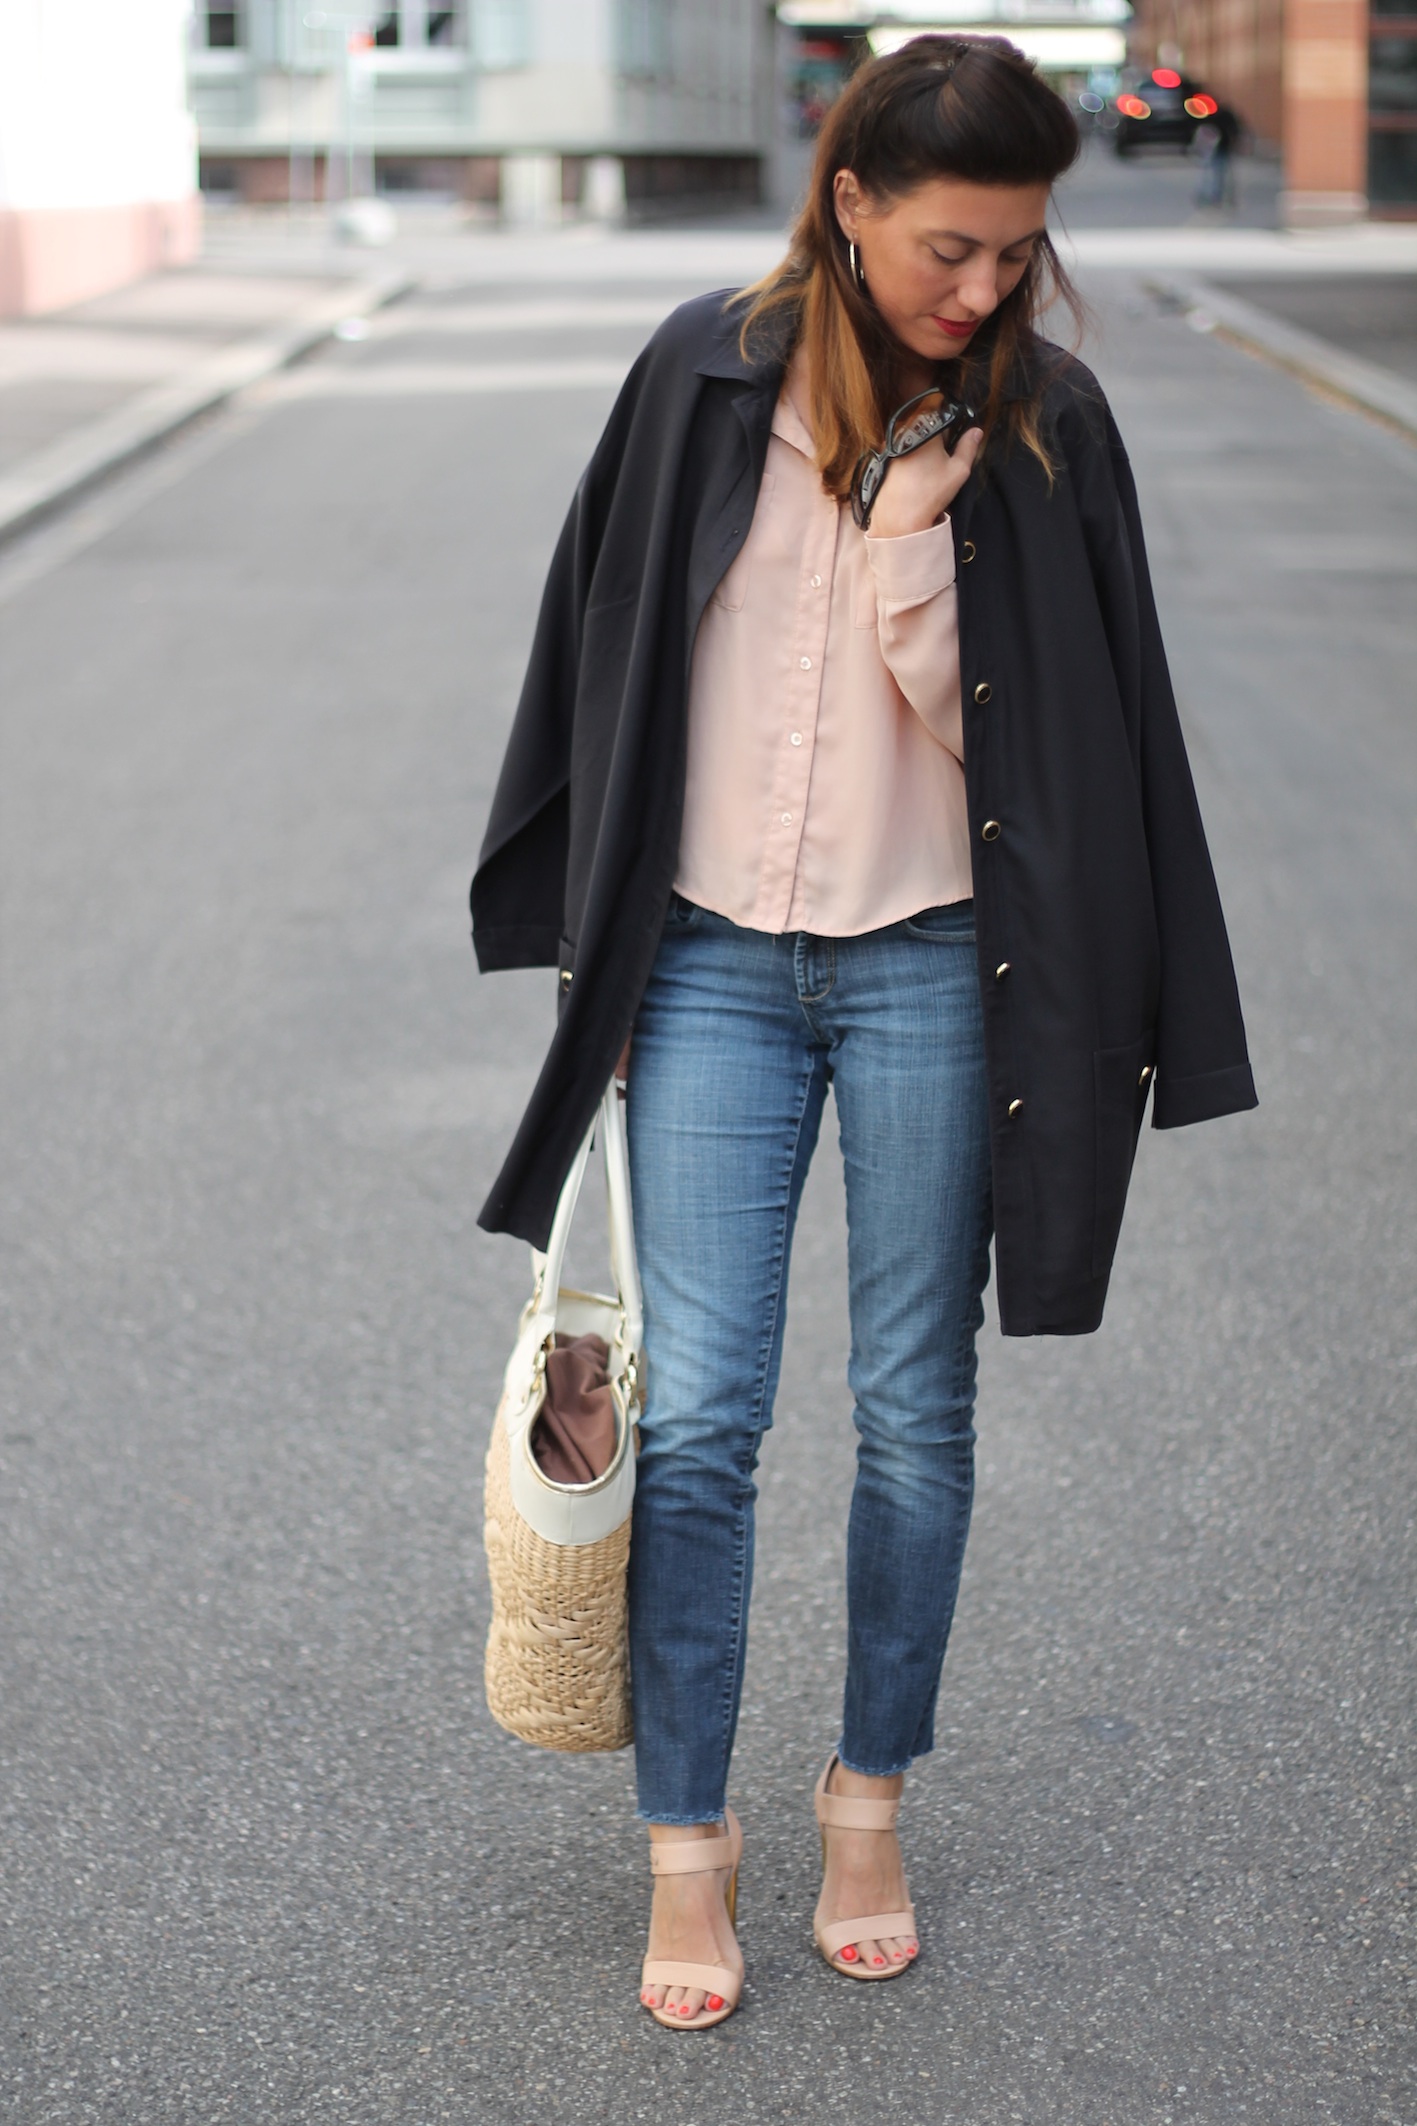
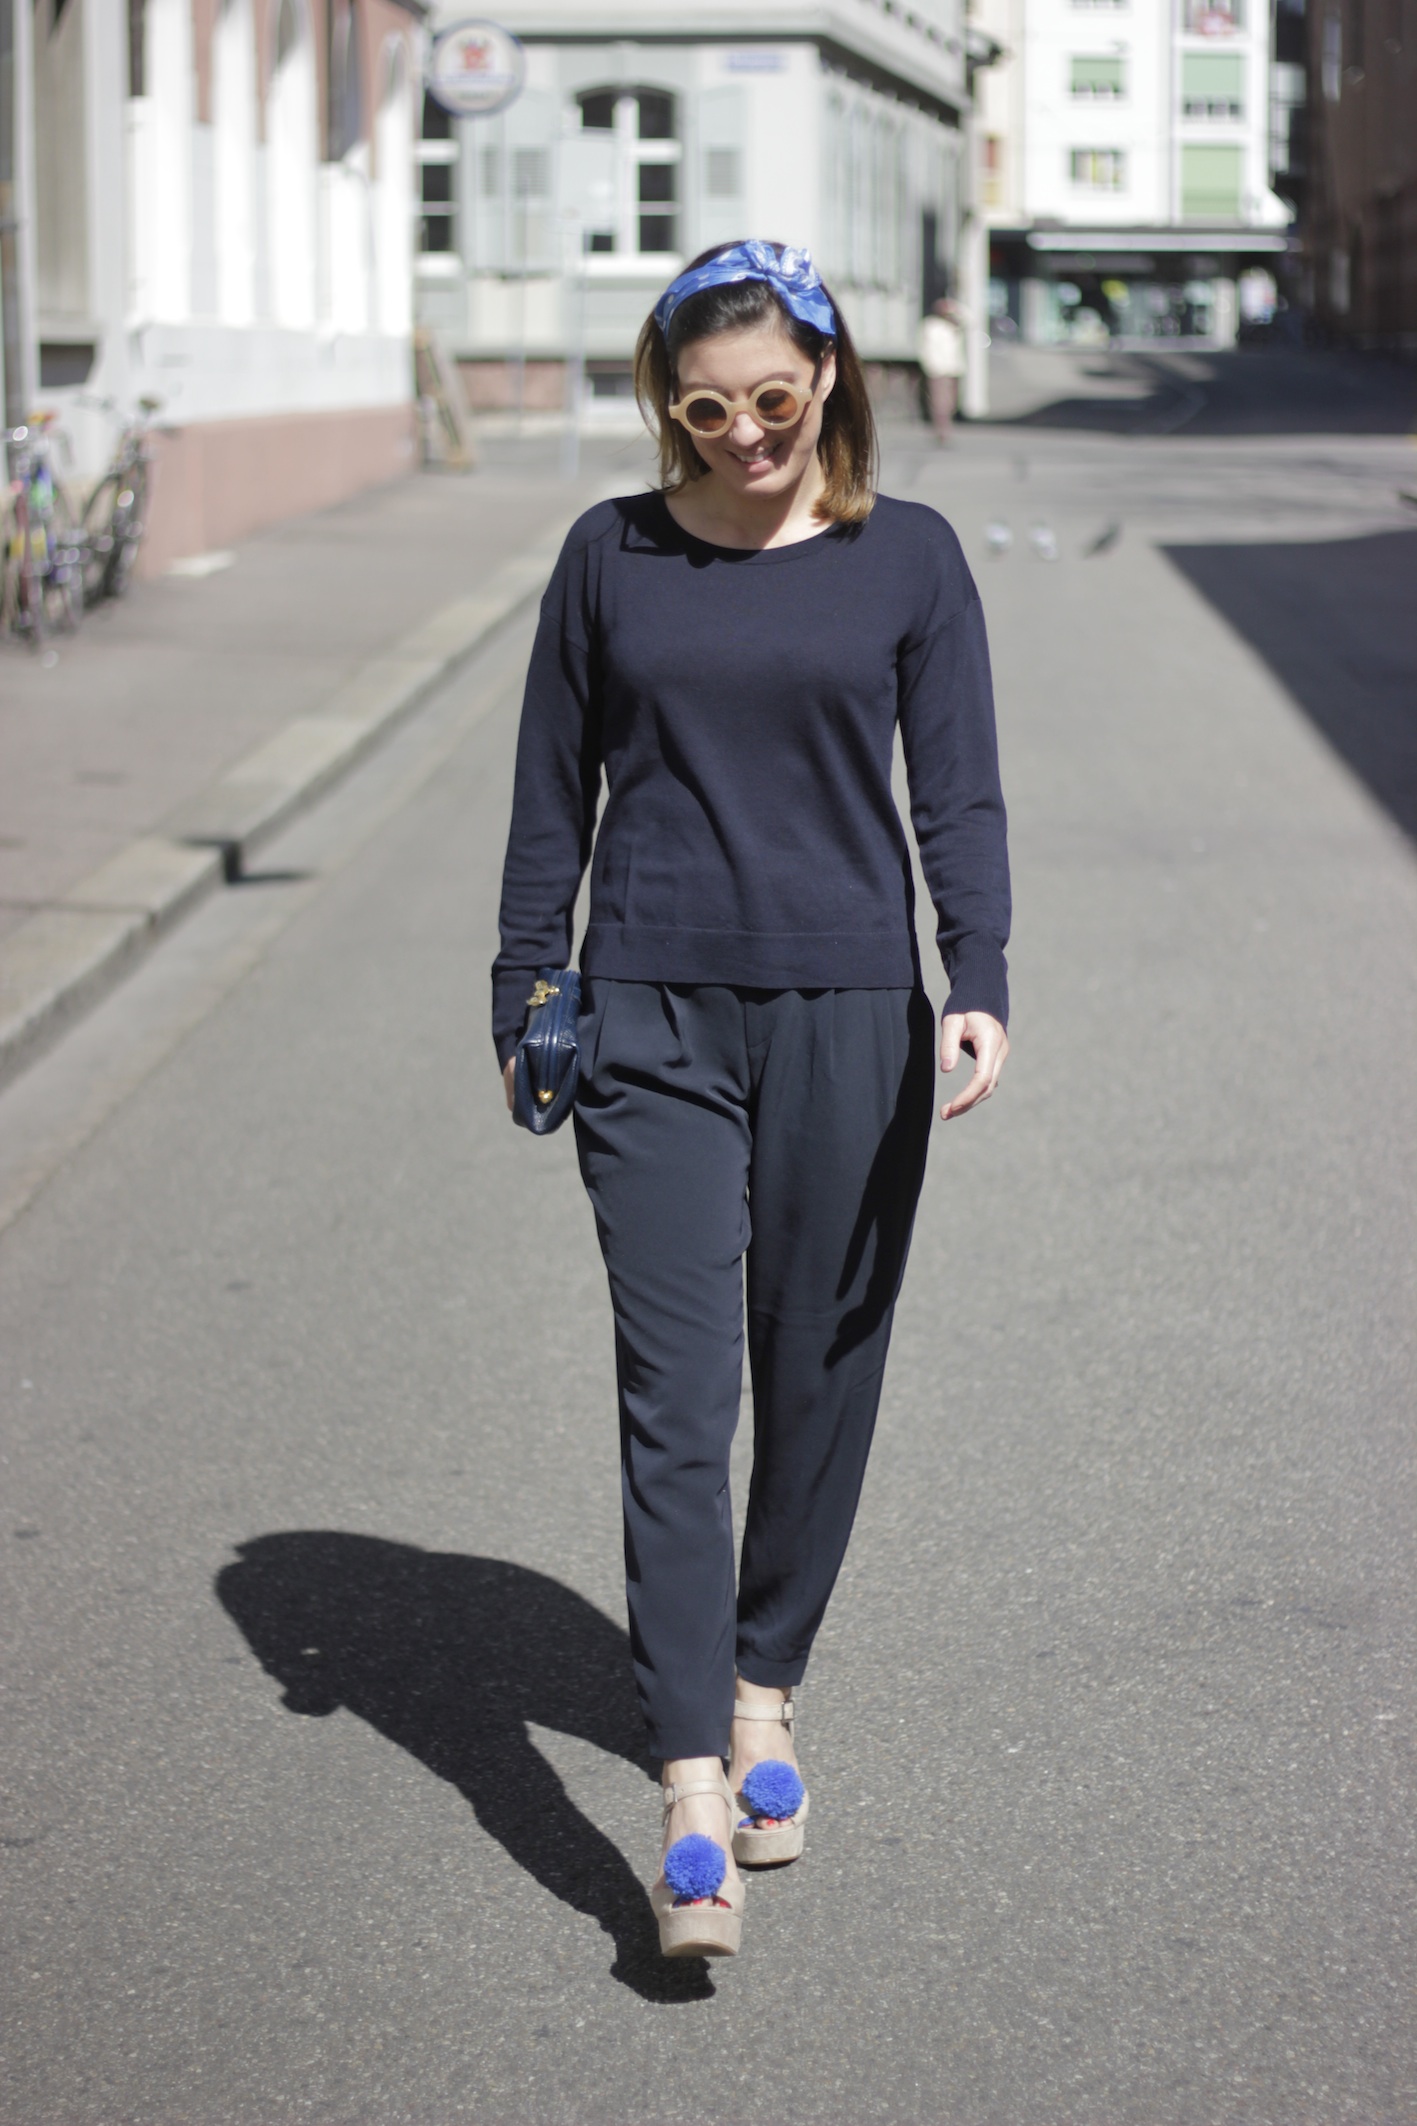
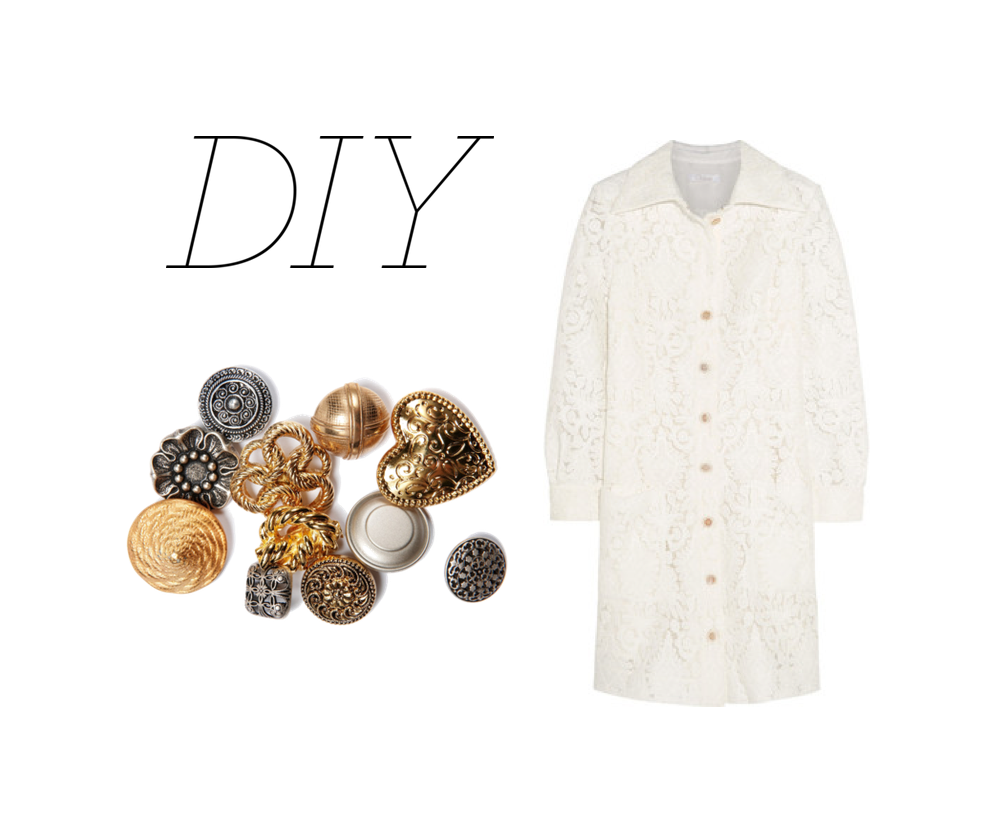
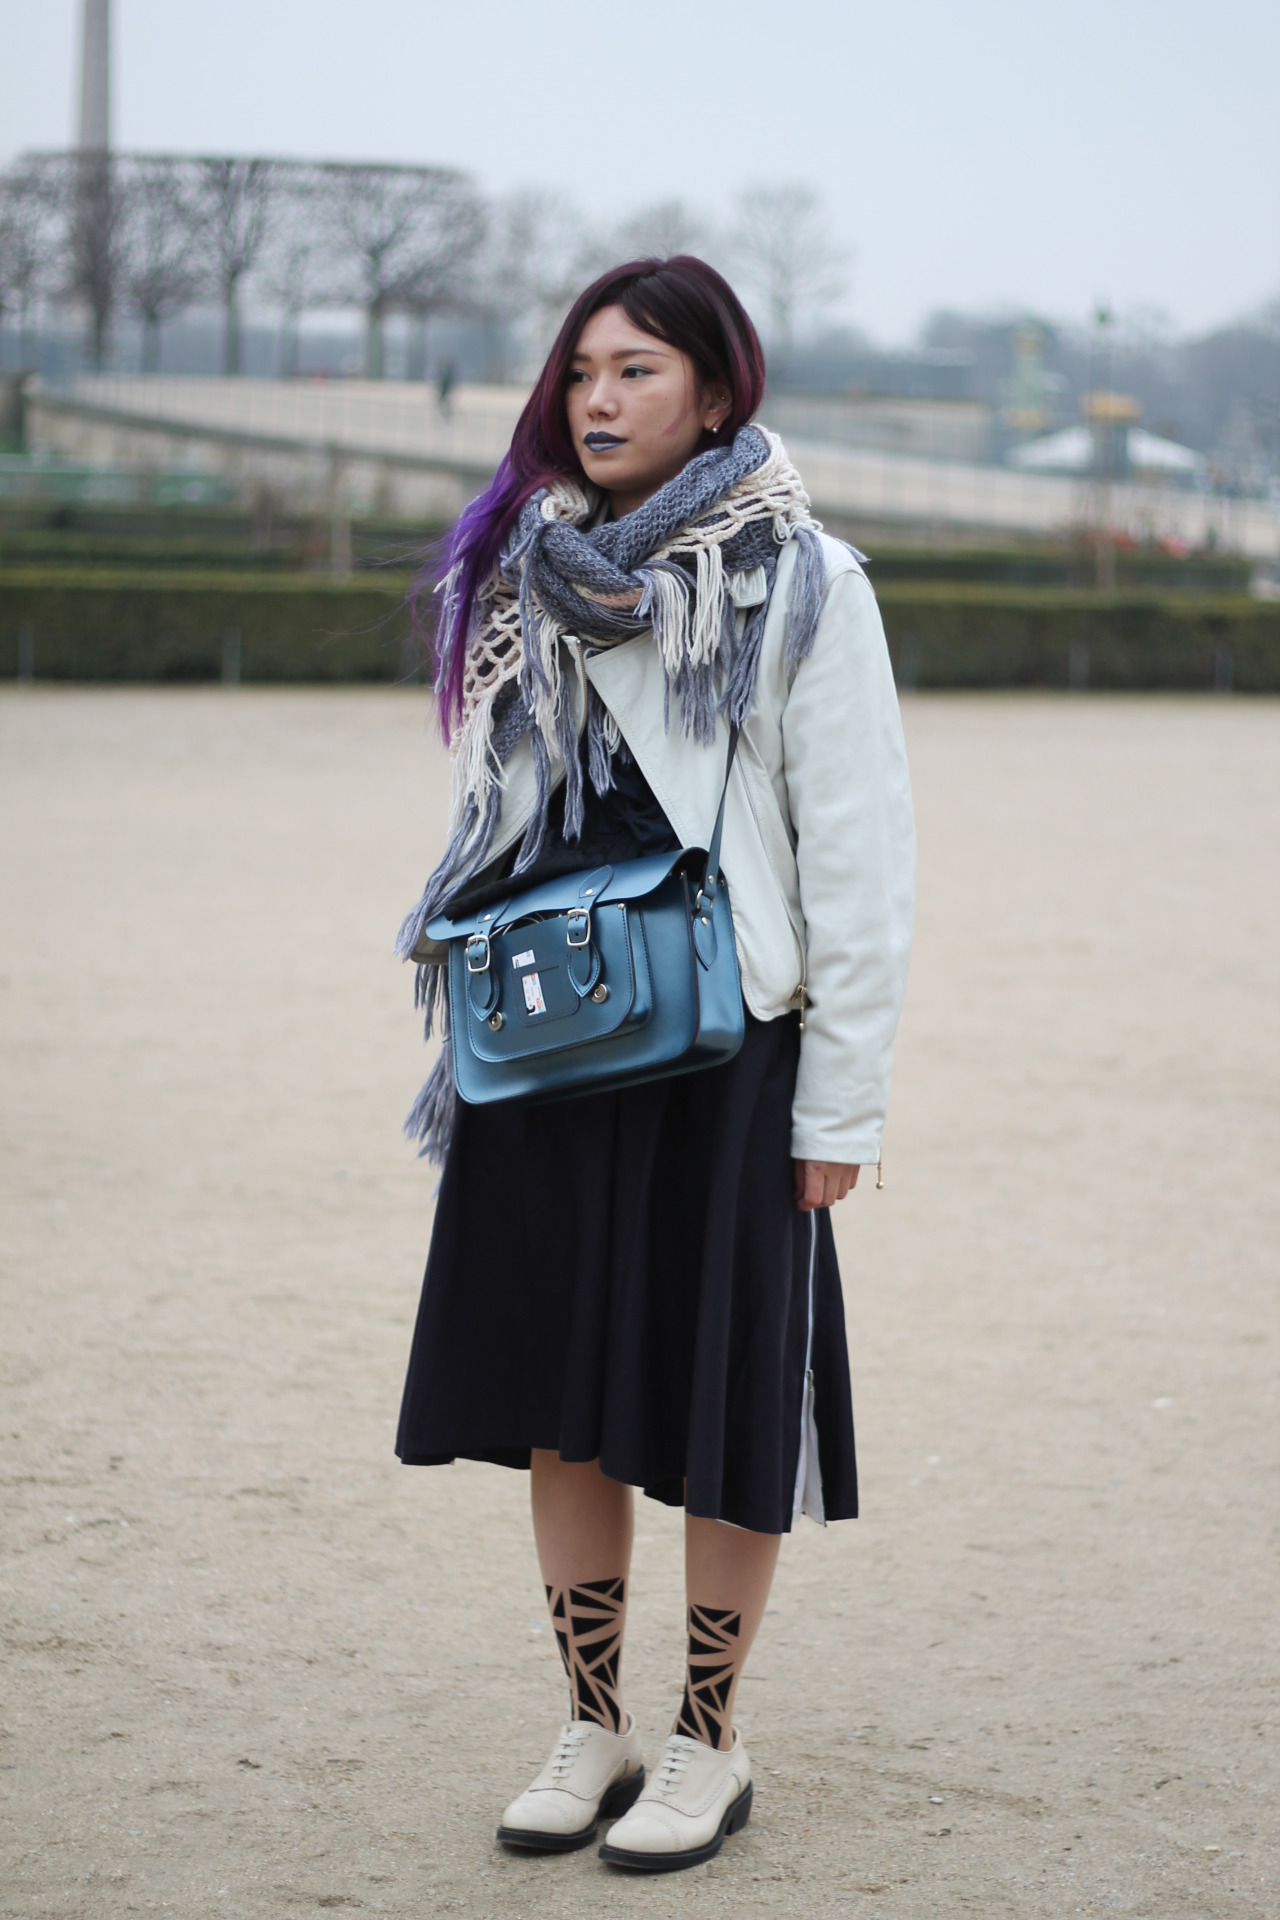
september has come and it is somehow the the time to say good bye to summer and welcome fall. lets hope for a beautiful sunny fall with little rain and grey days. todays outfit reminds me very much of my grandma as I am wearing her coat, she passed away this January and I learned so many things in regards to crafting and sewing from her. <3

I love playing with different shades of beige and blue and wanted to share with you my new cut off jeans. these are very very old jeans, I think these were the first edition of the squin jeans by H&M : ) one could almost call them vintage. so my problem is that often the jeans are too long for my legs and I end up tucking them in. so instead of tucking in I decided to cut off. zack!
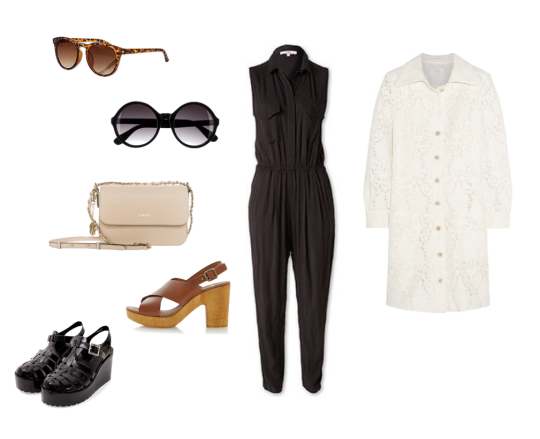
outfit
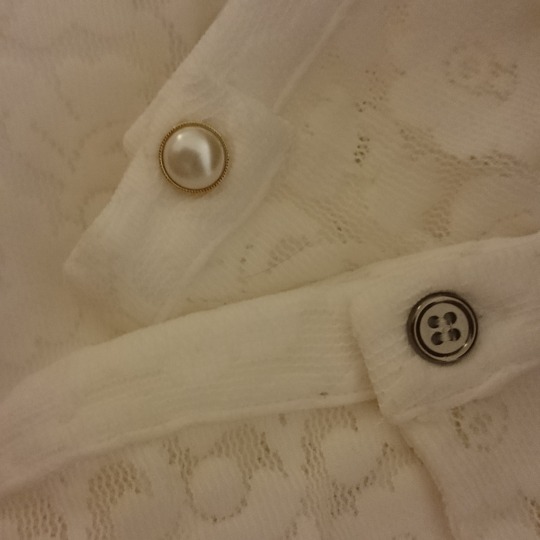
coat GRANDMA’s
blouse ROSS
jeans H&M
sunglasses FENDI
earrings CLAIRES
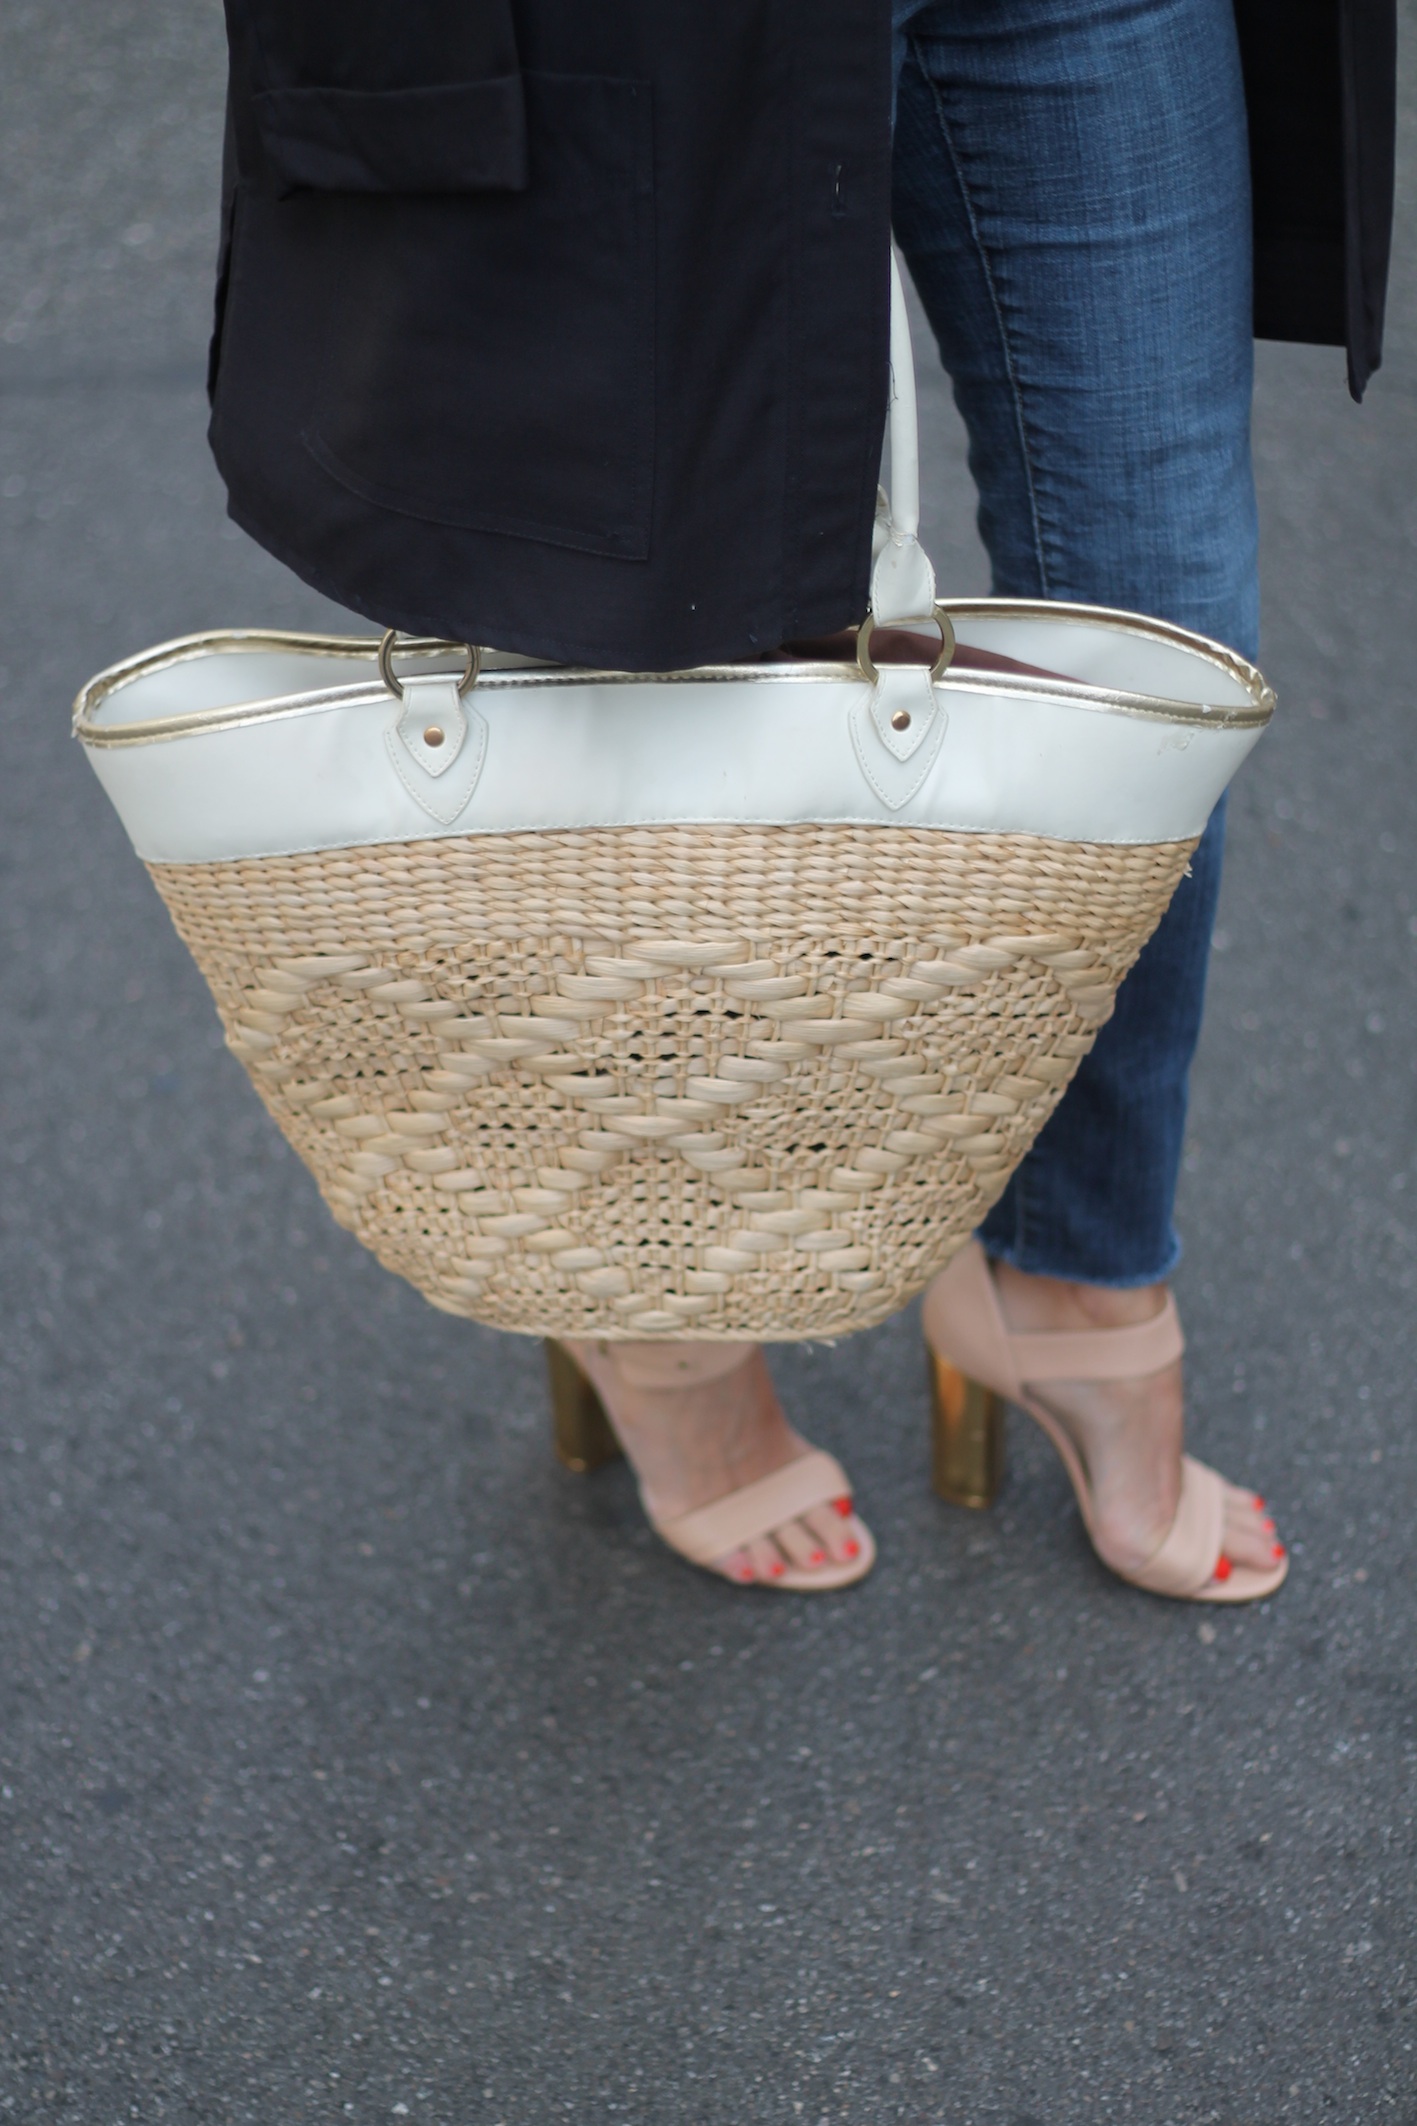
bag H&M
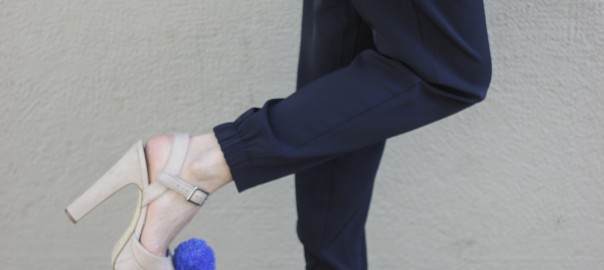
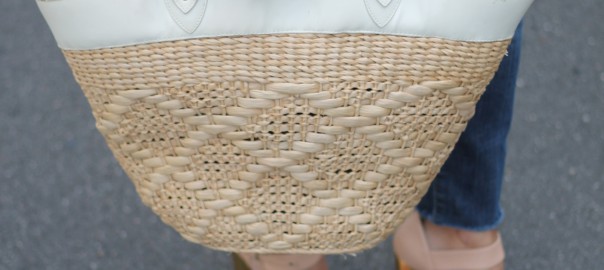
shoes COSMOPARIS
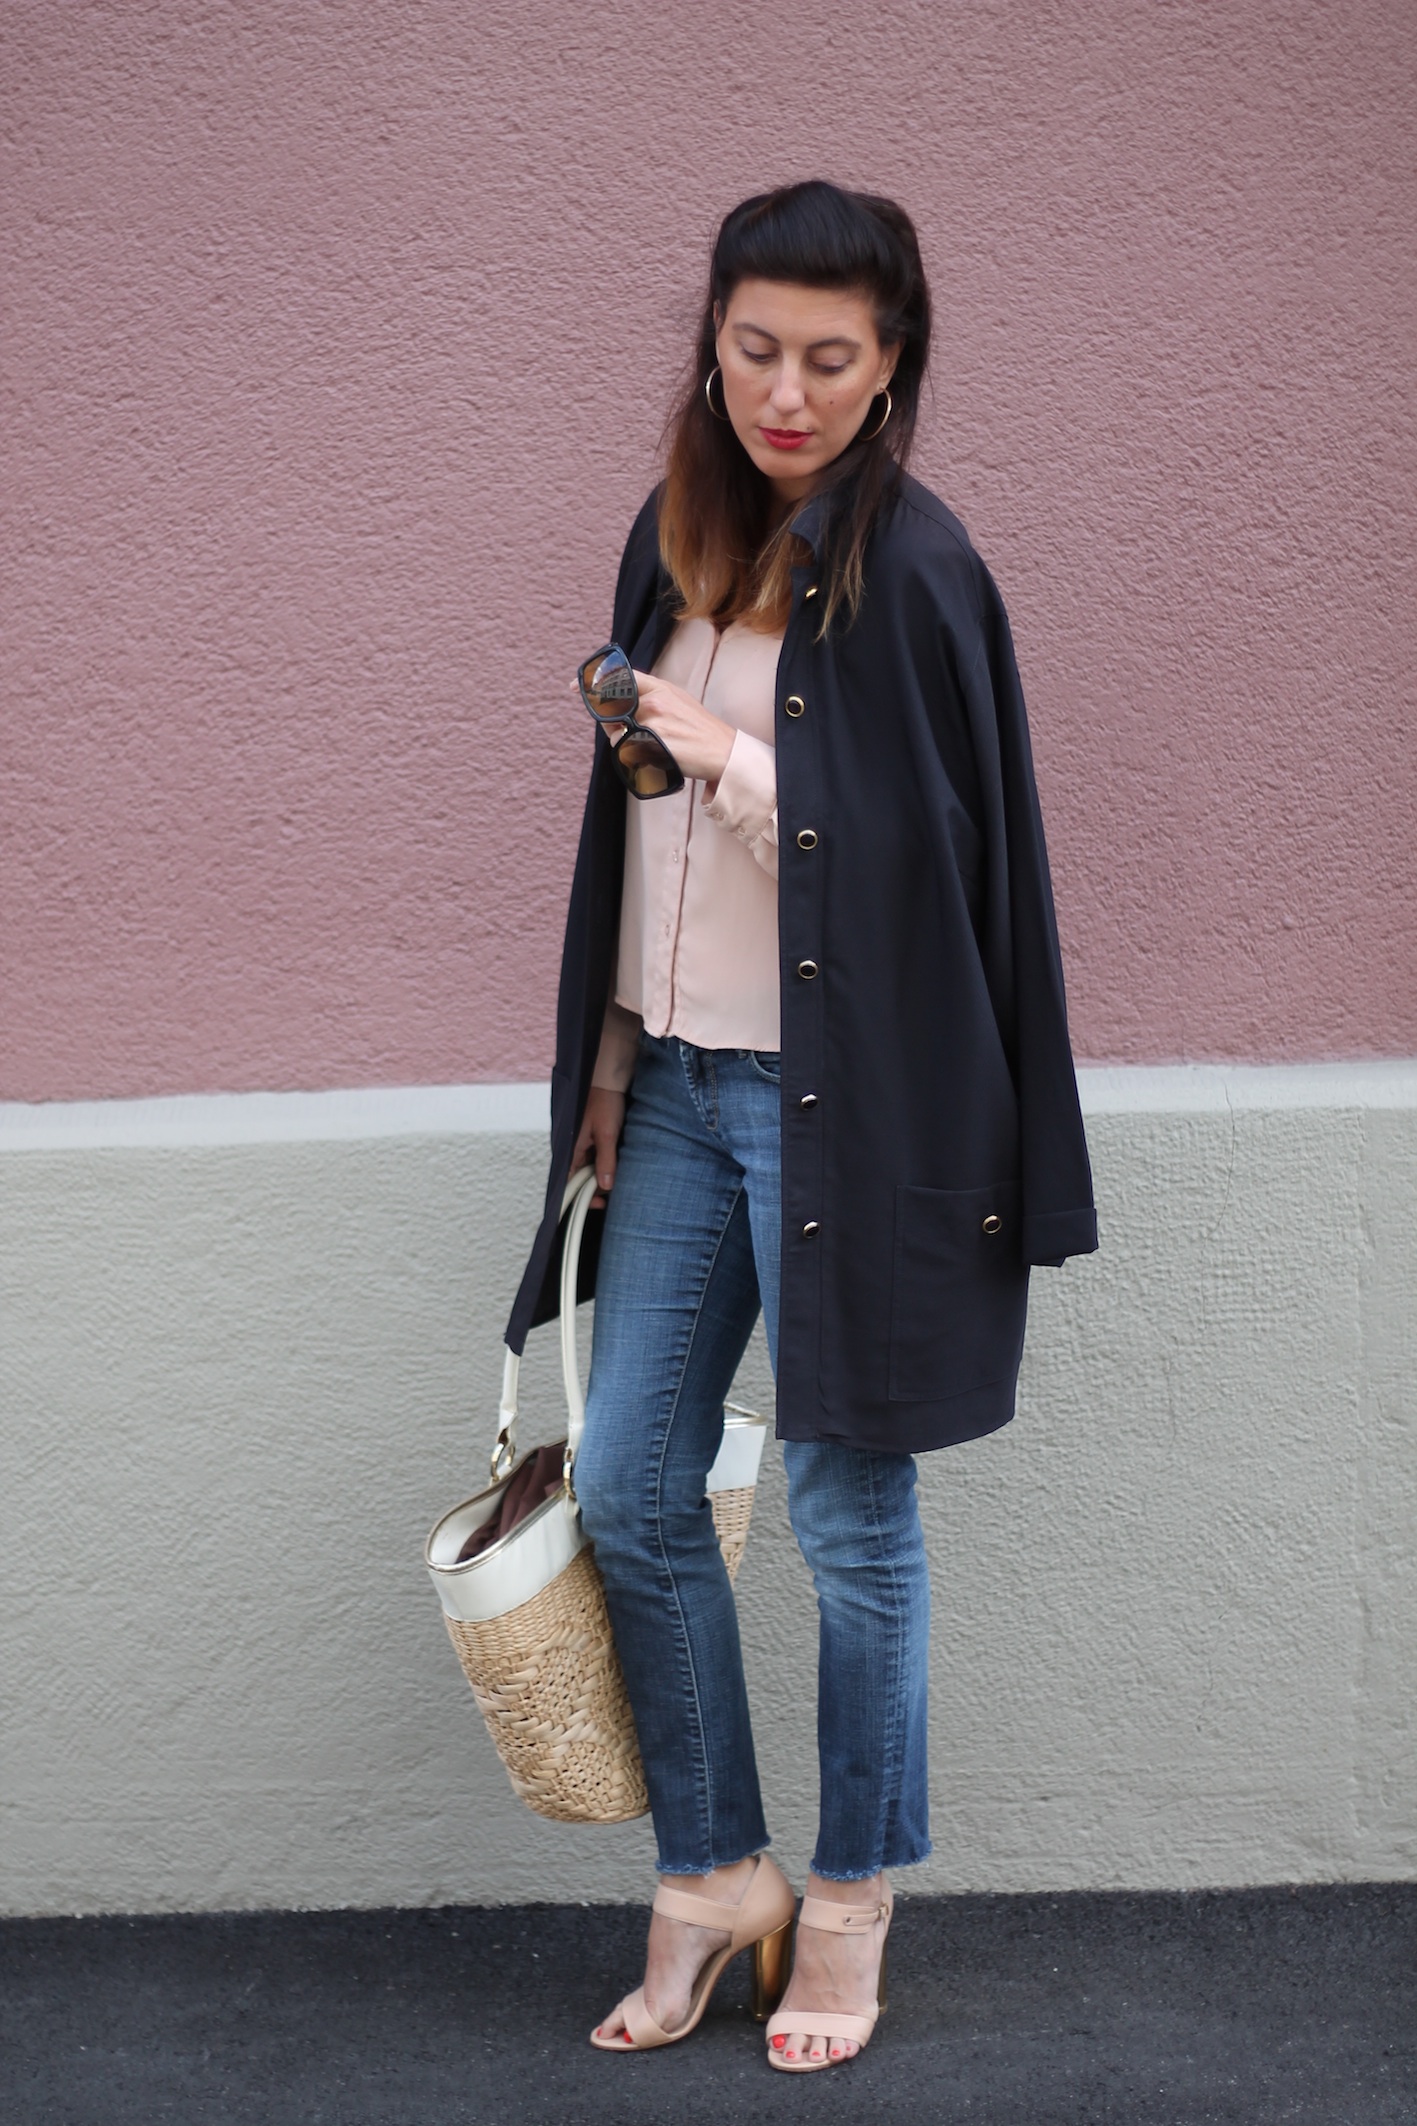
this is a perfect sunday outfit – very comfy and casual. I am absolutely a jeans person and will always grab a pair for a casual look. another thing that I think works very nicely is mixing beige and blue, and wearing different shades of the two colors. now in fall it is the season to wear your sandals and peeptoes for the last time with jeans instead of dresses before it will be too cold… awww, I dont wanna think about winter. it is my least favorite season, I dont like being in the house all the time and the only good thing about winter is the layering. hahahaha, yes, I love layering looks, it keeps me warm and I get to wear more of my favorite pieces at once.
Happy Sunday – lots of love. X


